
A Step-by-Step Guide to Setting Up Trezor One in New Zealand
Are you in New Zealand and looking for a secure way to store your cryptocurrency? Look no further! Trezor One is the ultimate solution for keeping your digital assets safe.
Setting up Trezor One is a straightforward process that doesn’t require any technical expertise. Whether you’re a beginner or an experienced user, this guide will take you through the step-by-step process of getting your Trezor One up and running in no time.
Why choose Trezor One? With cyber threats on the rise, it’s crucial to protect your cryptocurrency from theft, hacks, and unauthorized access. Trezor One offers top-notch security by keeping your private keys offline, out of reach from potential hackers. With its easy-to-use interface and compatibility with popular cryptocurrencies, such as Bitcoin and Ethereum, Trezor One is the go-to choice for many New Zealanders.
Ready to get started with Trezor One? Follow our comprehensive guide below to set up your device and start safeguarding your digital wealth with peace of mind.
Why Choose Trezor One for Cryptocurrency Security
Trezor One is a leading hardware wallet that offers robust security features for storing and managing your cryptocurrencies. Here are a few reasons why you should choose Trezor One for cryptocurrency security:
1. Advanced Security: Trezor One uses state-of-the-art cryptographic algorithms to protect your private keys and transactions. It offers secure offline storage and ensures that your funds are safe even if your computer or smartphone is compromised.
2. Easy to Use: With its intuitive and user-friendly interface, Trezor One is suitable for both beginners and experienced cryptocurrency users. The device is designed to simplify the process of managing your digital assets, making it easy to send, receive, and store cryptocurrencies.
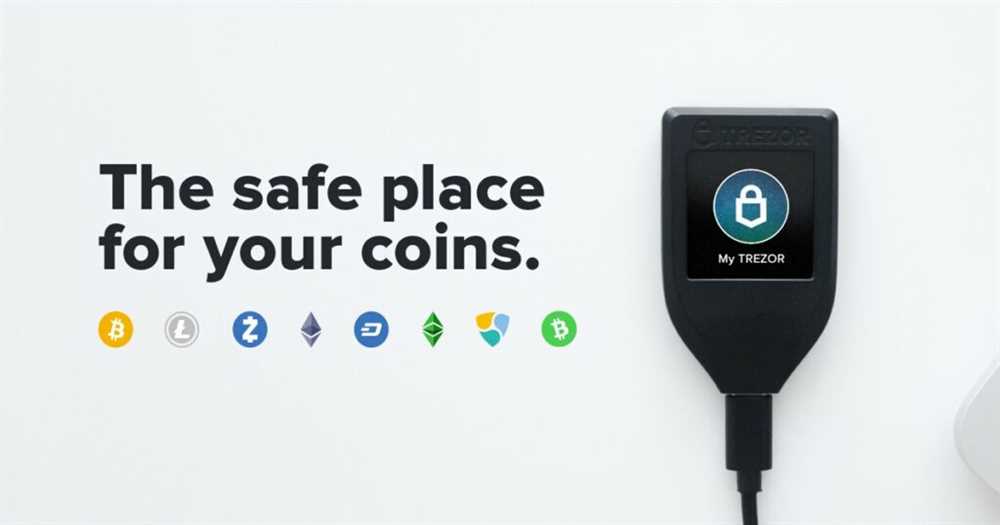
3. Compatibility: Trezor One supports a wide range of cryptocurrencies, including Bitcoin, Ethereum, and Litecoin. It is compatible with popular wallets and platforms, making it convenient to manage your funds across different networks.
4. Recovery Option: In case your device is lost or damaged, Trezor One provides a secure recovery process to restore your funds. With the help of a recovery seed, you can easily recover your wallet on a new device, ensuring that your funds are never permanently lost.
5. Open Source: Trezor One is built on open-source software, which means that the code is transparent and available for public review. This ensures that the device is free from backdoors or malicious software, providing an added layer of trust and security.
6. Community Support: Trezor One has a large and active community of users, developers, and security experts. You can find extensive documentation, tutorials, and forums where you can seek assistance or share your experiences with other Trezor users.
Overall, Trezor One is a reliable and secure hardware wallet that prioritizes the protection of your cryptocurrencies. Its advanced security features, ease of use, compatibility, recovery option, open-source nature, and community support make it an excellent choice for anyone looking to safeguard their digital assets.
Setting Up Trezor One in New Zealand: Step-by-Step Guide
If you’re a cryptocurrency enthusiast in New Zealand, setting up your Trezor One hardware wallet is an important step in securing your digital assets. Follow this step-by-step guide to ensure a smooth and secure setup process.
Step 1: Purchase Your Trezor One
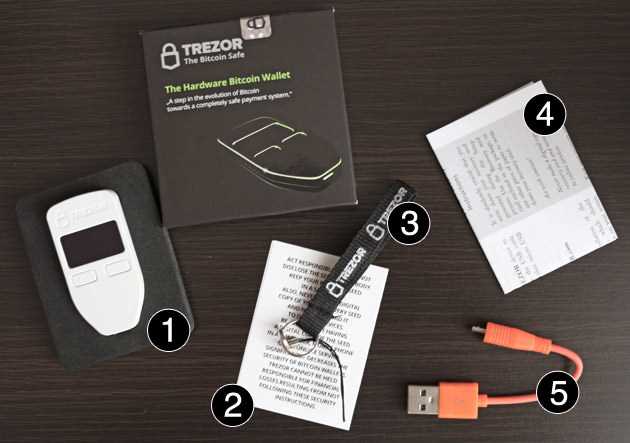
The first step is to purchase a Trezor One hardware wallet. You can buy it directly from the official Trezor website or through authorized resellers. Make sure to double-check the authenticity of the device to avoid scams. Your Trezor One will arrive with a USB cable, recovery seed cards, and user manual.
Step 2: Connect Your Trezor One to Your Computer

Use the provided USB cable to connect your Trezor One to your computer. Make sure your computer has an up-to-date web browser with Trezor Bridge installed. Trezor Bridge is a desktop application that allows your computer to communicate with your Trezor device.
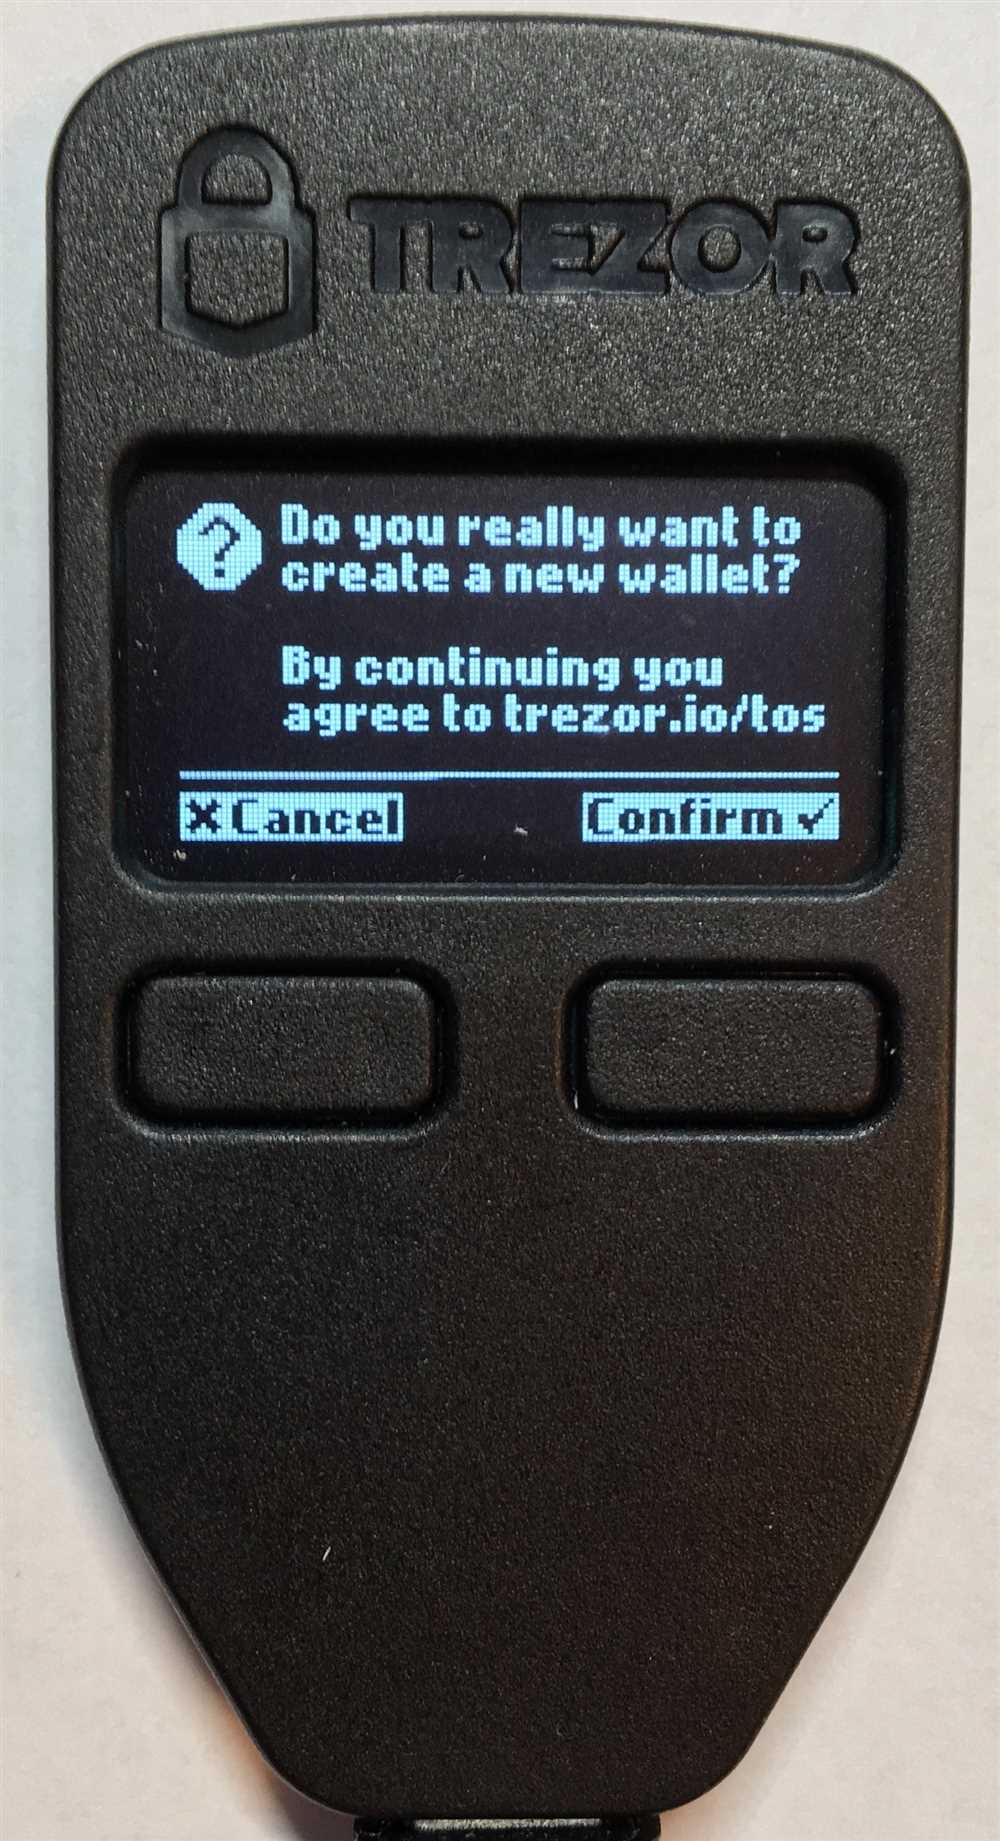
Step 3: Initialize Your Trezor One
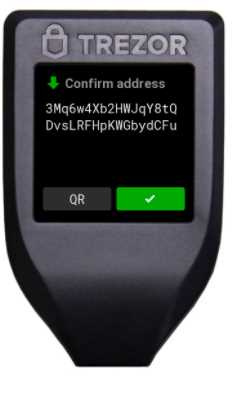
Open your web browser and visit Trezor’s official website. Follow the instructions to install the Trezor Wallet Chrome extension or connect to the Trezor Wallet’s web interface. Once connected, you will be prompted to initialize your Trezor One.
Note: Before initialization, make sure you have a pen and paper ready to write down your recovery seed. This seed is crucial for recovering your funds in case your device is lost, damaged, or stolen.
Step 4: Write Down Your Recovery Seed
During the initialization process, your Trezor One will display a series of random words. Write down these words, in the exact order, on the recovery seed cards provided. Make sure to store these cards in a safe and secure location, preferably in multiple physical locations.
Step 5: Confirm Your Recovery Seed
After writing down your recovery seed, your Trezor One will ask you to confirm some of the words from your seed. This is to ensure that you have correctly written down your recovery seed. Follow the on-screen instructions to complete this step.
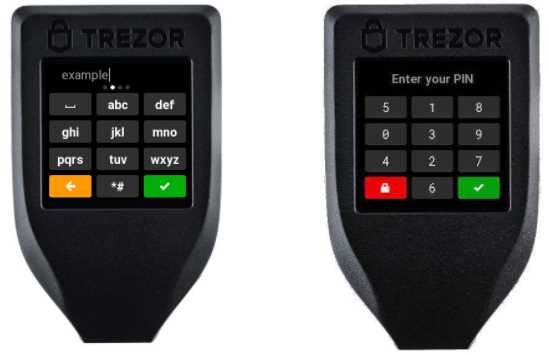
Step 6: Set Up a Strong PIN
Your Trezor One will then prompt you to set up a PIN code using the device’s touch screen. Choose a PIN code that is easy for you to remember but hard for others to guess. Avoid obvious choices like birthdays or sequential numbers.
Step 7: Backup Your Recovery Seed
Once you have completed the setup process, it is crucial to create an additional backup of your recovery seed. Use a compatible password manager or offline storage method to securely store a digital or physical copy of your recovery seed.
Note: Treat your recovery seed with extreme care and never share it with anyone. It is the key to accessing your funds and should be kept strictly private.
Congratulations! You have successfully set up your Trezor One hardware wallet in New Zealand. Your digital assets are now safely stored offline, providing you with peace of mind and added security.
Tips for Securely Storing and Managing Your Cryptocurrency with Trezor One
When it comes to storing and managing your cryptocurrency, security should be your top priority. With the Trezor One hardware wallet, you can have peace of mind knowing that your digital assets are protected from hackers and thieves.
1. Keep Your Recovery Seed Safe
Your recovery seed is a crucial component of your Trezor One device. It is used to restore access to your wallet in case it is lost, stolen, or damaged. Make sure to write down your recovery seed on a piece of paper and store it in a safe and secure location, away from prying eyes and potential hazards like fire or water damage.
2. Use Strong Passwords
When setting up your Trezor One, make sure to use a strong, unique password. Avoid using easy-to-guess phrases or personal information that can be easily obtained. Consider using a password manager to generate and store complex passwords.
3. Enable Two-Factor Authentication
Add an extra layer of security to your Trezor One by enabling two-factor authentication (2FA). This feature requires you to enter a unique code from your mobile device in addition to your password when accessing your wallet. This makes it more difficult for unauthorized users to gain access to your cryptocurrency.
4. Regularly Update Firmware
Keep your Trezor One firmware up to date by regularly checking for updates on the official Trezor website. Firmware updates often include security patches and bug fixes, ensuring that your device is protected against the latest threats.
5. Be Wary of Phishing Attempts
Phishing attempts are a common method used by hackers to trick users into revealing their login credentials or recovery seeds. Always double-check the URL of the website you are accessing and make sure it is the official Trezor website. Never enter your recovery seed or disclose sensitive information on suspicious websites or emails.
By following these tips, you can enhance the security of your cryptocurrency holdings and have peace of mind knowing that your digital assets are well protected with Trezor One.
Question-answer:
Is Trezor One available in New Zealand?
Yes, Trezor One is available in New Zealand. You can purchase it online from various authorized retailers or directly from the official Trezor website.
What is Trezor One?
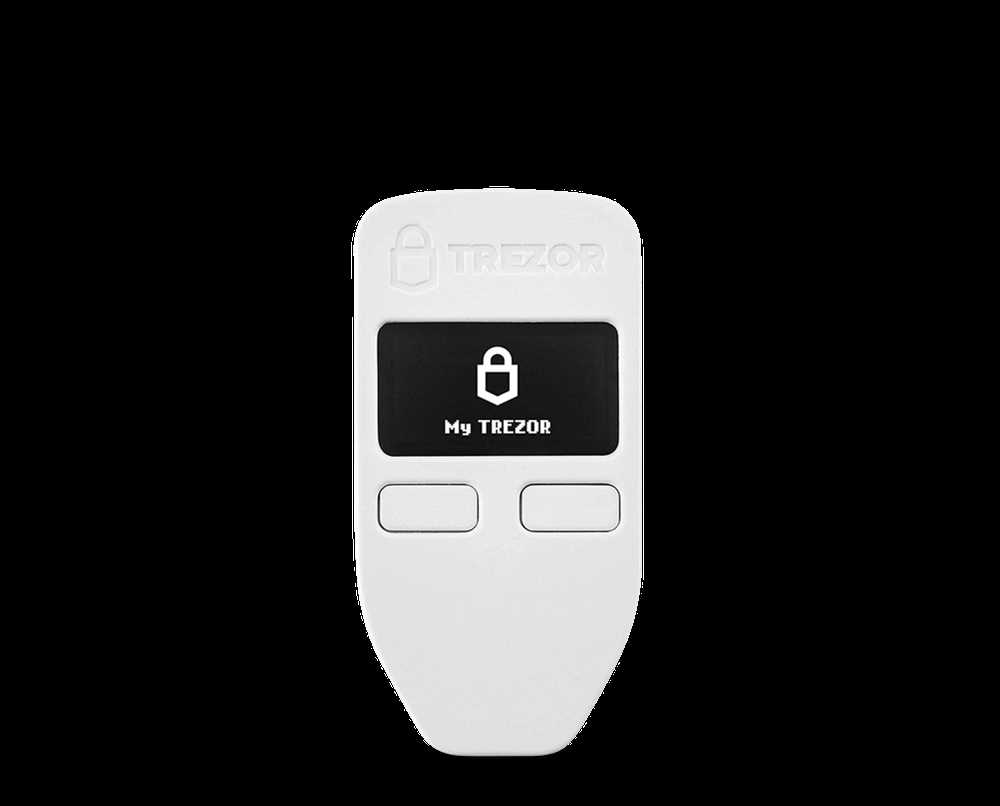
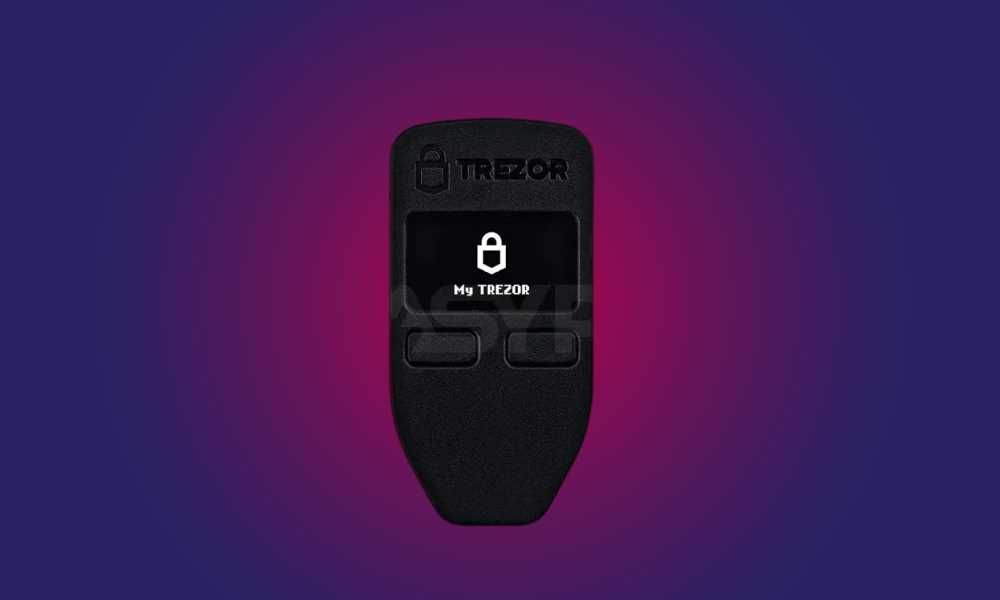
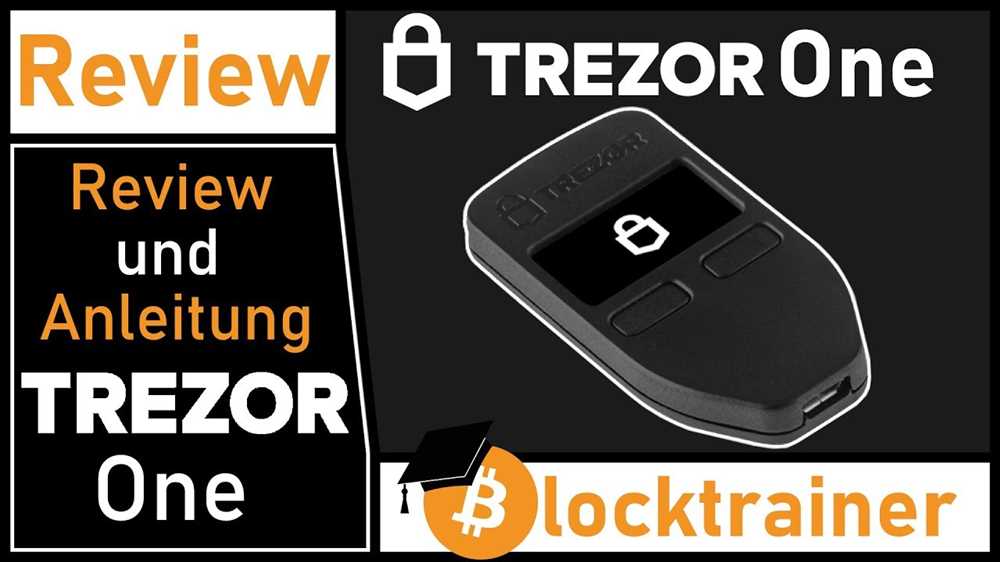
Trezor One is a hardware cryptocurrency wallet that allows you to securely store your digital assets. It is a small device with a built-in screen and buttons that is designed to protect your private keys from online threats.
Can I use Trezor One with multiple cryptocurrencies?
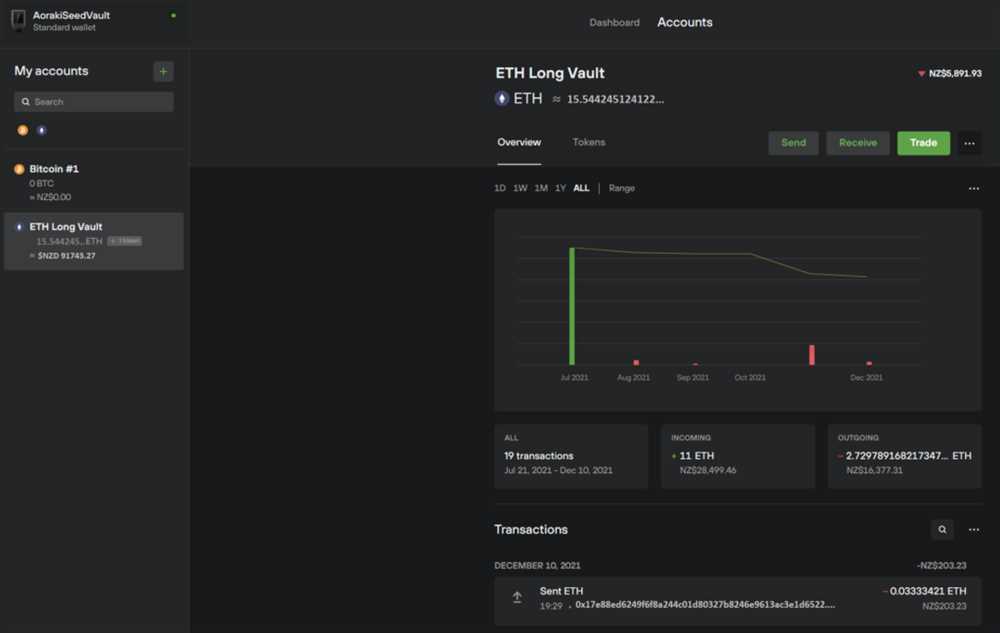
Yes, Trezor One supports multiple cryptocurrencies. You can use it to store Bitcoin, Ethereum, Litecoin, and many other popular cryptocurrencies. You can also manage your accounts and transactions through the Trezor Wallet web interface.


