
Step-by-Step Guide to Setting Up and Using Your Trezor Wallet
Are you looking for a secure and reliable way to store your cryptocurrencies? Look no further than the Trezor wallet. Trezor is a hardware wallet that provides a high level of security for your digital assets. In this step-by-step guide, we will walk you through the process of setting up and using your Trezor wallet.
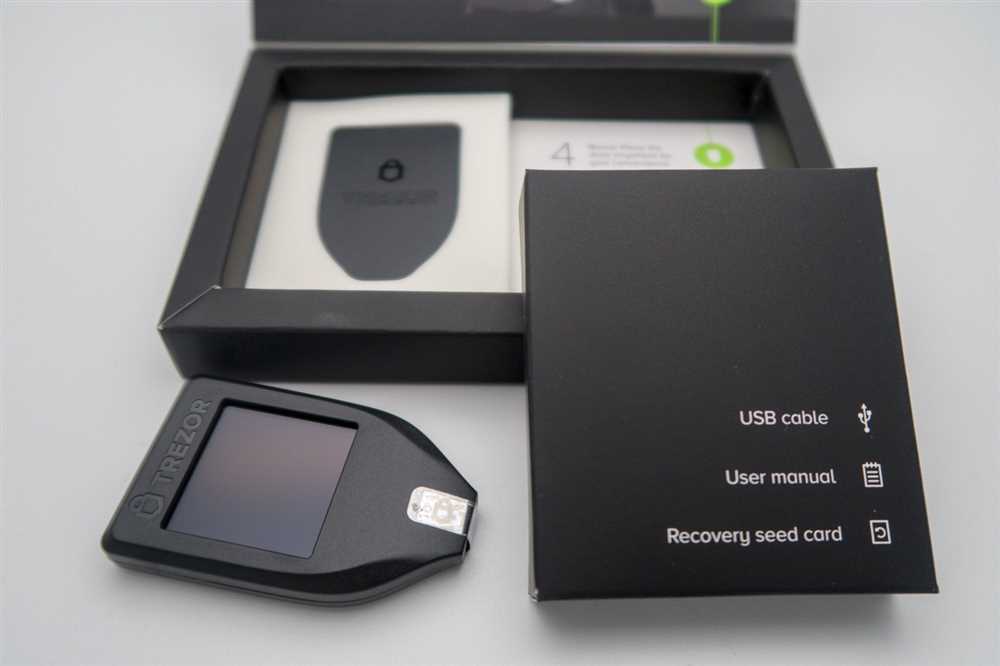
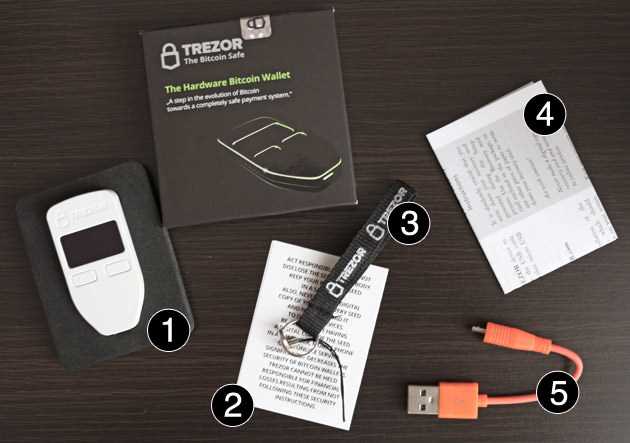
Step 1: Unboxing and connecting your Trezor
Start by unboxing your Trezor wallet and connecting it to your computer using the provided USB cable. Make sure to use the original cable to ensure a secure connection. Once connected, your Trezor will power on and display a welcome message on its screen.
Note: It is important to only connect your Trezor to trusted devices to avoid any potential security risks.
Step 2: Installing the Trezor Bridge
In order to interact with your Trezor wallet, you will need to install the Trezor Bridge. The Trezor Bridge is a software that enables communication between your Trezor and your computer. To install it, simply visit the official Trezor website and download the appropriate version for your operating system. Follow the on-screen instructions to complete the installation process.
Step 3: Setting up your Trezor wallet
Once the Trezor Bridge is installed, open the Trezor Wallet webpage on your computer. The webpage will guide you through the process of setting up your Trezor wallet. Start by selecting “Create a new wallet” and choose a PIN for your device. Make sure to choose a strong PIN that is easy for you to remember but hard for others to guess. After setting up your PIN, the webpage will generate a recovery seed for your wallet. Write down this seed and keep it in a safe place. It is crucial to keep your recovery seed offline and away from prying eyes.
Note: Your recovery seed is the key to accessing your wallet in case your Trezor is lost, stolen or damaged. Losing your recovery seed may result in permanent loss of your funds.
Step 4: Managing your cryptocurrencies
Once your Trezor wallet is set up, you can start managing your cryptocurrencies. The Trezor Wallet webpage supports a wide range of popular cryptocurrencies, including Bitcoin, Ethereum, and Litecoin. Simply select the cryptocurrency you want to manage from the list and follow the on-screen instructions to send, receive, or trade your digital assets.
With its strong security features and user-friendly interface, the Trezor wallet is an excellent choice for anyone looking to secure their cryptocurrencies. Follow these steps and enjoy the peace of mind that comes with knowing your digital assets are safe and sound.
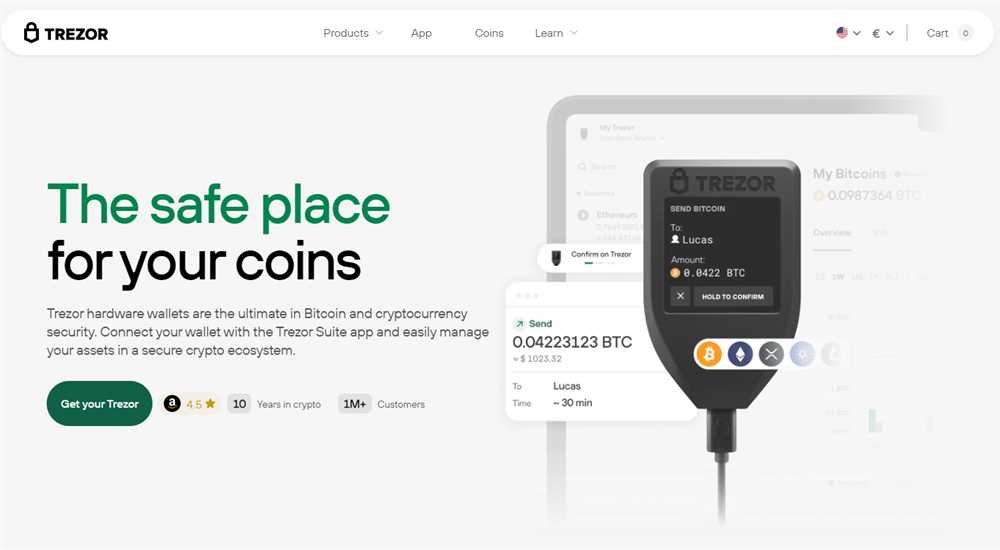
What is a Trezor wallet?

A Trezor wallet is a hardware wallet that provides a secure way to store and manage your cryptocurrencies. It is a small, portable device that connects to your computer or smartphone using a USB cable. The wallet is built with advanced security features to protect your digital assets from hackers and malware.
One of the main advantages of using a Trezor wallet is the ability to securely store your private keys offline. Private keys are the unique codes that allow you to access and transfer your cryptocurrencies. By keeping your private keys offline, you reduce the risk of them being hacked or stolen.
Trezor wallets support various cryptocurrencies, including Bitcoin, Ethereum, Litecoin, and many others. You can use the wallet to send, receive, and store multiple cryptocurrencies in one place. The wallet interface is user-friendly and straightforward, making it easy for both beginners and experienced users to navigate and manage their assets.
In addition to storing and managing your cryptocurrencies, Trezor wallets also support secure password management. You can use the wallet as a password manager, storing your login credentials for various online services and accounts. This feature helps you create strong, unique passwords for each account, enhancing your online security.
Overall, a Trezor wallet is an excellent option for anyone looking to secure their cryptocurrencies and manage them efficiently. Its offline storage and advanced security features make it a reliable choice for both individuals and businesses.
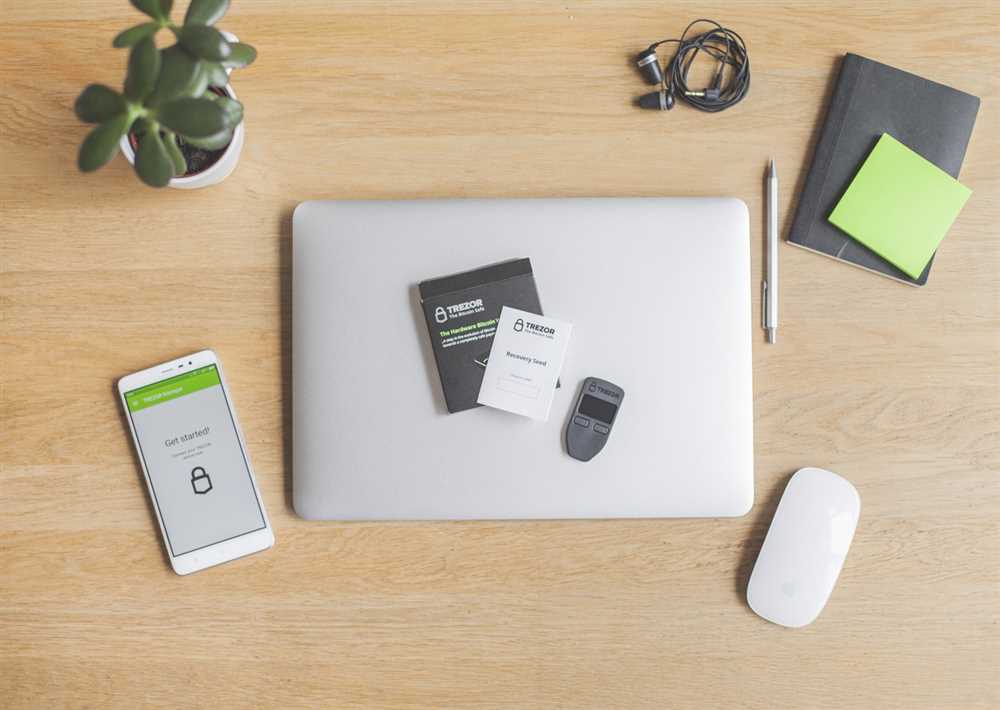
How to set up your Trezor wallet

Setting up your Trezor wallet is a straightforward process that can be completed in a few simple steps. Follow the instructions below to get started:
Step 1: Unboxing your Trezor wallet
Start by unboxing your Trezor wallet and ensuring that all the necessary components are included. This typically includes the Trezor device, a USB cable, and any other additional accessories.
Step 2: Connecting your Trezor wallet
Next, connect your Trezor wallet to your computer using the included USB cable. Make sure the device is securely connected and that your computer recognizes it.
Step 3: Installing the Trezor Bridge

Before you can begin using your Trezor wallet, you’ll need to install the Trezor Bridge software on your computer. Visit the official Trezor website and download the appropriate version for your operating system. Follow the installation instructions to complete the process.
Step 4: Initializing your Trezor wallet
Once the Trezor Bridge is installed, open the Trezor Wallet webpage on your computer. You’ll be prompted to initialize your wallet, which involves creating a new wallet or recovering an existing one. Follow the on-screen instructions and select the appropriate option.
Step 5: Setting up your recovery seed

During the initialization process, you’ll be asked to set up a recovery seed. This is a series of words that will be used to recover your wallet in case of loss or damage. Make sure to write down this seed and keep it in a safe place, as it’s crucial for restoring access to your funds.
Step 6: Securing your Trezor wallet
After initializing and setting up your recovery seed, you can proceed to set up additional security features for your Trezor wallet, such as a PIN code and a passphrase. These additional layers of security will help protect your funds from unauthorized access.
Once you’ve completed these steps, your Trezor wallet is ready to use! You can now start sending and receiving cryptocurrency and enjoy the peace of mind that comes with using a hardware wallet.
Using your Trezor wallet: a step-by-step guide
Once you have set up your Trezor wallet, you can start using it to securely store and manage your cryptocurrencies. Here is a step-by-step guide on how to use your Trezor wallet:
Step 1: Connect your Trezor device to your computer using the USB cable. Make sure it is properly connected and the screen on the device is turned on.
Step 2: Open the Trezor Wallet website on your computer’s browser.
Step 3: Click on the “Login” button on the website to access your Trezor wallet.
Step 4: Enter your PIN code on the device’s screen by using the corresponding buttons. Make sure to remember your PIN code as it is essential for accessing your wallet.
Step 5: After entering your PIN code, the Trezor Wallet interface will appear on your computer’s screen. Here, you can see your account balance and perform various actions.
Step 6: To receive cryptocurrencies, click on the “Receive” button in the wallet interface. A unique address will be generated for you to receive funds. Copy this address and share it with the sender.
Step 7: To send cryptocurrencies, click on the “Send” button in the wallet interface. Enter the recipient’s address, specify the amount you want to send, and confirm the transaction on your Trezor device by following the instructions on the screen.
Step 8: You can also manage your accounts and view transaction history by clicking on the “Accounts” tab in the wallet interface.
Step 9: Remember to always double-check the recipient’s address and the amount before confirming any transactions. This will help you avoid sending funds to the wrong address.
Step 10: When you are not using your Trezor wallet, make sure to disconnect it from your computer and keep it in a safe place. This will help prevent unauthorized access to your cryptocurrencies.
By following these simple steps, you can safely and easily use your Trezor wallet to store and manage your cryptocurrencies.
Q&A:
What is a Trezor wallet?
A Trezor wallet is a hardware wallet that provides secure storage for cryptocurrencies. It is a small device that connects to your computer or smartphone, and allows you to store and manage your cryptocurrency holdings offline, away from potential hackers and malware.
How do I set up a Trezor wallet?
To set up a Trezor wallet, you need to first connect the device to your computer or smartphone via the USB cable. Then, visit the Trezor website and follow the step-by-step instructions to install the necessary software. Once the software is installed, you will be prompted to create a new wallet and set a strong PIN. Finally, you will be given a recovery seed, which you should write down and keep in a safe place.


