
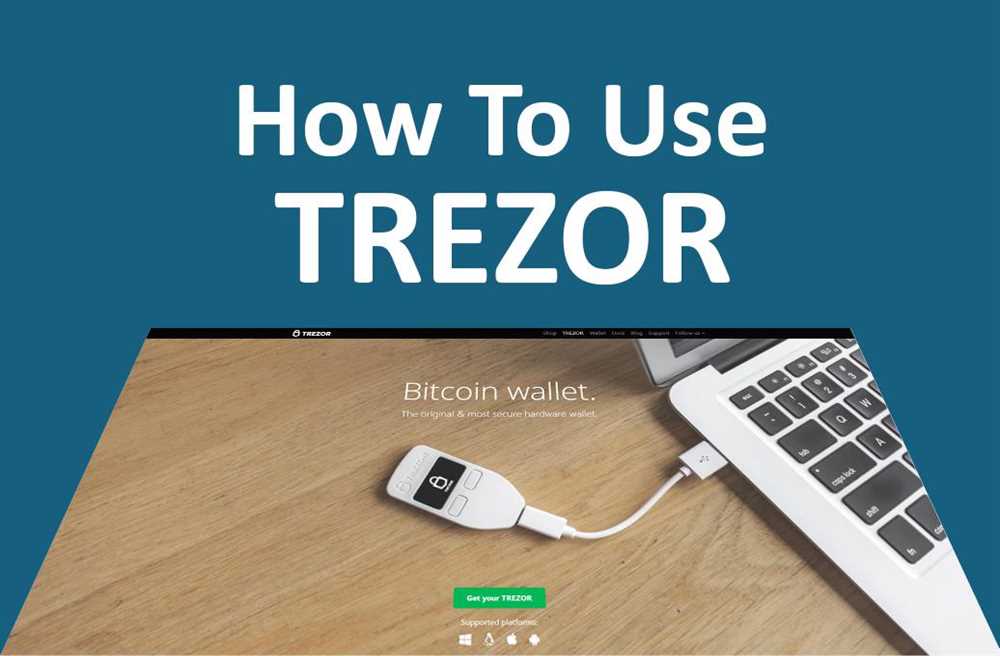
Step-by-Step Guide to Accessing Your Trezor Wallet
Welcome to our step-by-step guide on how to access your Trezor wallet! Trezor is a popular hardware wallet that provides a secure way to store your cryptocurrencies. Whether you’re new to Trezor or just need a refresher, this guide will walk you through the process of accessing your wallet.
Step 1: Set Up Your Trezor Device
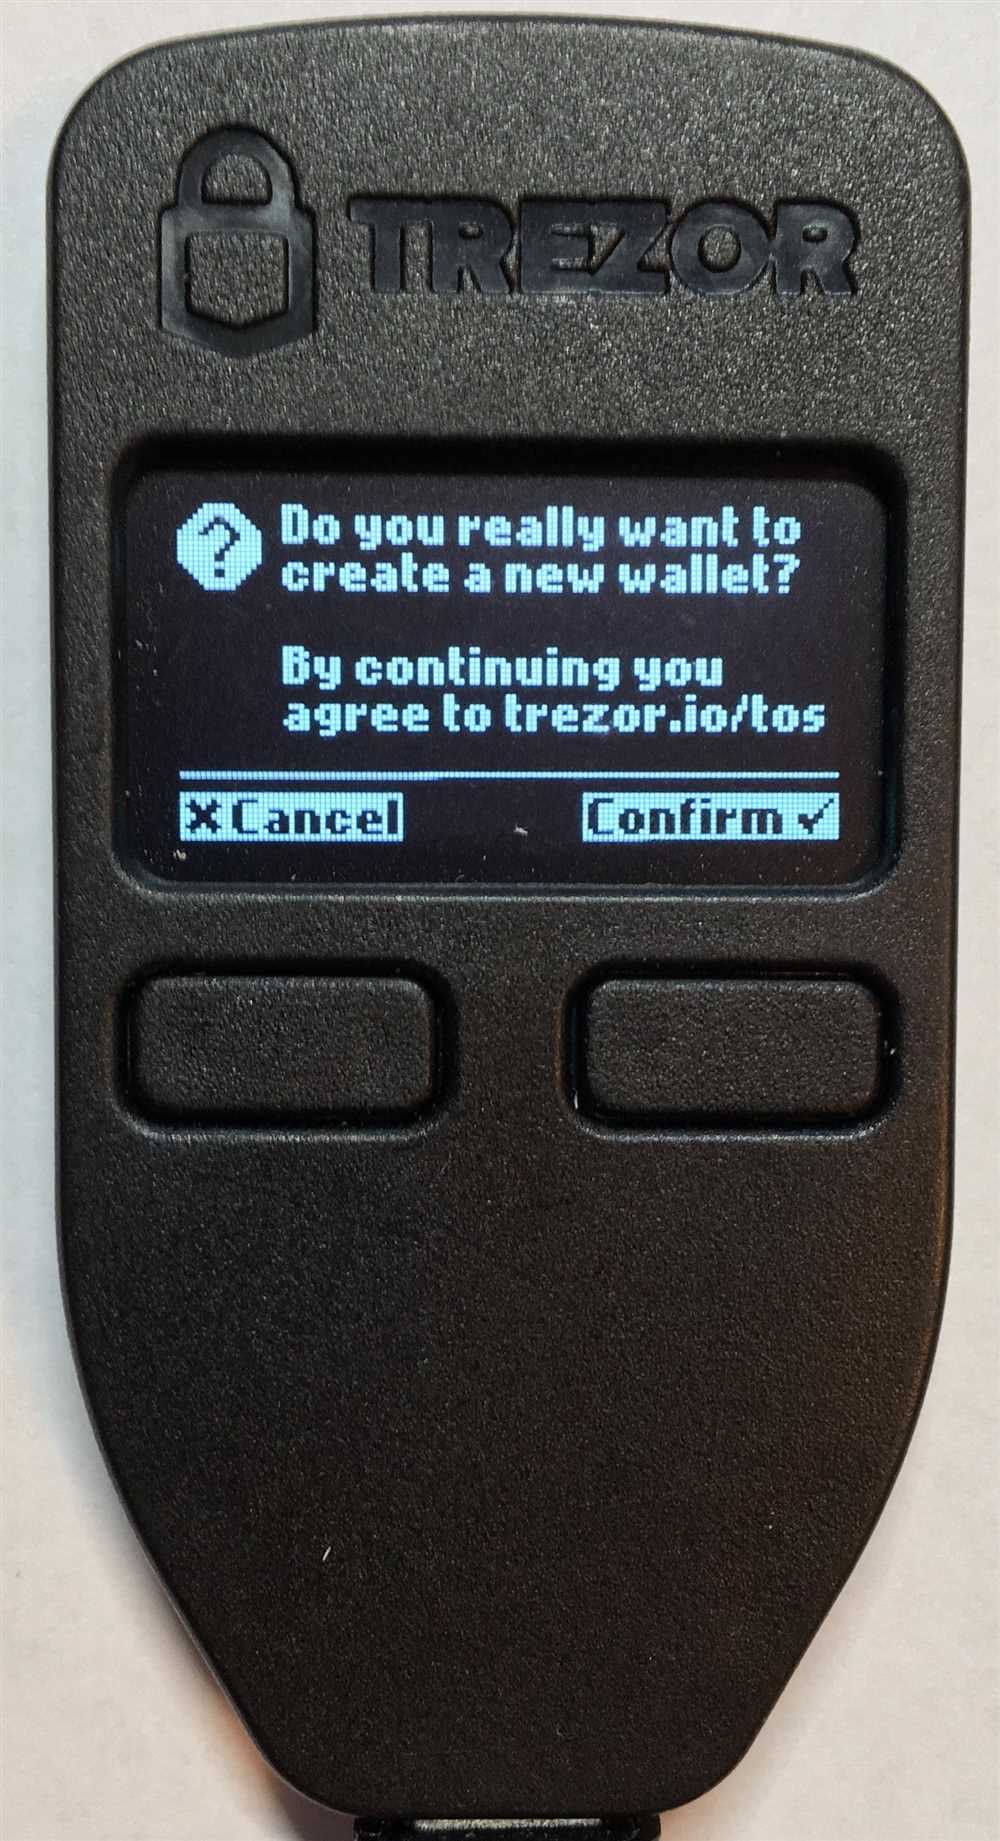
Before accessing your Trezor wallet, you’ll need to set up your Trezor device. Start by connecting your Trezor to your computer using the provided USB cable. Follow the on-screen instructions to complete the setup process.
Note: Make sure you are using the official Trezor website and software to avoid any potential scams or security risks.
Step 2: Enter Your PIN
Once your Trezor device is set up, you’ll be prompted to enter your PIN on the device’s screen. Use the on-screen keypad to enter your PIN securely. Make sure to choose a PIN that is strong and not easily guessable.
Step 3: Access Your Trezor Wallet
After entering your PIN, you’ll be able to access your Trezor wallet. Launch the Trezor Wallet software on your computer and select the “Access Wallet” option. Follow the on-screen instructions to connect your Trezor device and access your wallet.
Note: If you have multiple wallets on your Trezor device, you’ll need to select the specific wallet you want to access.
Step 4: Confirm Your Transactions
Once you have accessed your Trezor wallet, you’ll be able to view your account balance and transaction history. When making transactions, you’ll need to confirm them on your Trezor device by verifying the details on the device’s screen.
Note: Always double-check the transaction details before confirming to ensure that you are sending your cryptocurrencies to the correct address.
Congratulations! You have successfully accessed your Trezor wallet. Remember to keep your Trezor device and recovery seed in a safe place to protect your cryptocurrencies from unauthorized access.
Disclaimer: This guide is for informational purposes only and should not be considered as financial or investment advice. Always do your own research before making any investment decisions.
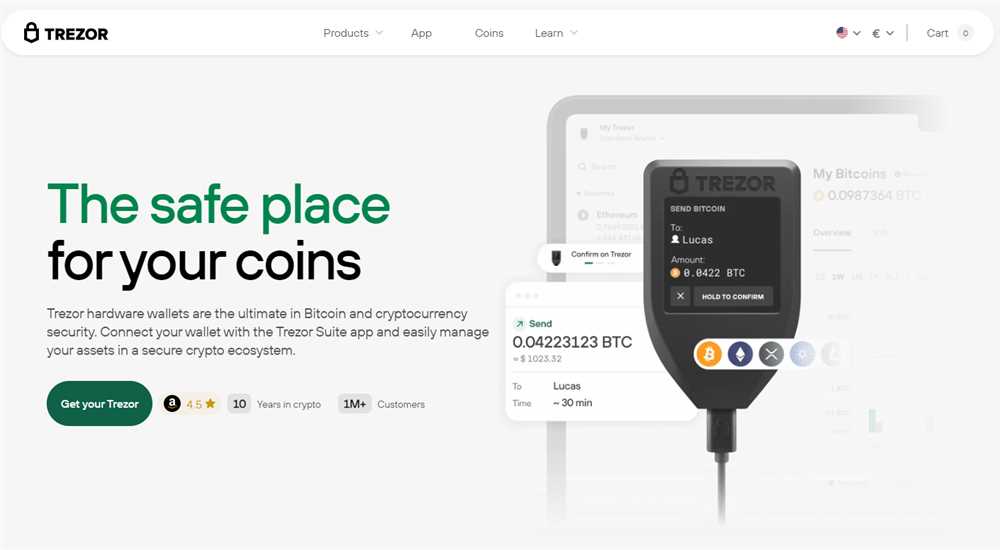
Trezor Wallet Overview
Trezor is a hardware wallet that provides secure storage for various cryptocurrencies, including Bitcoin and Ethereum. It is a small device that connects to your computer or mobile device via USB or Bluetooth. Trezor is known for its robust security features, making it one of the most trusted wallets in the cryptocurrency industry.
With Trezor, you can securely store and manage your cryptocurrency assets. The wallet is compatible with popular wallet management software like Mycelium, Electrum, and Exodus, allowing you to easily access and control your funds.
One of the main advantages of using Trezor is its offline storage mechanism. The private keys that give you access to your funds are generated and stored on the device itself, ensuring that they are never exposed to the internet. This significantly reduces the risk of hacking or unauthorized access to your funds.
Trezor also offers a user-friendly interface that makes it easy for beginners to use. The device has a small screen that allows you to verify and confirm transactions before they are sent. This provides an added layer of security, as it helps prevent any potential malicious activities.
In addition to its security features, Trezor also supports a wide range of cryptocurrencies, including Bitcoin, Ethereum, Litecoin, and many others. This makes it a versatile wallet that can accommodate different digital assets in one place.
To use Trezor, you will need to set it up and create a wallet. This involves a few simple steps, such as connecting the device to your computer, installing the necessary software, and creating a PIN code. Once your wallet is set up, you can start sending and receiving cryptocurrencies securely.
| Pros | Cons |
|---|---|
| – High security | – Requires a physical device |
| – User-friendly interface | – Can be expensive compared to software wallets |
| – Supports multiple cryptocurrencies | – Limited screen size |
| – Offline storage mechanism | – May take some time to set up for beginners |
Overall, Trezor wallet is an excellent choice for anyone looking to securely store and manage their cryptocurrencies. Its advanced security features, user-friendly interface, and support for multiple cryptocurrencies make it a top contender in the hardware wallet market.
What is Trezor Wallet?

Trezor Wallet is a hardware wallet that provides a secure way to store and manage your cryptocurrency assets. It is a physical device, resembling a USB stick, which is designed to keep your private keys offline and protect them from potential hacking attempts. Trezor Wallet supports various cryptocurrencies, including Bitcoin, Ethereum, Litecoin, and many more.
One of the main advantages of using Trezor Wallet is the high level of security it offers. As a cold wallet, it stores your private keys offline, making it immune to online threats such as malware and phishing attacks. Additionally, Trezor Wallet uses multiple layers of encryption and authentication to ensure the safety of your funds.
Using Trezor Wallet is also straightforward and user-friendly. After setting up the device and creating a wallet, you can easily manage your cryptocurrencies through the Trezor Wallet interface. You can send and receive transactions, check your account balance, and access various features and settings.
Trezor Wallet also provides features like password managers and 2-factor authentication for additional security measures. With the combination of its offline storage and user-friendly interface, Trezor Wallet is an ideal choice for both beginners and experienced cryptocurrency users who prioritize the safety of their digital assets.
To access your Trezor Wallet, you will need to connect the device to your computer or mobile device using a USB cable. Once connected, you can use the Trezor Wallet software or compatible third-party wallets to manage your cryptocurrencies securely.
Overall, Trezor Wallet offers a reliable and secure solution for storing and managing your cryptocurrencies. With its offline storage and user-friendly interface, it provides peace of mind while ensuring easy access to your digital assets.
Why Use Trezor Wallet?

Using Trezor Wallet offers several benefits that make it a popular choice for storing and managing your cryptocurrencies:
1. Enhanced Security: Trezor Wallet is a hardware wallet that stores your private keys offline, away from potential hackers and malware. This significantly reduces the risk of unauthorized access to your funds.
2. User-Friendly Interface: Trezor Wallet is designed to be user-friendly, even for beginners. The interface is intuitive and easy to navigate, making it simple to send and receive cryptocurrencies.
3. Multi-Currency Support: Trezor Wallet supports a wide range of cryptocurrencies, including Bitcoin, Ethereum, Litecoin, and many others. You can manage all your different coins in one wallet, eliminating the need for multiple wallets.
4. Backup and Recovery: Trezor Wallet provides a secure backup and recovery system. You can easily recover your wallet and funds using your recovery seed, even if you lose your device or it gets damaged.
5. Regular Updates: The development team behind Trezor Wallet regularly releases updates, including security patches and new features. This ensures that your wallet is always up to date and protected against the latest threats.
6. Offline Transaction Verification: Trezor Wallet allows you to verify transactions offline on the device itself, ensuring that the transaction details are accurate and that you are sending funds to the intended recipient.
7. Community Support: Trezor Wallet has a strong and active community of users who provide support, share tips and tricks, and contribute to the development of the wallet. This community can be a valuable resource for new users.
Overall, Trezor Wallet offers a secure and user-friendly way to store and manage your cryptocurrencies. Whether you are a beginner or an experienced cryptocurrency user, Trezor Wallet provides the tools and features you need to securely manage your funds.
How to Access Your Trezor Wallet
Accessing your Trezor wallet to securely manage your cryptocurrencies is easy with a few simple steps. Whether you’re setting up your Trezor for the first time or accessing an existing wallet, this guide will walk you through the process.
Step 1: Connect Your Trezor Device
The first step is to connect your Trezor device to your computer using the USB cable. Ensure that your Trezor is powered on and ready to use.
Step 2: Install the Trezor Bridge Software

To enable communication between your Trezor device and your computer, you need to install the Trezor Bridge software. Visit the official Trezor website and download the appropriate version of the software for your operating system. Follow the on-screen instructions to complete the installation.
Step 3: Open the Trezor Wallet
Once the Trezor Bridge software is installed, open your web browser and visit the Trezor Wallet page. Click on the “Connect and unlock device” button to initiate the connection between your Trezor device and the wallet.
Step 4: Enter Your PIN
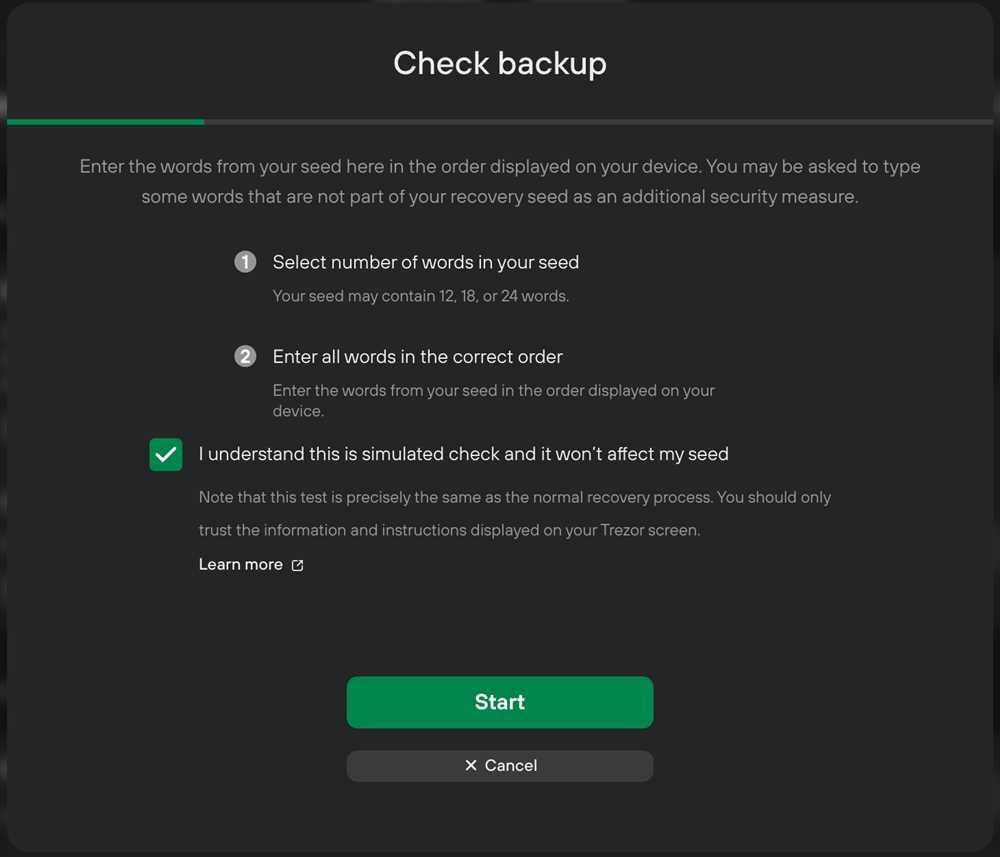
On your Trezor device, you will see a PIN pad displayed. Enter your PIN using the corresponding numbers displayed on your computer screen. Make sure to enter your PIN carefully and securely, as incorrect attempts may result in your device being wiped clean.
Step 5: Confirm Device Authenticity
After entering your PIN, the Trezor Wallet will ask you to confirm the authenticity of your device. Check the firmware version and compare it to the one listed on the Trezor Wallet page. If the versions match, confirm the authenticity on your device.
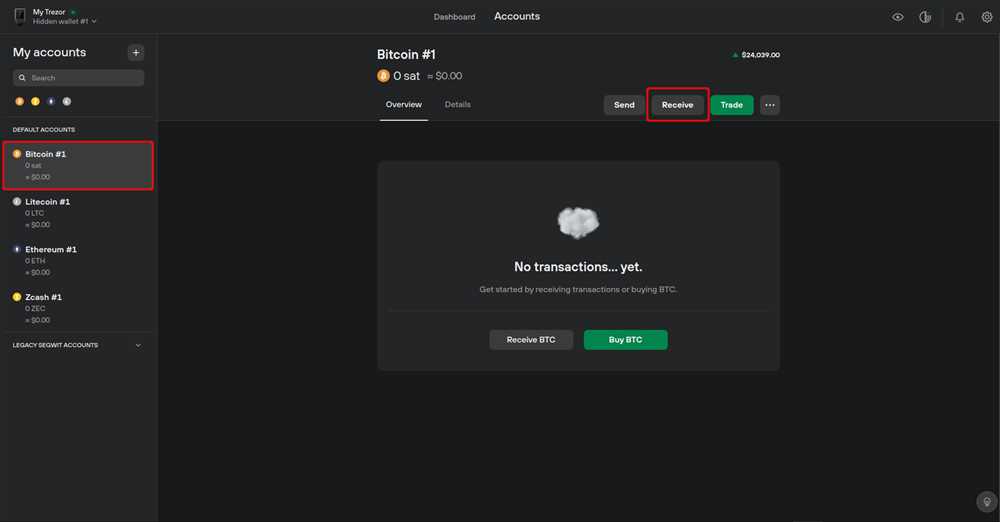
Step 6: Access Your Wallet
Once your device is authenticated, you will be able to access your Trezor wallet and manage your cryptocurrencies securely. You can view your account balances, send and receive funds, and perform other wallet functions through the user-friendly interface of the Trezor Wallet.
It is important to keep your Trezor device and PIN safe at all times to prevent unauthorized access to your wallet. Regularly check for firmware updates and follow best practices to ensure the security of your cryptocurrencies.
| Step | Description |
|---|---|
| 1 | Connect your Trezor device to your computer. |
| 2 | Install the Trezor Bridge software from the official website. |
| 3 | Open the Trezor Wallet page in your web browser. |
| 4 | Enter your PIN on the Trezor device. |
| 5 | Confirm the authenticity of your device. |
| 6 | Access your Trezor wallet and manage your cryptocurrencies. |
Step 1: Connect Your Trezor Device
To begin accessing your Trezor wallet, you need to connect your Trezor device to your computer.
Follow these steps to connect your Trezor device:
- Locate the USB cable that came with your Trezor device.
- Plug one end of the USB cable into your Trezor device.
- Plug the other end of the USB cable into an available USB port on your computer.
- Ensure that your Trezor device is powered on.
- Your computer should recognize the Trezor device and install any necessary drivers.
- Wait for the Trezor wallet interface to open on your computer.
Once your Trezor device is connected and the wallet interface is open, you can proceed to the next step of setting up and accessing your Trezor wallet.
Step 2: Install Trezor Bridge
To access your Trezor wallet, you need to install Trezor Bridge software on your computer. Trezor Bridge acts as a communication bridge between your Trezor device and your computer.
Follow these steps to install Trezor Bridge:
- Open your preferred web browser and navigate to the official Trezor website.
- Click on the “Downloads” tab in the website’s navigation menu.
- Scroll down to the “Trezor Bridge” section and click on the appropriate download link for your operating system (Windows, macOS, or Linux).
- Once the download is complete, locate the installer file on your computer and double-click on it to run the installation.
- Follow the on-screen instructions to complete the installation process.
- After the installation is finished, you should see the Trezor Bridge icon in your computer’s system tray or taskbar.
Now that you have installed Trezor Bridge, you can proceed to the next step and connect your Trezor device to your computer.
Q&A:
What is a Trezor wallet?
A Trezor wallet is a hardware wallet that allows you to securely store and manage your cryptocurrencies. It is a physical device that is designed to keep your private keys offline and away from potential hackers and malware.


