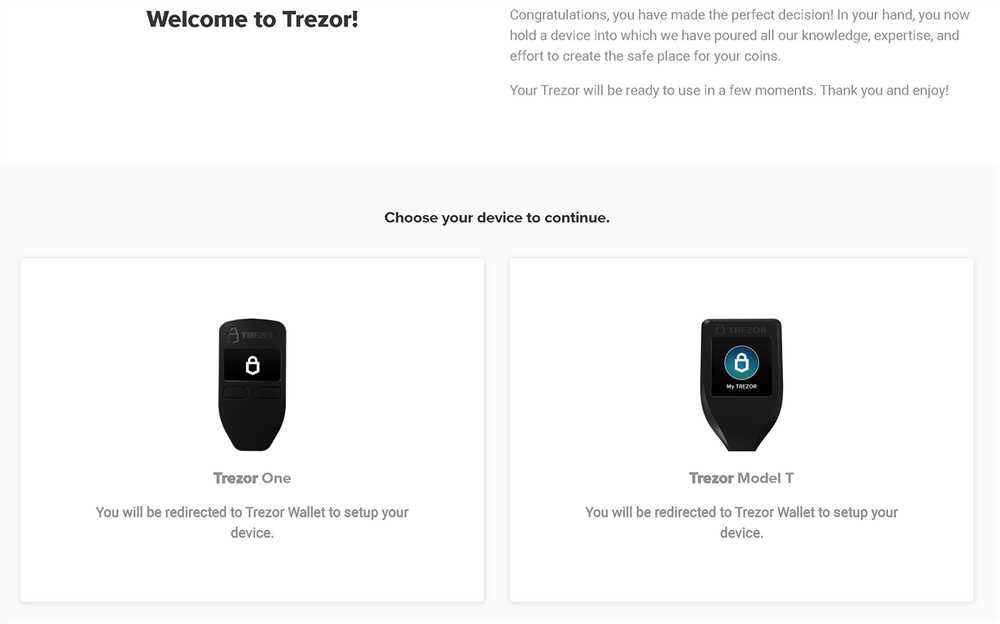
Set Up Your Trezor Wallet and Start Safely Storing Your Crypto
In today’s digital age, it is crucial to ensure the security of your cryptocurrencies. With the increasing popularity of cryptocurrencies, more and more people are turning to hardware wallets for a safe and secure way to store their digital assets. One of the most popular choices in the market is the Trezor wallet. In this comprehensive guide, we will walk you through the process of setting up and securing your Trezor wallet, so you can have peace of mind knowing that your cryptocurrencies are well-protected.
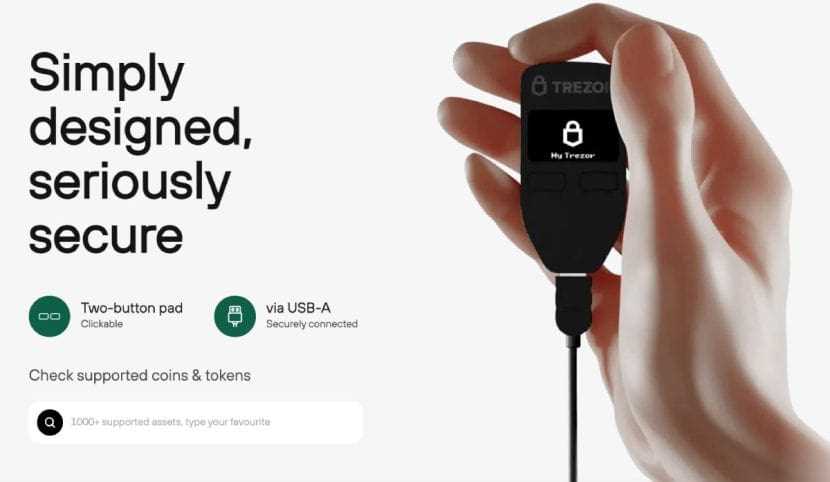
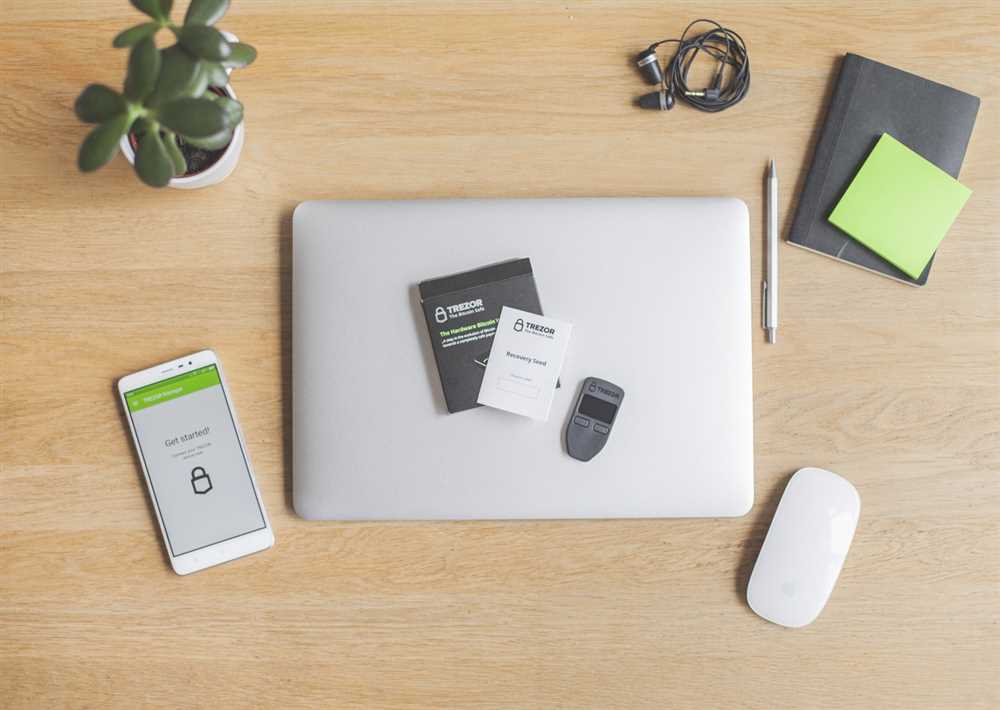
First and foremost, it is important to understand that a hardware wallet like Trezor provides an extra layer of security by keeping your private keys offline. This means that even if your computer or smartphone gets hacked, your cryptocurrencies will remain safe. To get started, you will need to purchase a Trezor device from the official website or an authorized reseller. Once you have the device in your hands, you can begin the setup process.
Setting up your Trezor wallet is a straightforward process. Connect your Trezor device to your computer or smartphone using the provided USB cable. You will then need to install the Trezor Bridge software, which allows your device to communicate with your computer. Once the software is installed, you can proceed with the setup by following the on-screen instructions. During the setup, you will be asked to choose a PIN, which will be required every time you want to access your wallet.
After setting up your Trezor wallet, it is crucial to take additional steps to secure your cryptocurrencies. One important step is to enable the passphrase feature. This feature adds an extra layer of security by requiring a passphrase in addition to your PIN to access your wallet. Make sure to choose a strong and unique passphrase that is not easy to guess. It is also recommended to write down your recovery seed, which can be used to recover your wallet in case it gets lost or damaged.
In conclusion, the Trezor wallet is an excellent choice for securely storing your cryptocurrencies. By following the steps outlined in this guide, you can set up your Trezor wallet and take the necessary precautions to protect your digital assets. Remember to always double-check the authenticity of websites and software before downloading anything. With the right security measures in place, you can have peace of mind knowing that your cryptocurrencies are safe and secure.
Setting Up Your Trezor Wallet
Setting up your Trezor wallet is a crucial step in securing your cryptocurrency storage. The Trezor wallet is a hardware wallet that provides an extra layer of security by storing your private keys offline. Follow these steps to set up your Trezor wallet:
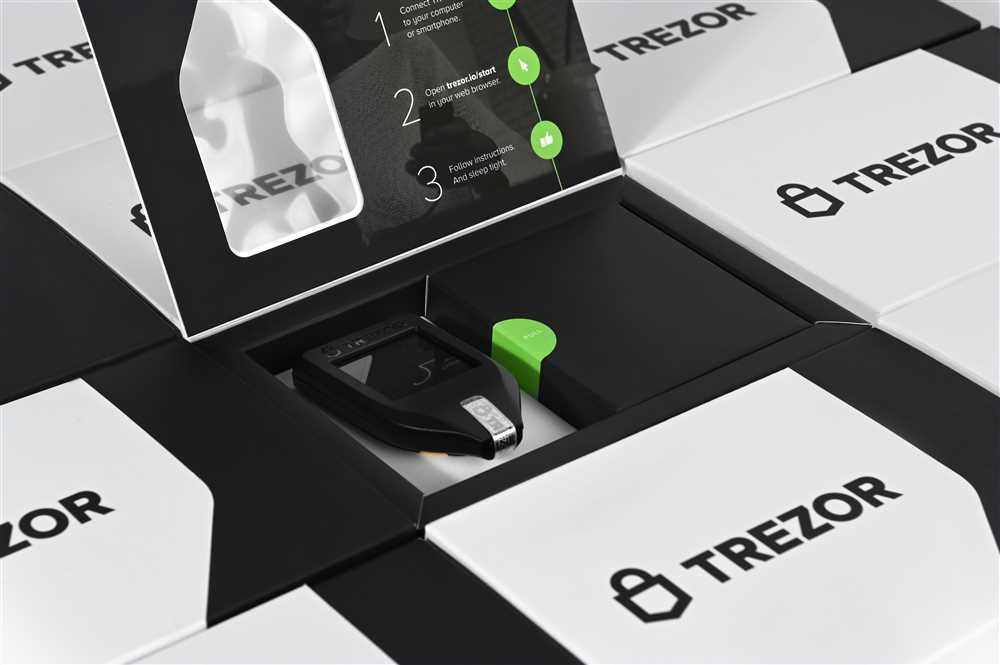
Step 1: Purchase and Unbox Your Trezor Wallet
The first step is to purchase a Trezor wallet from the official website or an authorized reseller. Once you receive your Trezor wallet, unbox it and make sure all the contents are intact.
Step 2: Connect Your Trezor Wallet to Your Computer
Connect your Trezor wallet to your computer using the provided USB cable. Ensure that your computer has the latest version of the Trezor Bridge software installed.
Step 3: Set Up a PIN
Follow the on-screen instructions to set up a PIN for your Trezor wallet. Make sure to choose a strong PIN that is not easily guessable and remember it for future use.
Step 4: Write Down Your Recovery Seed
During the setup process, you will be given a recovery seed – a sequence of words that can be used to recover your wallet in case it gets lost or damaged. Write down the recovery seed on the provided recovery card and keep it in a safe and secure place.
Step 5: Confirm Your Recovery Seed
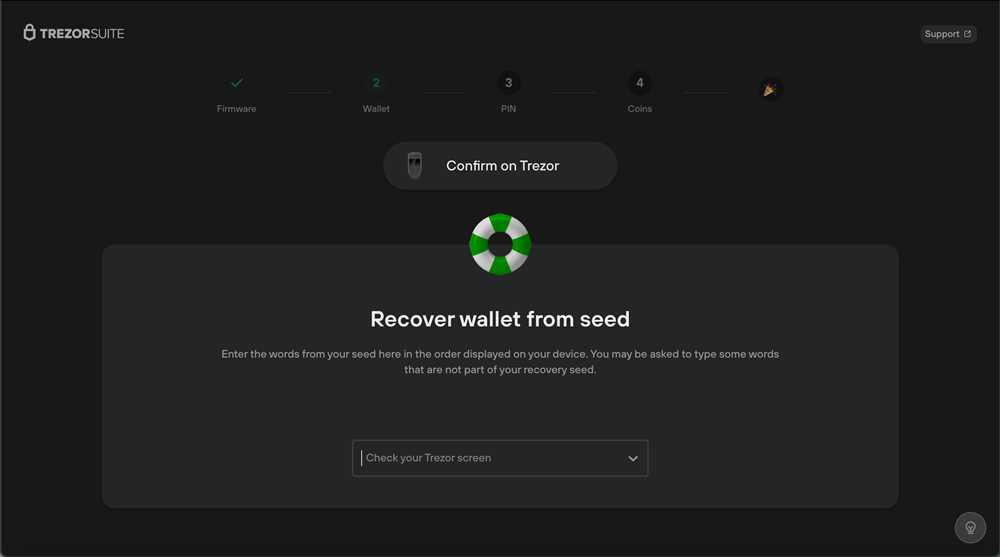
Once you have written down your recovery seed, the Trezor wallet will ask you to confirm it by entering specific words from the seed. This step ensures that you have correctly recorded the recovery seed.
Step 6: Choose a Label
Next, you can choose to add a label to your Trezor wallet to easily identify it. This is optional but can be helpful if you have multiple wallets.
Step 7: Install the Trezor Wallet Software
To fully utilize your Trezor wallet, it is recommended to install the Trezor Wallet software on your computer. This software provides an interface for managing your cryptocurrencies and accessing additional features.
Once you have completed these steps, your Trezor wallet is set up and ready for use. It is important to keep your Trezor wallet and recovery seed in a secure location and never share your PIN or recovery seed with anyone.
Note: Before transferring any funds to your Trezor wallet, make sure to verify the wallet address on the device’s screen to prevent any man-in-the-middle attacks.
By following these steps, you can ensure that your Trezor wallet is securely set up and ready to store your cryptocurrencies.
Instructions for Installing and Configuring Your Trezor Wallet

Setting up a Trezor wallet is a simple and secure way to store your cryptocurrency. Follow these instructions to install and configure your Trezor wallet:
Step 1: Connect Your Trezor Device
Begin by connecting your Trezor device to your computer using the USB cable provided. Ensure that your computer is connected to the internet.
Step 2: Go to the Trezor Website
Open your web browser and go to the official Trezor website – https://trezor.io/.
Step 3: Download the Trezor Bridge
Once on the Trezor website, navigate to the Downloads section and download the appropriate version of the Trezor Bridge for your operating system (Windows, macOS, or Linux).
Step 4: Install the Trezor Bridge
After downloading the Trezor Bridge, locate the installer file and run it. Follow the on-screen prompts to install the bridge on your computer.
Step 5: Open the Trezor Wallet
Once the bridge is installed, go back to the Trezor website and click on the Wallet tab. Choose the option to Connect Trezor and follow the instructions to unlock your device.
Step 6: Create a New Wallet
On the Trezor Wallet interface, select the option to Create new wallet. Follow the on-screen prompts to set a strong passphrase and complete the wallet creation process.
Step 7: Backup Your Recovery Seed
After creating your wallet, the Trezor device will display a recovery seed. Write down this seed on the provided recovery card and keep it safe in a secure location. This seed will be used to restore your wallet in case your device is lost or damaged.
Congratulations! You have successfully installed and configured your Trezor wallet. Ensure that you keep your recovery seed safe and never share it with anyone.
Securing Your Trezor Wallet
Securing your Trezor wallet is crucial to protect your cryptocurrency investments. Here are some steps you can take to ensure the security of your wallet:
1. Set a Strong PIN
When setting up your Trezor wallet, make sure to choose a PIN that is strong and not easily guessable. Avoid using common patterns or sequences, and try to include a combination of numbers and letters.
2. Enable Two-Factor Authentication
Adding an extra layer of security to your Trezor wallet through two-factor authentication (2FA) is highly recommended. This can be done by using a separate authentication app on your smartphone, such as Google Authenticator or Authy.
3. Keep Your Recovery Seed Offline
During the initial setup of your Trezor wallet, you will be given a recovery seed. This seed is a series of words that can be used to restore your wallet in case it gets lost or stolen. It is essential to write down this seed and keep it in a secure place offline, such as a safe or locked drawer.
4. Be Wary of Phishing Attacks
Always double-check the address and URL before entering any sensitive information or making transactions with your Trezor wallet. Be cautious of phishing attempts, which are often disguised as legitimate websites or emails. Trezor will never ask you for your recovery seed or passwords via email or other communication channels.
Remember: Your Trezor wallet is as secure as the measures you take to protect it. Taking these precautions will significantly reduce the risk of unauthorized access to your funds.
Disclaimer: This guide is for informational purposes only and does not constitute financial or investment advice. It is always recommended to do thorough research and consult with a professional before making any financial decisions.
Tips for Protecting Your Cryptocurrency Assets
When it comes to safeguarding your cryptocurrency assets, taking proper security measures is crucial. Here are some important tips to help protect your investments:
1. Use a Hardware Wallet
A hardware wallet, like the Trezor wallet, is considered one of the most secure options for storing your cryptocurrency. It provides an extra layer of protection by keeping your private keys offline and away from potential hackers.
2. Update your Software
Regularly updating your cryptocurrency software and wallets is essential to ensure that you have the latest security updates and bug fixes. This helps protect against any vulnerabilities that may have been discovered since the last update.
3. Enable Two-Factor Authentication
Enabling two-factor authentication (2FA) adds an extra layer of security to your accounts by requiring a second verification step, usually through a text message or an authentication app. This makes it significantly harder for anyone to gain unauthorized access to your funds.
4. Backup your Wallet
Always backup your wallet’s recovery seed or private keys and store them in a safe and secure location. This ensures that you can recover your funds in case your device gets lost, stolen, or damaged.
5. Use Strong and Unique Passwords
Choose strong and unique passwords for all your cryptocurrency accounts. Avoid using common words or easily guessable patterns. Consider using a password manager to generate and store complex passwords securely.
6. Be Cautious with Online Interactions
Exercise caution when interacting online, especially when it comes to sharing personal information or clicking on suspicious links. Be vigilant against phishing attacks and only use trusted sources and websites for cryptocurrency-related activities.
By following these tips, you can significantly enhance the security of your cryptocurrency assets and minimize the risk of unauthorized access or loss.
Best Practices for Cryptocurrency Storage
When it comes to storing your cryptocurrency, there are several best practices that you should follow to ensure the security and accessibility of your funds. Here are some important considerations:
1. Use a hardware wallet
A hardware wallet, such as Trezor, is one of the safest options for storing your cryptocurrency. It provides an extra layer of security by keeping your private keys offline and away from potential hackers. Make sure to purchase your hardware wallet from an official and trusted source.
2. Set up a strong passphrase
When setting up your hardware wallet, be sure to create a strong passphrase. This is an additional layer of protection that will be required to access your funds. Choose a passphrase that is unique and complex, and avoid using common phrases or personal information.
3. Enable multi-factor authentication
Many cryptocurrency exchanges and wallets offer multi-factor authentication (MFA) as an additional security measure. Enable this feature whenever possible, as it adds an extra layer of protection by requiring a second form of verification, such as a code generated by an app or sent via SMS.
4. Keep your software up to date
Regularly update the firmware and software of your hardware wallet to ensure that you are benefiting from the latest security patches and features. Manufacturers often release updates to address newly discovered vulnerabilities, so it’s important to stay current.
5. Backup your wallet
Always create a backup of your wallet and store it in a secure location, preferably offline. This backup should include both your wallet’s recovery seed and your passphrase. In the event of a hardware failure or loss, you will be able to recover your funds with this backup.
6. Be cautious with public Wi-Fi networks
Avoid accessing your cryptocurrency wallet or making transactions while connected to public Wi-Fi networks. These networks can be easily compromised, and your sensitive data could be intercepted by hackers. Use a secure and private network whenever possible.
7. Stay vigilant against phishing attempts
Be wary of phishing attempts that try to trick you into revealing your private keys or login credentials. Always double-check the website’s URL before entering any sensitive information, and never share your private keys with anyone else.
By following these best practices, you can help ensure the security and integrity of your cryptocurrency storage. Remember, it’s always better to be safe than sorry when it comes to protecting your valuable digital assets.
Q&A:
What is a Trezor wallet?
A Trezor wallet is a hardware wallet designed for storing cryptocurrencies securely. It is a small device that connects to your computer or smartphone and stores your private keys offline, providing an extra layer of security.
Is it safe to store my cryptocurrencies in a Trezor wallet?
Yes, storing your cryptocurrencies in a Trezor wallet is considered to be one of the safest methods. The private keys are stored offline on the device, which makes it highly secure against hacking and online threats. Additionally, the device has built-in security features, such as PIN protection and passphrase encryption.