
Storing Ethereum Safely with Trezor io A Step-by-Step Guide
Safeguard your Ethereum with Trezor io, the ultimate hardware wallet!
Are you worried about the security of your valuable Ethereum holdings? Look no further – Trezor io is here to provide you with the safest and most reliable storage solution.
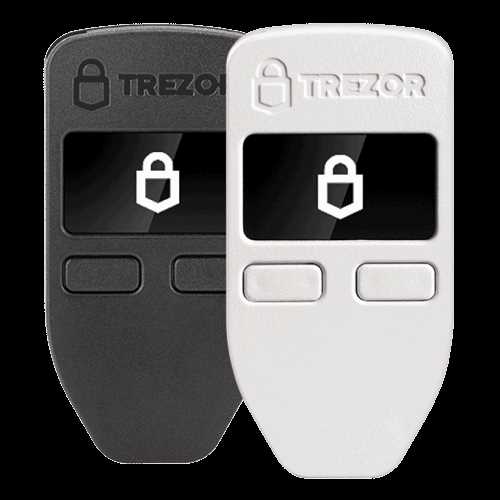
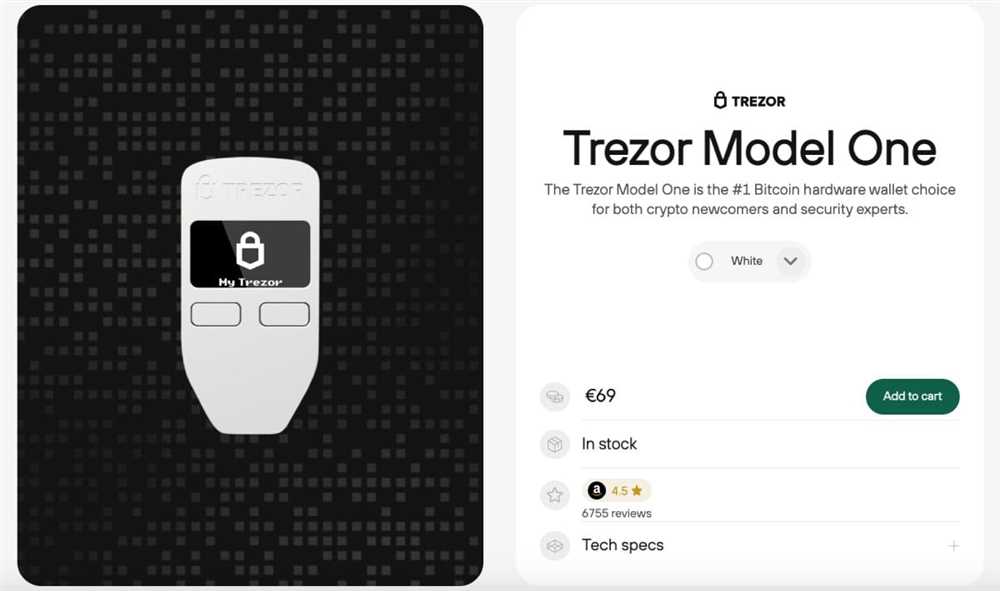
Trezor io is a hardware wallet that offers state-of-the-art security features, ensuring that your Ethereum remains protected from hackers and other online threats.
Why choose Trezor io?
- Unparalleled Security: Trezor io is designed with the highest security standards in mind. It uses advanced encryption and protects your private keys from physical and remote attacks.
- User-Friendly Interface: With its intuitive and easy-to-use interface, Trezor io makes it simple for anyone to manage and store their Ethereum securely.
- Convenience: You can access your Ethereum anytime, anywhere with Trezor io. Whether you’re at home or on the go, your Ethereum is always just a few clicks away.
How does it work?
Using Trezor io is as easy as 1, 2, 3:
- Connect: Connect your Trezor hardware wallet to your computer or mobile device.
- Secure: Follow the step-by-step guide provided by Trezor io to set up your wallet and generate a unique private key.
- Store: Transfer your Ethereum to your Trezor io wallet and enjoy the peace of mind that comes with knowing your assets are safe and secure.
Don’t risk losing your Ethereum to hackers or theft. Get Trezor io today and ensure the utmost security for your valuable digital assets!
The Importance of Storing Ethereum Safely
With the rise of cryptocurrencies, such as Ethereum, protecting your digital assets has become more crucial than ever. Ethereum, being one of the most popular and valuable cryptocurrencies, attracts the attention of hackers and cyber criminals.
Storing Ethereum safely is of utmost importance to ensure the security and longevity of your investments. By taking the necessary precautions, you can safeguard your hard-earned Ethereum from potential risks and threats.
1. Protection against Hacks
Ethereum is stored in digital wallets, which are susceptible to hacking attempts. By properly securing your Ethereum using a hardware wallet like Trezor io, you can significantly reduce the risk of unauthorized access to your funds. Hardware wallets, unlike software wallets, store your private keys offline, making it nearly impossible for hackers to steal your Ethereum.
2. Mitigating the Risk of Loss
If you store your Ethereum in a software wallet or on an exchange, you run the risk of losing your funds due to software failures, technical glitches, or the collapse of the exchange. Hardware wallets provide an added layer of protection by securely storing your private keys offline. This significantly reduces the chances of losing your Ethereum due to technical issues or the failure of a third-party platform.
3. Protection against Physical Theft
Physical theft is another risk that cryptocurrency holders need to be wary of. With a hardware wallet like Trezor io, you can protect your Ethereum from being physically stolen. Hardware wallets are designed to be tamper-proof and come with advanced security features like PIN codes and encryption, providing peace of mind knowing that your Ethereum is safe even if your device falls into the wrong hands.
In conclusion, the importance of storing Ethereum safely cannot be overstated. By using a hardware wallet like Trezor io, you can protect your Ethereum from hacking attempts, mitigate the risk of loss, and safeguard against physical theft. Investing in a secure storage solution is a crucial step towards ensuring the long-term security and integrity of your Ethereum holdings.
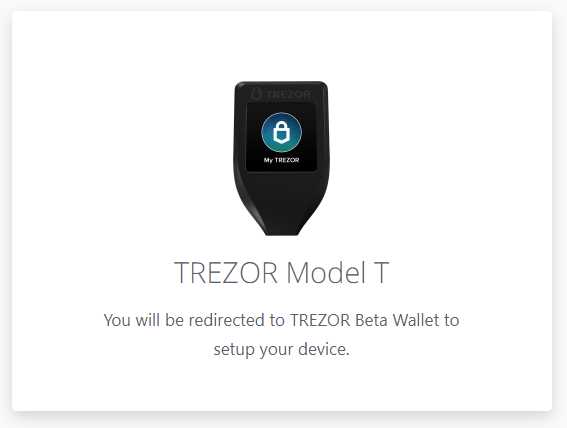
Step 1: Setting Up Your Trezor Device
Before you can start storing your Ethereum safely with Trezor, you need to set up your Trezor device. Follow these simple steps to get started:
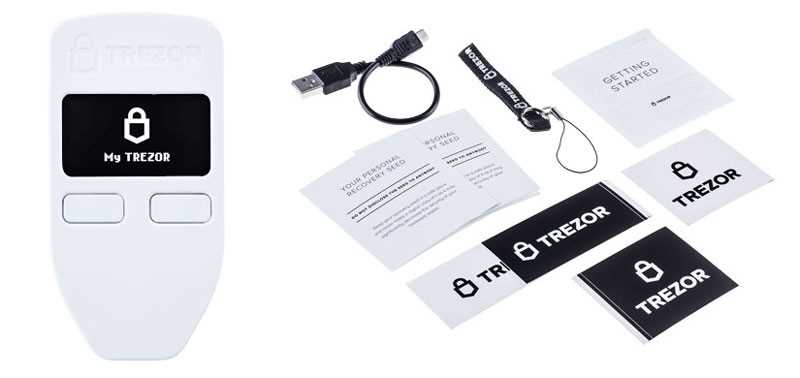
1. Unboxing Your Trezor Device
When you receive your Trezor device, carefully unbox it and check if all the contents are included. You should have the Trezor device itself, a USB cable, and a quick start guide. If anything is missing or damaged, contact the customer support immediately.
2. Connecting Your Trezor Device
Connect your Trezor device to your computer using the provided USB cable. Make sure the device is properly connected and recognized by your computer. If prompted, install any necessary drivers or software for the device.
3. Installing the Trezor Wallet Software
Visit the official website of Trezor (trezor.io) and download the latest version of the Trezor Wallet software for your operating system. Follow the on-screen instructions to install the software on your computer.
4. Initializing Your Trezor Device
Launch the Trezor Wallet software on your computer and select “Create a new wallet.” Follow the instructions on the screen to initialize your Trezor device. This includes choosing a PIN, writing down the recovery seed, and confirming your seed on the device.
5. Setting Up a Strong Password
After initializing your Trezor device, you will be prompted to set up a strong password for your wallet. Choose a unique password that is easy for you to remember but difficult for others to guess. Make sure to follow the recommended guidelines for creating a secure password.
Once you have completed these steps, your Trezor device will be set up and ready to securely store your Ethereum. Stay tuned for the next step in this guide: “Step 2: Transferring Ethereum to Your Trezor Wallet.”
Downloading the Trezor io Software
Before you can start storing your Ethereum safely with Trezor io, you’ll need to download the Trezor io software to your computer. Here’s a step-by-step guide:
Step 1: Go to the Trezor io Website
First, open your preferred web browser and go to the Trezor io website at https://trezor.io/.
Step 2: Navigate to the Downloads Page
Once you’re on the Trezor io website, navigate to the “Downloads” page. You can find this page by clicking on the “Downloads” link in the header menu.
Step 3: Choose Your Operating System
On the Downloads page, you’ll see a list of available operating systems. Choose the one that matches your computer’s operating system – whether it’s Windows, macOS, or Linux. Click on the corresponding download link.
Step 4: Save the File
After clicking the download link, your browser will prompt you to save the file. Choose a location on your computer where you want to save the file, and click “Save”.
Step 5: Install the Trezor io Software
Once the download is complete, locate the saved file on your computer and double-click on it to initiate the installation process. Follow the on-screen instructions to install the Trezor io software.
By following these five simple steps, you’ll be able to download and install the Trezor io software onto your computer. This will enable you to securely store your Ethereum and take advantage of the advanced features offered by Trezor io.
Connecting Your Trezor Device
Connecting your Trezor device to your computer is a simple process that ensures the security of your Ethereum storage. Follow the steps below to connect your Trezor device and start using it with Trezor io:
| Step 1: | Plug in your Trezor device to your computer using the USB cable provided. |
| Step 2: | Visit the official Trezor io website at www.trezor.io and open the Trezor Wallet interface. |
| Step 3: | Click on the “Connect Trezor” button on the website’s homepage. |
| Step 4: | A pop-up window will appear. Make sure your Trezor device is unlocked and enter your PIN if prompted. |
| Step 5: | Follow the instructions on the Trezor Wallet interface to complete the device connection process. |
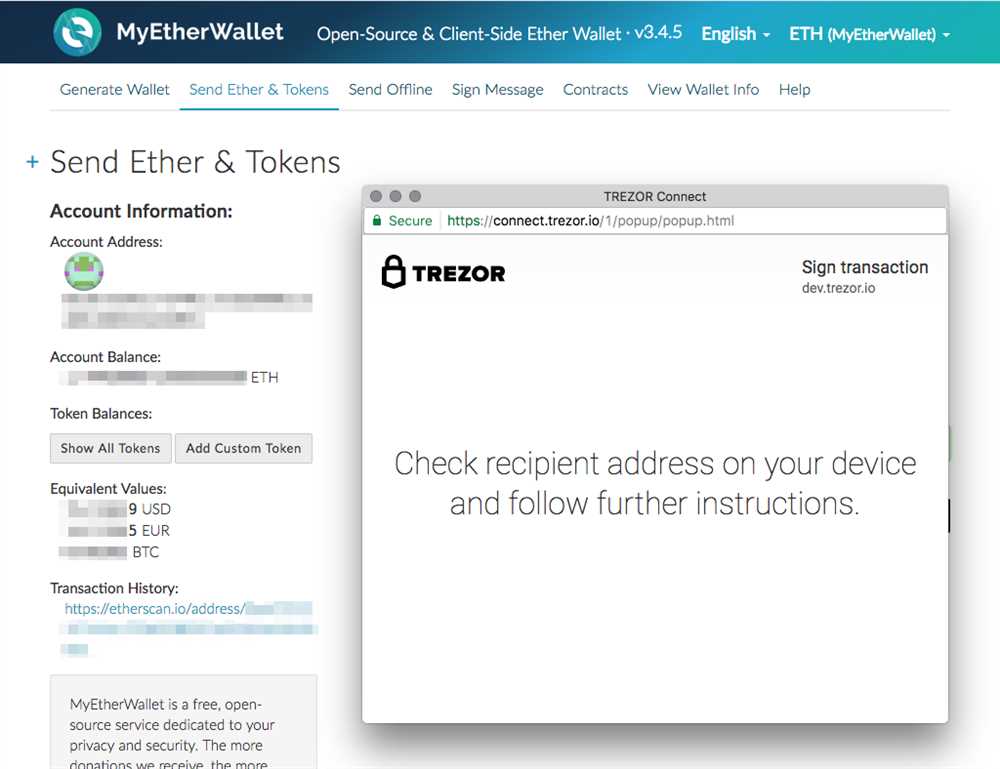
Once your Trezor device is successfully connected, you can securely manage your Ethereum storage, make transactions, and access various other features offered by Trezor io.
Remember to always verify the Trezor io website URL and check for the secure connection indicator before entering your PIN or performing any transactions. By taking these precautions, you can ensure the safety of your Ethereum holdings and enjoy hassle-free cryptocurrency management.
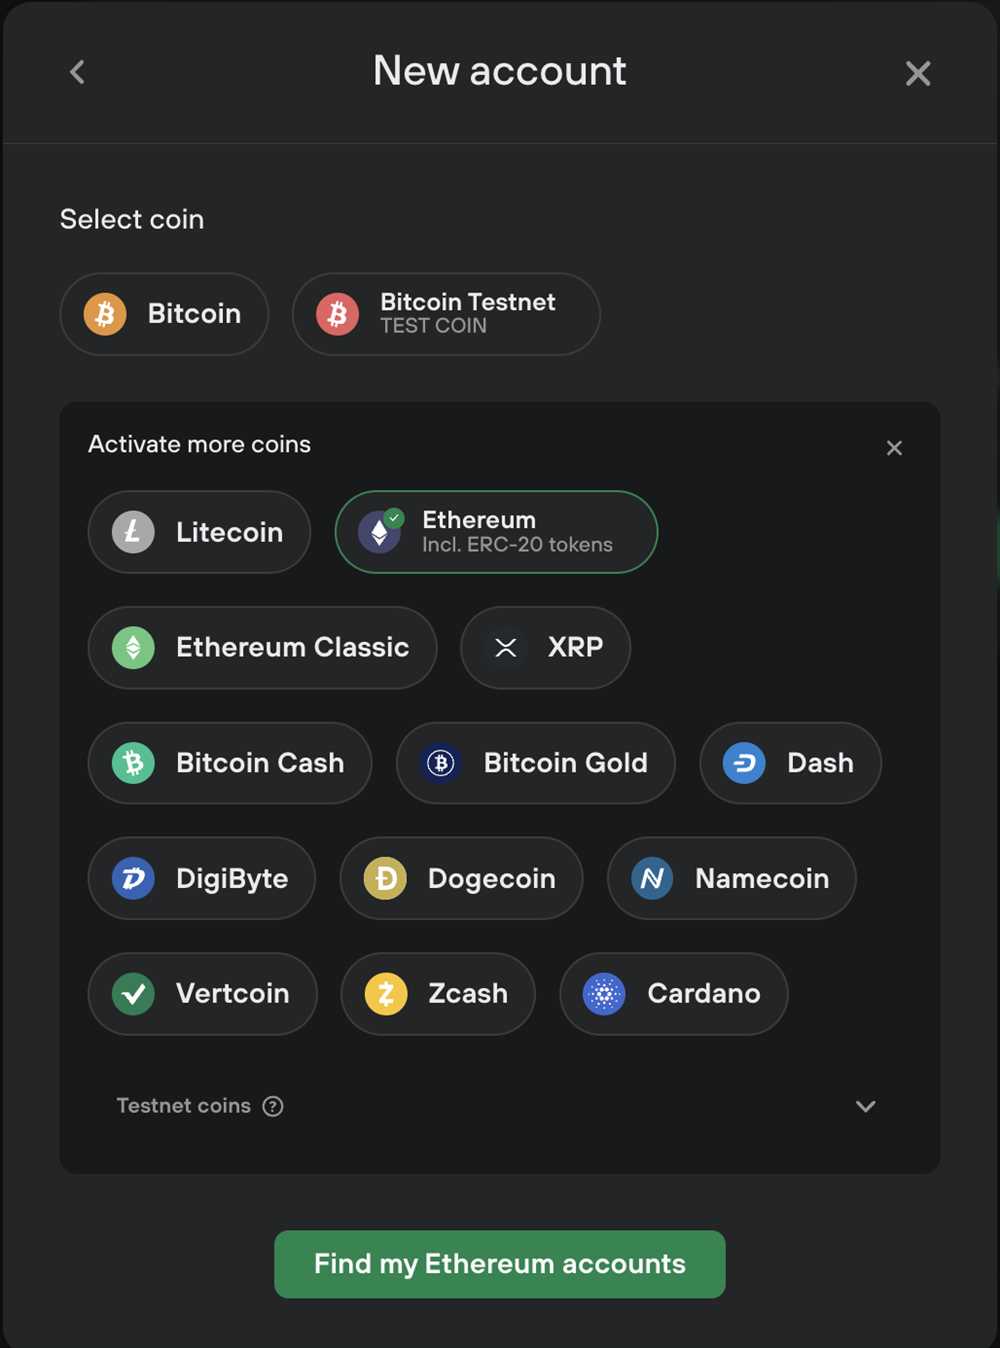
Step 2: Creating a New Ethereum Wallet
After securing your Trezor io device, the next step is to create a new Ethereum wallet. Follow these instructions to get started:
- Connect your Trezor io device to your computer using the provided USB cable.
- Open the Trezor Wallet website and select the Ethereum network.
- Click on the “Create New Wallet” button to start the wallet creation process.
- Follow the on-screen instructions to set up a strong and unique PIN for your wallet.
- Confirm your PIN and create a recovery seed. Make sure to write down the seed and keep it in a safe place.
- Once your wallet is created, you will be prompted to name it. Choose a name that you will easily recognize.
- Enable the Ethereum wallet by clicking on the “Enable” button.
- Your new Ethereum wallet is now set up and ready to use. You can now securely store and manage your Ethereum tokens with your Trezor io device.
Remember to always keep your recovery seed and PIN in a secure location. These are crucial for recovering your wallet in case you forget your PIN or lose your device. With your Trezor io device and a secure Ethereum wallet, you can have peace of mind knowing that your Ethereum tokens are stored safely.
Generating a New Wallet
When it comes to storing your Ethereum safely, one of the most important steps is generating a new wallet. This ensures that you have complete control over your funds and reduces the risk of them being compromised.
To generate a new wallet using Trezor io, follow these step-by-step instructions:
Step 1: Connect your Trezor device to your computer using the provided USB cable.
Step 2: Open the Trezor io website in your preferred web browser.
Step 3: On the Trezor io homepage, click on the “Create Wallet” button.
Step 4: Follow the on-screen instructions to select your desired wallet type and create a strong, unique password.
Step 5: Once you have completed the setup process, your new wallet will be generated and displayed on the screen.
Note: It is recommended to write down your recovery seed phrase and store it in a safe place. This seed phrase can be used to recover your wallet in case you lose access to your Trezor device.
With your new wallet generated, you can now safely store your Ethereum and have peace of mind knowing that your funds are secure.
Remember: Always double-check that you are using the official Trezor io website and never share your recovery seed phrase or private key with anyone.
Q&A:
What is Trezor io?
Trezor io is a hardware wallet designed to securely store cryptocurrencies, including Ethereum. It provides an offline storage solution that protects your private keys from online threats.
How does Trezor io protect my Ethereum?
Trezor io uses a combination of secure hardware and software to ensure the safety of your Ethereum. It keeps your private keys offline, preventing them from being exposed to potential hacks or malware.
Is Trezor io compatible with other cryptocurrencies besides Ethereum?
Yes, Trezor io supports a wide range of cryptocurrencies, including Bitcoin, Litecoin, and many more. It is a versatile wallet that can securely store multiple digital assets.
Can I use my Trezor io wallet on multiple devices?
Yes, Trezor io is portable and can be used on multiple devices. You can connect it to your computer or smartphone to access your Ethereum securely.
What happens if I lose or damage my Trezor io wallet?
If you lose or damage your Trezor io wallet, you can easily recover your Ethereum using the recovery seed that you received when setting up your wallet. This seed allows you to restore access to your funds in case of any mishaps.


