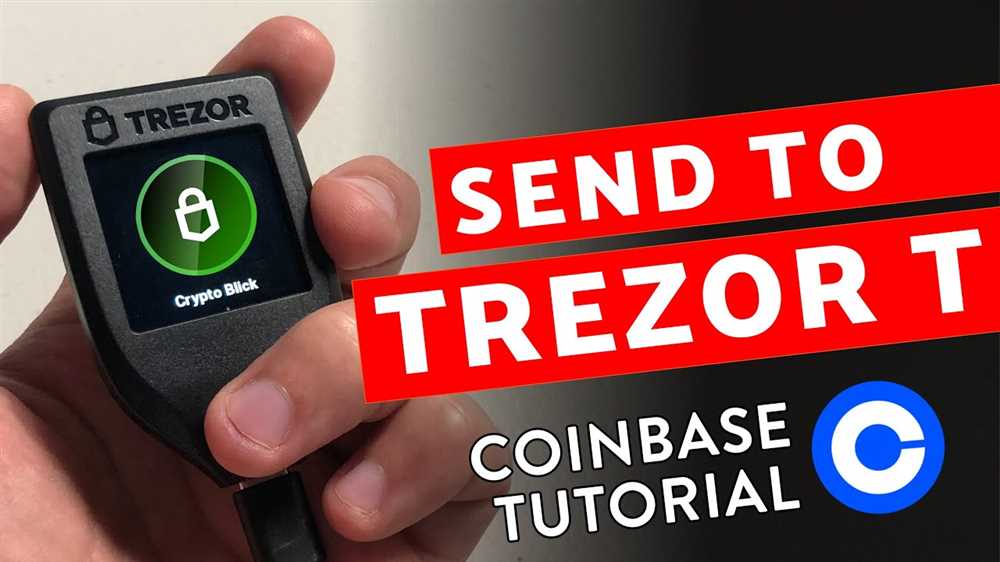
How to Transfer and Receive Crypto Using the Trezor Wallet A Step-by-Step Review
Are you looking for a secure and user-friendly way to store and manage your cryptocurrencies? Look no further than the Trezor Wallet!
In this step-by-step review, we will guide you through the process of transferring and receiving cryptocurrencies using the Trezor Wallet, a popular hardware wallet known for its robust security features.
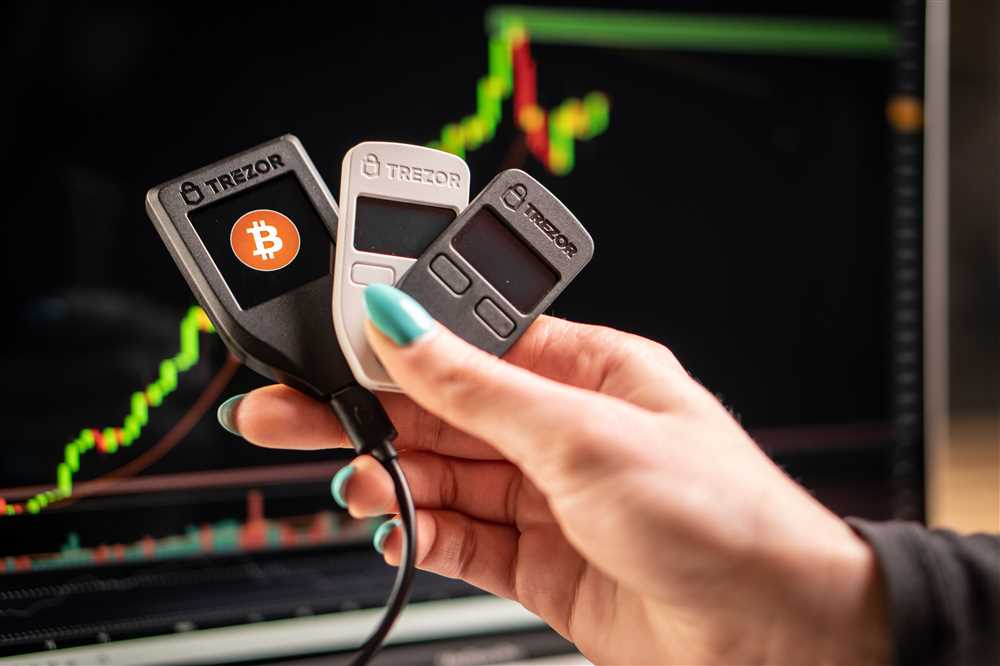
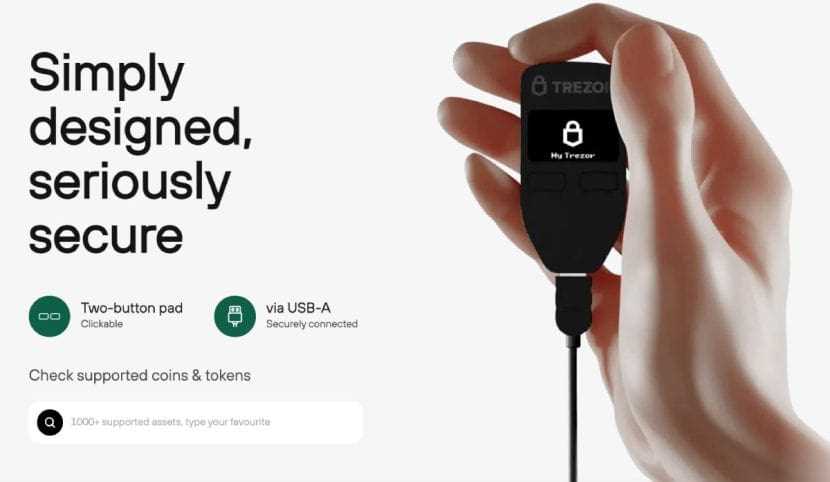
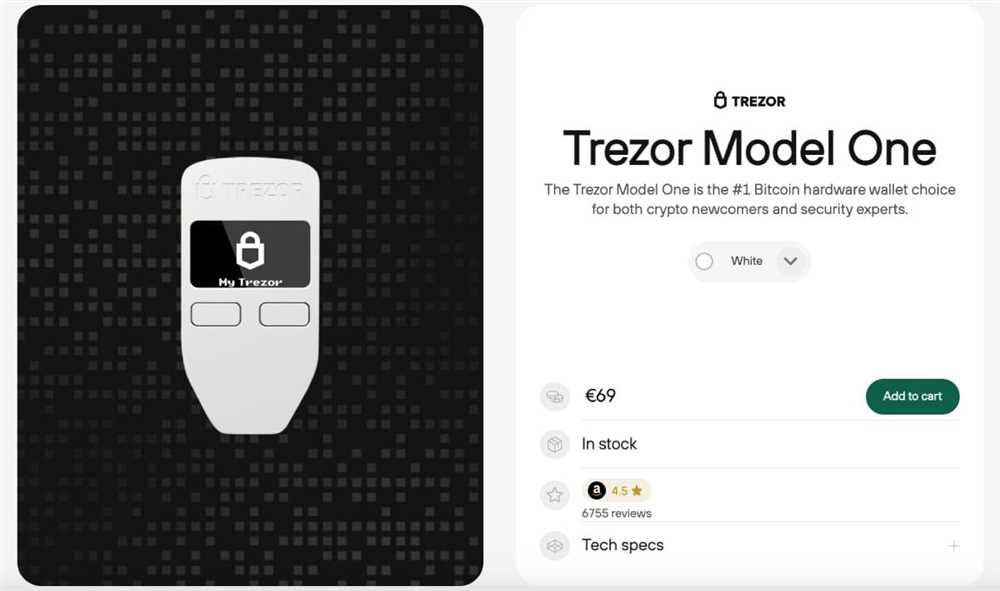
Firstly, it’s important to understand that the Trezor Wallet is a hardware wallet, meaning it stores your private keys offline, away from potential hackers or malware. This added layer of security ensures that your cryptocurrencies are safe from online threats.
To start using the Trezor Wallet, you’ll need to connect your device to your computer or mobile device using the USB cable provided. Once connected, you’ll need to set up your wallet by following the on-screen instructions. This usually involves creating a PIN and writing down your recovery seed, which is a set of words that allows you to recover your wallet in case of loss or damage.
Once your wallet is set up, you can begin transferring cryptocurrencies to it. To do this, you’ll first need to choose the coin you want to transfer from the list of supported cryptocurrencies on the Trezor Wallet interface. From there, you can select the “Receive” option, which will display a unique address for that particular coin.
It’s important to double-check the address before initiating any transfer, as sending funds to the wrong address could result in permanent loss of your cryptocurrencies. Once you’ve confirmed the address, you can provide it to the sender, who can then initiate the transfer from their wallet or exchange.
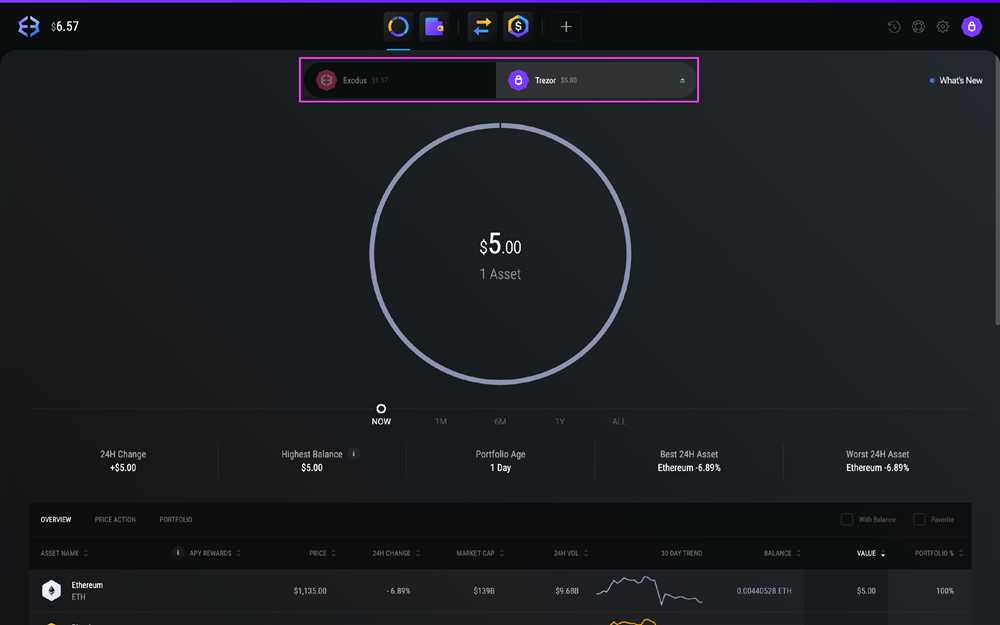
When you receive cryptocurrencies to your Trezor Wallet, you can view the transaction details and balance in the wallet interface. Your funds will be securely stored offline until you decide to make a transfer or trade. If you ever need to send cryptocurrencies from your Trezor Wallet, the process is just as simple. You’ll need to select the coin, choose the “Send” option, provide the recipient’s address, and confirm the transaction.
In conclusion, the Trezor Wallet offers a secure and convenient solution for transferring and receiving cryptocurrencies. Its offline storage and user-friendly interface make it an ideal choice for both experienced users and newcomers to the world of cryptocurrencies.
So, why risk the security of your cryptocurrencies with online wallets when you can take advantage of the Trezor Wallet’s robust security features? Start using the Trezor Wallet today and keep your digital assets safe and easily accessible!
Setting Up the Trezor Wallet
The Trezor hardware wallet is a secure way to store and manage your cryptocurrency. Before you can start transferring and receiving crypto using the Trezor wallet, you need to go through a simple setup process.
Step 1: Connect Your Trezor Device
The first step is to connect your Trezor device to your computer using the USB cable provided. Make sure the device is properly powered on and ready to use.
Step 2: Install the Trezor Bridge
Next, you need to install the Trezor Bridge, which is a communication interface between your Trezor device and your computer. Visit the Trezor website and download the appropriate version of the Trezor Bridge for your operating system. Once downloaded, follow the installation instructions to complete the process.
Step 3: Access the Trezor Wallet
After the Trezor Bridge is installed, open your web browser and go to the Trezor website. Click on the “Wallet” section and select “Connect Trezor.” Follow the on-screen instructions to verify that you have a genuine Trezor device and proceed to access the wallet interface.
As part of the setup process, you will need to create a strong, unique PIN for your Trezor device. This PIN will be required every time you want to access your wallet.
Additionally, you will be prompted to generate a recovery seed. This seed is a list of randomly generated words that will be used to recover your wallet in case your Trezor device is lost or damaged. Make sure to write down the recovery seed and store it in a safe place.
With the setup process complete, you are now ready to start using your Trezor wallet to transfer and receive crypto. Remember to always keep your device and recovery seed safe and secure to protect your cryptocurrency.
Transferring Crypto to the Trezor Wallet
Transferring your cryptocurrency to your Trezor Wallet is a simple and secure process. Here’s a step-by-step guide on how to do it:
Step 1: Connect your Trezor
First, connect your Trezor wallet to your computer using the USB cable. Make sure the device is properly connected and powered on.
Step 2: Open the Trezor Wallet software
Open the Trezor Wallet software on your computer, either through the web interface or using the desktop application. Ensure that you are using the latest version of the software to access all the features.
Step 3: Select the cryptocurrency
Choose the cryptocurrency you want to transfer to your Trezor Wallet. Trezor supports a wide range of cryptocurrencies, so make sure you select the correct one.
Step 4: Generate a receiving address
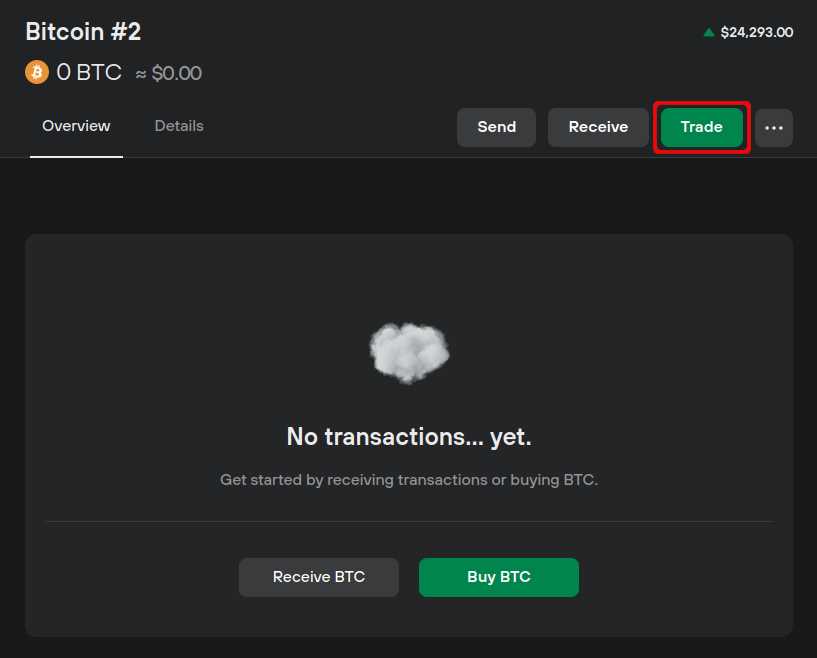
After selecting the cryptocurrency, click on the “Receive” tab in the Trezor Wallet software. This will generate a unique receiving address for your transaction.
Step 5: Copy the receiving address
Copy the generated receiving address to your clipboard. Double-check the address to ensure that it is correct, as any mistakes could result in the loss of your funds.
Step 6: Initiate the transfer
Go to your current cryptocurrency wallet or exchange account and initiate a transfer. Paste the receiving address you copied from the Trezor Wallet into the recipient address field.
Note: Some wallets or exchanges may require additional information, such as a tag or memo, along with the receiving address. Make sure to provide any required details accurately.
Step 7: Confirm the transfer
Confirm the transfer in your current wallet or exchange account. Verify that the receiving address and all other details are correct before proceeding. Once confirmed, the transfer will be submitted for processing.
It’s important to note that the time it takes for the transfer to be completed will vary depending on the cryptocurrency and network congestion. Monitor the transaction on the blockchain explorer to track its progress.
Once the transfer is completed, you will be able to see your cryptocurrency balance in your Trezor Wallet. Your funds are now securely stored in your Trezor hardware wallet, providing you with added peace of mind.
Receiving Crypto Using the Trezor Wallet

Once you have set up your Trezor Wallet and connected it to your device, receiving crypto is a straightforward process. Follow these steps to receive cryptocurrency using the Trezor Wallet:
Step 1: Open the Trezor Wallet software on your device and unlock your Trezor device by entering your PIN.
Step 2: In the Trezor Wallet interface, click on the “Receive” tab.
Step 3: Select the cryptocurrency you want to receive from the dropdown menu. The Trezor Wallet supports a wide range of cryptocurrencies.
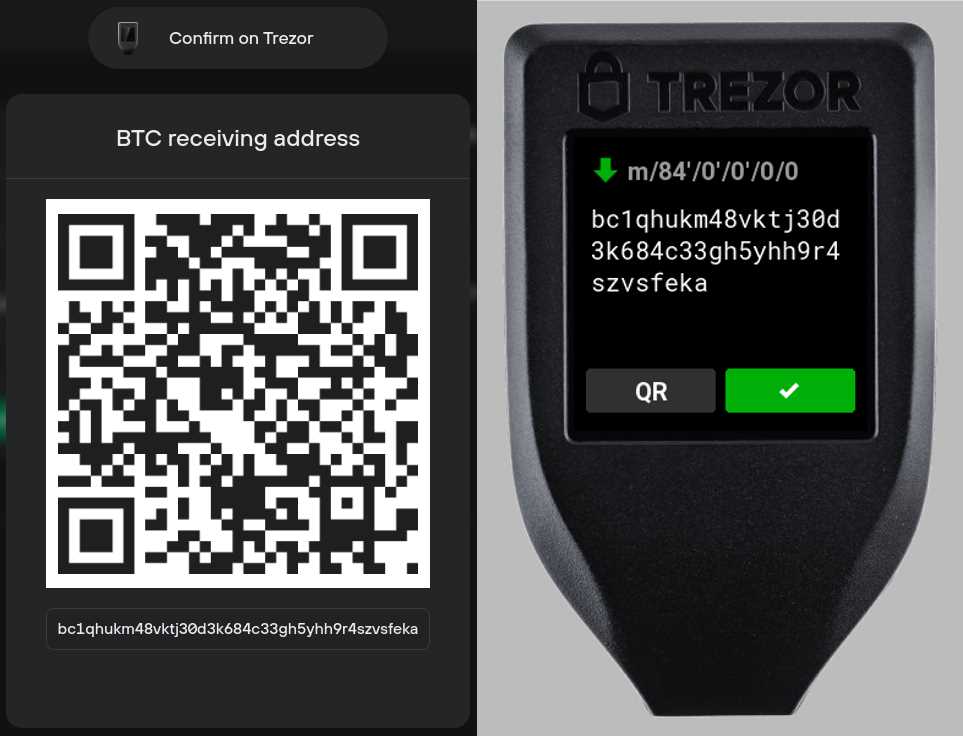
Step 4: You will see a QR code and a wallet address displayed on the screen. The QR code represents the wallet address in a scannable format.
Step 5: To receive crypto, you can either share the wallet address or scan the QR code using a compatible wallet or exchange. Make sure to double-check the address or QR code to ensure accuracy.
Step 6: After receiving the cryptocurrency, you can track your balance and transaction history in the Trezor Wallet interface.
Step 7: It’s important to note that the Trezor Wallet generates a new address for each transaction to enhance privacy and security. Therefore, make sure to use a different address for each new transaction.
By following these steps, you can easily receive crypto using the Trezor Wallet and keep your funds secure.
Q&A:
Can I transfer my cryptocurrencies using the Trezor wallet?
Yes, you can transfer your cryptocurrencies using the Trezor wallet. The Trezor wallet supports various cryptocurrencies and allows you to securely store and manage your digital assets.
How do I transfer cryptocurrencies using the Trezor wallet?
To transfer cryptocurrencies using the Trezor wallet, you need to connect your Trezor device to your computer and access the wallet interface. From there, you can select the cryptocurrency you want to transfer, enter the recipient’s wallet address, specify the amount, and confirm the transaction. The Trezor wallet provides a step-by-step guide to ensure the secure transfer of your cryptocurrencies.
What is the advantage of using the Trezor wallet to transfer cryptocurrencies?
The advantage of using the Trezor wallet to transfer cryptocurrencies is the high level of security it provides. The Trezor wallet uses two-factor authentication and stores your private keys offline on the device, ensuring that your digital assets are protected from potential hacks or theft. Additionally, the Trezor wallet is user-friendly and supports a wide range of cryptocurrencies, making it a convenient option for crypto transfers.