
How to Set Up Trezor with Your Coinbase Account – A Step-by-Step Guide
Welcome to our step-by-step guide on how to set up your Trezor hardware wallet with your Coinbase account. If security and protecting your digital assets are important to you, then using a hardware wallet like Trezor is a smart choice. In this guide, we will walk you through the process of setting up your Trezor device and linking it to your Coinbase account, ensuring that your funds are safe and secure.
Step 1: Get Your Trezor Wallet Ready
The first step is to make sure you have your Trezor wallet ready. If you don’t have a Trezor device yet, you can purchase one from the official Trezor website or from authorized resellers. Once you have your Trezor wallet, ensure that it is properly set up by following the instructions provided by Trezor. This may involve downloading the Trezor Bridge software or using the Trezor web interface.
Step 2: Set Up Your Coinbase Account
If you don’t have a Coinbase account yet, you will need to create one. Head over to the Coinbase website and click on the “Sign Up” button. Follow the instructions to create your account, including verifying your email address and setting up two-factor authentication for added security. Once your Coinbase account is set up, you can proceed to the next step.
Step 3: Connect Your Trezor Device to Coinbase
Now it’s time to connect your Trezor device to your Coinbase account. Open the Coinbase website or mobile app and log in to your account. Navigate to the “Settings” or “Security” section and look for the option to add a hardware wallet. Select “Trezor” from the list of supported devices and follow the on-screen instructions to connect your Trezor device. You may need to enter your Trezor device PIN or passphrase, so make sure you have that information handy.
Step 4: Confirm Your Trezor Connection
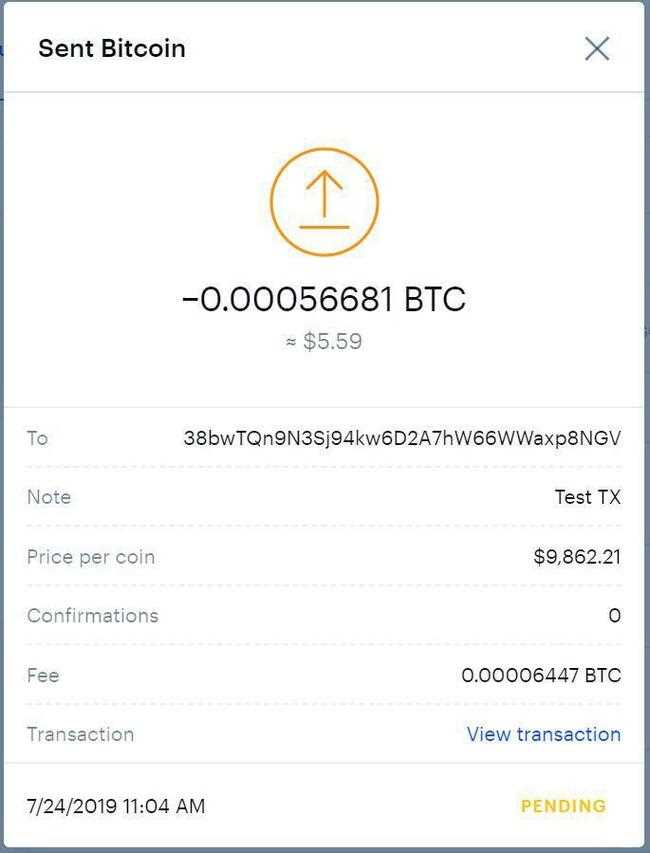
Once you have successfully connected your Trezor device to your Coinbase account, you will need to confirm the connection. This is an important security measure to ensure that you are in control of your device. Follow the prompts on your Trezor device’s screen to confirm the connection. Once confirmed, your Trezor wallet will be linked to your Coinbase account, and you can start transferring and storing your digital assets with added peace of mind.
Congratulations! You have successfully set up your Trezor hardware wallet with your Coinbase account. Remember to keep your Trezor device and recovery seed phrase in a safe place, as they are essential for accessing your funds. By using a hardware wallet like Trezor and following the steps outlined in this guide, you can ensure that your digital assets are protected from hackers and other potential threats.
What is Trezor?
Trezor is a hardware wallet designed to securely store cryptocurrencies such as Bitcoin, Ethereum, and many others. It provides an offline storage solution, also known as “cold storage,” which significantly reduces the exposure of your digital assets to online threats such as hacking and malware attacks.
With Trezor, your private keys, which are necessary to access and manage your crypto funds, are stored in a secure chip on the device itself. This means that even if your computer or smartphone is compromised, your funds remain safe as the private keys never leave the device. Trezor uses advanced encryption algorithms to protect your keys, making it virtually impossible for unauthorized individuals to access your cryptocurrencies.
In addition to its security features, Trezor also provides a user-friendly interface, allowing you to easily manage your crypto assets. It works seamlessly with popular cryptocurrency wallets like Coinbase, allowing you to secure and control your funds without any hassle. By connecting your Trezor to your Coinbase account, you can send and receive cryptocurrencies with peace of mind, knowing that your private keys are kept safe.
Whether you’re a crypto enthusiast or a long-term investor, protecting your digital assets is crucial. Trezor offers the perfect solution, providing you with an easy-to-use and highly secure way to store your cryptocurrencies. Get started with Trezor and take full control over your crypto funds today.
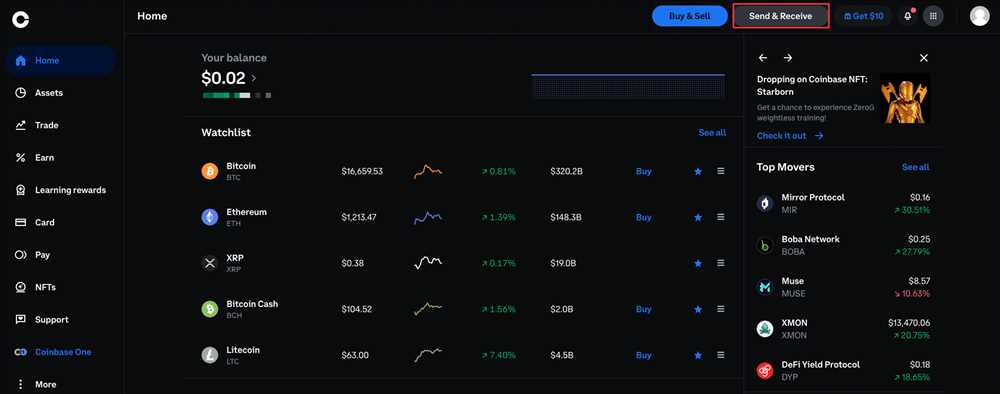
What is Coinbase?
Coinbase is a popular cryptocurrency exchange platform where users can buy, sell, and store various cryptocurrencies, including Bitcoin, Ethereum, and Litecoin. It was founded in 2012 and has since become one of the most trusted and user-friendly platforms in the industry.
As a digital currency exchange, Coinbase offers a range of services that make it easy for both beginners and advanced users to engage with cryptocurrencies. This includes a simple and intuitive interface, a mobile app for on-the-go trading, and the ability to link a bank account or credit card for quick and convenient transactions.
One of the key features of Coinbase is its focus on security. The platform uses industry-standard security measures, such as two-factor authentication and offline cold storage, to ensure the safety of users’ funds. Additionally, Coinbase has obtained regulatory licenses in various jurisdictions, further enhancing its reputation as a trustworthy and compliant exchange.
Overall, Coinbase provides a reliable and user-friendly platform for individuals interested in getting started with cryptocurrencies. With its intuitive interface, strong security measures, and wide range of supported currencies, Coinbase is an excellent choice for both beginners and experienced traders.
Setting Up Trezor
Setting up your Trezor device is a straightforward process that ensures the security of your digital assets. Follow these steps to set up your Trezor:
- Connect your Trezor device to your computer using the USB cable provided.
- Open your preferred web browser and go to the Trezor website.
- Click on the “Start Now” button to begin the setup process.
- Download and install the Trezor Bridge software, which will allow your device to communicate with your computer.
- Once the installation is complete, refresh the Trezor website.
- Click on the “Create a new wallet” button.
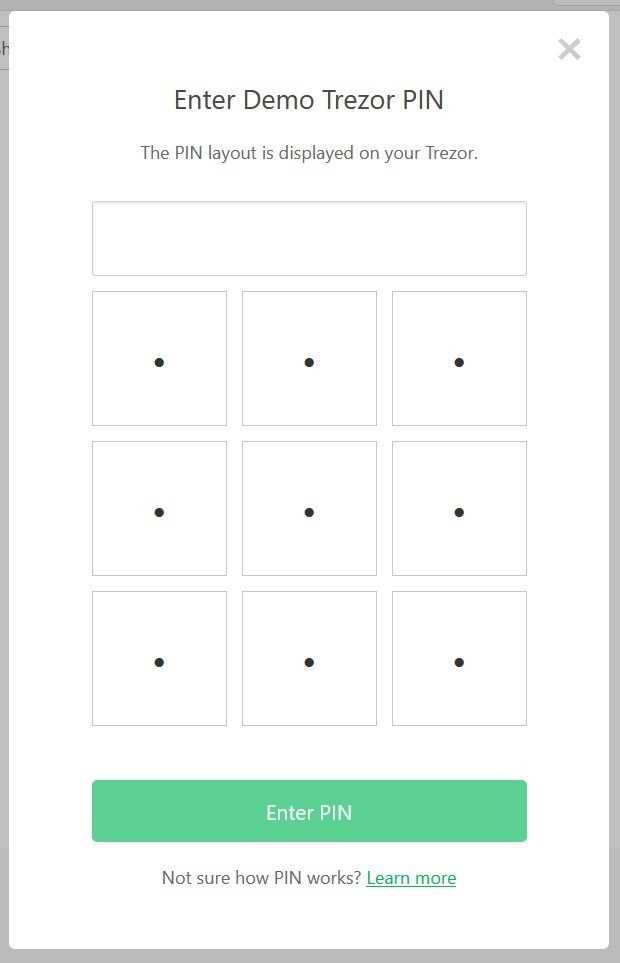
- Choose a PIN for your Trezor device. Make sure it is secure and something you can remember.
- After entering your PIN, Trezor will display a recovery seed. Write down this seed on the provided recovery card and keep it in a safe place. This seed can be used to recover your wallet if your device is lost or damaged.
- Confirm the recovery seed by entering the words in the correct order.
- Create a new name for your Trezor device and set a strong passphrase. This passphrase adds an extra layer of security to your device.
- Complete the setup process and your Trezor device will be ready to use.
Remember to keep your Trezor device, recovery seed, and passphrase safe and secure. Protecting your digital assets is essential in the cryptocurrency world.
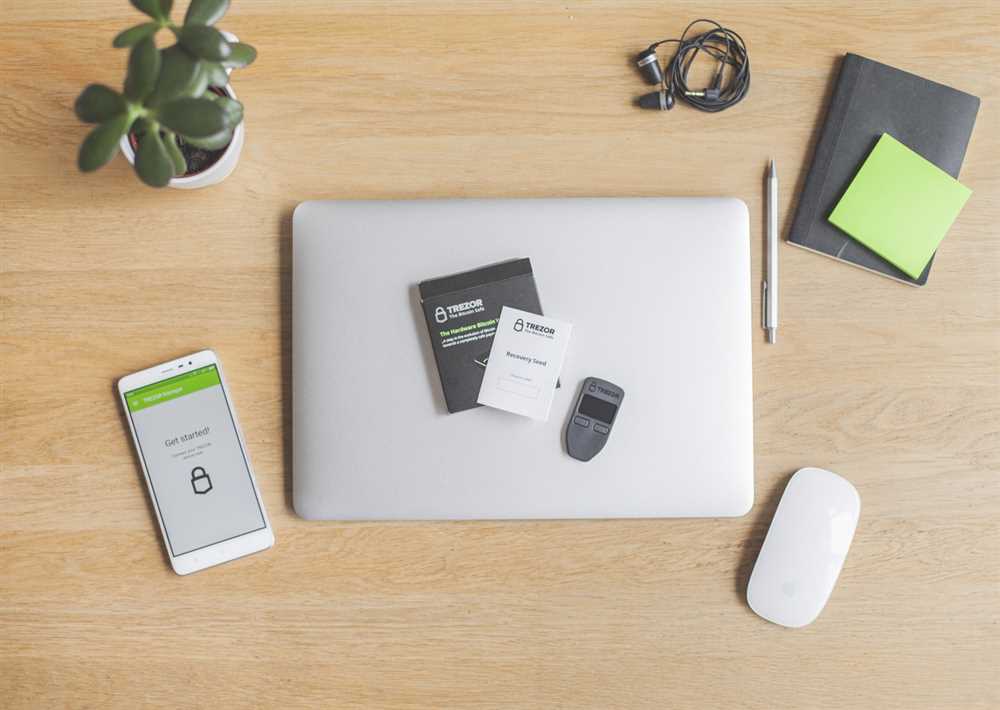
Step 1: Unboxing Trezor
When you receive your Trezor hardware wallet, it is important to unbox it carefully. Follow these steps to set up your Trezor device:
Step 1.1: Check the package
Before proceeding, make sure that the package is sealed and undamaged. Verify that the package has not been tampered with.
Step 1.2: Open the package
Carefully open the package, ensuring not to damage any of the contents inside. The package should include the following items:
- Trezor hardware wallet
- Micro USB cable
- Recovery seed cards (usually two or three)
Step 1.3: Inspect the hardware wallet
Take a close look at the Trezor device to ensure it is in good condition. Check that there are no visible defects or signs of damage. If you notice any issues, contact the manufacturer for assistance.
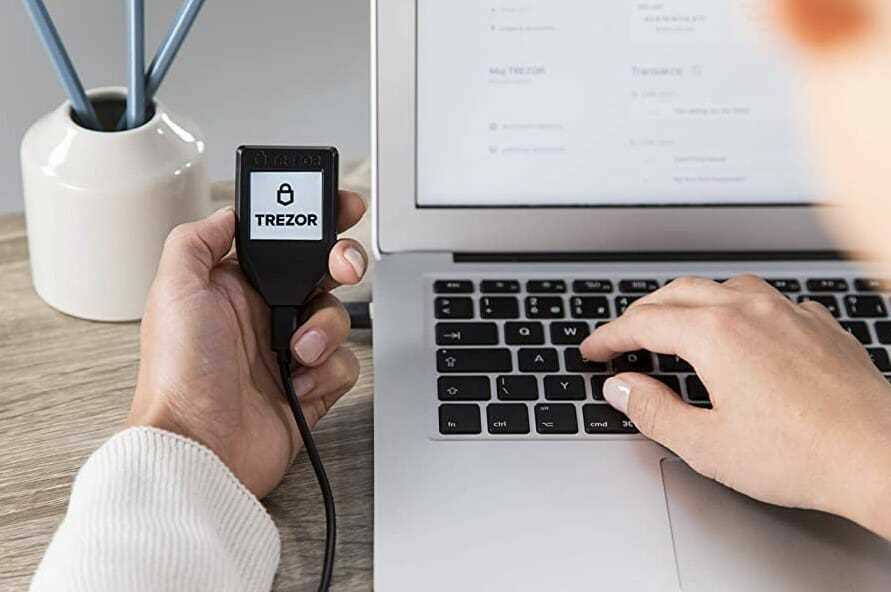
Step 1.4: Connect the hardware wallet
Using the supplied micro USB cable, connect one end to the Trezor device and the other end to your computer or mobile device. Ensure that the connection is secure.
Step 1.5: Turn on the device
Press and hold the button located on the front of the Trezor device to turn it on. The screen should light up, indicating that the device is powered on.
By following these steps, you have successfully unboxed your Trezor and are ready to proceed with the setup process.
Step 2: Connecting Trezor to Your Computer
Now that you have set up your Coinbase account and created a Trezor wallet, it’s time to connect your Trezor device to your computer.
Step 2.1: Install the Trezor Bridge
The first thing you need to do is install the Trezor Bridge software on your computer. The Trezor Bridge acts as a communication bridge between your Trezor device and your computer, allowing them to communicate securely.
- Visit the official Trezor website at https://trezor.io/.
- Navigate to the “Downloads” section of the website.
- Choose the appropriate version of the Trezor Bridge for your operating system (Windows, macOS, or Linux).
- Download and run the installer file.
- Follow the on-screen instructions to complete the installation process.
Step 2.2: Connect your Trezor
Once you have installed the Trezor Bridge, it’s time to connect your Trezor device to your computer.
- Using the USB cable that came with your Trezor, connect one end to the device, and the other end to an available USB port on your computer.
- Ensure that your Trezor is powered on.
- Your computer should recognize the device and automatically install the necessary drivers.
Once your Trezor is connected and recognized by your computer, you are ready to proceed to the next step.
Q&A:
What is Trezor and Coinbase?
Trezor is a hardware wallet that allows you to securely store your cryptocurrencies. Coinbase is a cryptocurrency exchange platform that allows you to buy, sell, and store cryptocurrencies.
Why should I set up Trezor with my Coinbase account?
Setting up Trezor with your Coinbase account adds an extra layer of security to your cryptocurrencies. By storing your cryptocurrencies on a hardware wallet like Trezor, you have control over your private keys and reduce the risk of hacking or theft.
Is it safe to store your cryptocurrencies on Trezor?
Yes, storing your cryptocurrencies on Trezor is considered one of the safest methods. Trezor is a hardware wallet that keeps your private keys offline, making it less vulnerable to hacking or theft. Additionally, Trezor has built-in security features to protect your cryptocurrencies.


