
How to Set Up and Use the Trezor Wallet: A Step-by-Step Review
If you are concerned about the security of your cryptocurrency holdings, the Trezor Wallet is a must-have accessory in your digital currency arsenal. In this step-by-step review, we will guide you through the process of setting up and using the Trezor Wallet, ensuring that your digital assets are safe and easily accessible.
Firstly, let’s discuss why the security provided by the Trezor Wallet is top-notch. As a hardware wallet, the Trezor Wallet stores your private keys securely offline, away from any potential online threats. This means that even if your computer is compromised, your digital assets remain safe. The wallet also features a PIN code and a passphrase option, adding an extra layer of protection against unauthorized access.
Setting up the Trezor Wallet is a straightforward process. After connecting the wallet to your computer via USB, you will be prompted to visit the official Trezor website to initialize the device. Following the clear and user-friendly instructions, you will create a new wallet and set your PIN code. It is important to remember your PIN code, as entering it incorrectly multiple times can lead to permanent loss of access to your wallet.
Once your wallet is set up, you can start managing your digital assets. The Trezor Wallet supports a wide range of cryptocurrencies, allowing you to store and transact with popular coins such as Bitcoin, Ethereum, and Litecoin. You can easily send and receive funds, check your transaction history, and even integrate the wallet with third-party applications for advanced features.
In conclusion, the Trezor Wallet offers a secure and user-friendly solution for managing your cryptocurrency holdings. By storing your private keys offline and providing additional security features, it ensures that your digital assets are safe from potential online threats. Whether you are a beginner or an experienced cryptocurrency enthusiast, the Trezor Wallet is a valuable tool that should not be overlooked.
What is Trezor Wallet?
Trezor Wallet is a hardware wallet designed to securely store and manage cryptocurrencies. It provides an offline storage solution, also known as “cold storage,” that helps protect your digital assets from online threats such as hacking and phishing attacks.
With its robust security features, Trezor Wallet offers users a safe and user-friendly way to store their cryptocurrencies. It uses a combination of encryption and authentication to ensure the security of your private keys. The device itself has a small screen and buttons, allowing you to conveniently manage your funds.
One of the key advantages of Trezor Wallet is that it keeps your private keys securely offline, away from the reach of potential hackers. Your private keys never leave the device, keeping them protected even when connected to a compromised computer.
Key Features of Trezor Wallet:
- Secure Storage: Trezor Wallet offers offline storage, keeping your private keys safe from online threats.
- User-Friendly Interface: The wallet has an intuitive and easy-to-use interface, making it suitable for both beginners and advanced users.
- Multi-Currency Support: Trezor Wallet supports a wide range of cryptocurrencies, allowing you to manage multiple assets in one place.
- Backup and Recovery: You can easily create backups of your wallet and recover your funds in case the device is lost or damaged.
Overall, Trezor Wallet is a reliable and secure solution for storing your cryptocurrencies. Using this hardware wallet can give you peace of mind knowing that your digital assets are safely protected.
Setting Up the Trezor Wallet

Setting up the Trezor wallet is a simple and straightforward process that can be completed in a few easy steps:
- Connect your Trezor device to your computer using the provided USB cable.
- Open the Trezor Wallet website on your computer’s browser.
- Follow the on-screen instructions to install the necessary software and browser extensions.
- Create a new wallet by selecting the “Create New Wallet” option.
- Choose a strong and unique password for your wallet.
- Write down your recovery seed and keep it in a safe place. This seed can be used to recover your wallet in case you lose your device.
- Confirm your recovery seed by entering the words in the correct order.
- Once your wallet is set up, you can start receiving and sending cryptocurrencies through your Trezor device.
It is important to note that the Trezor wallet provides an extra layer of security by keeping your private keys offline. This means that even if your computer is compromised, your funds remain secure.
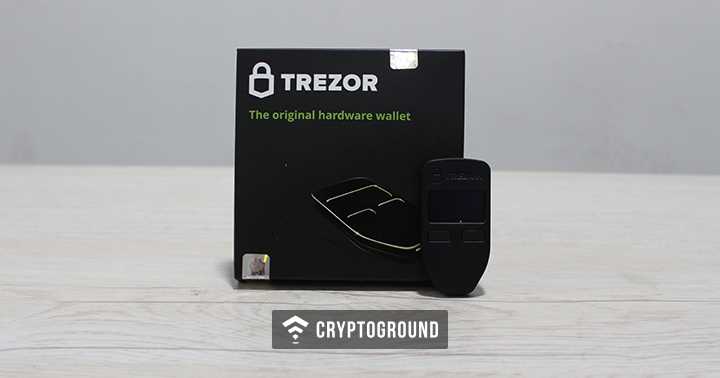
Unboxing and Hardware Setup
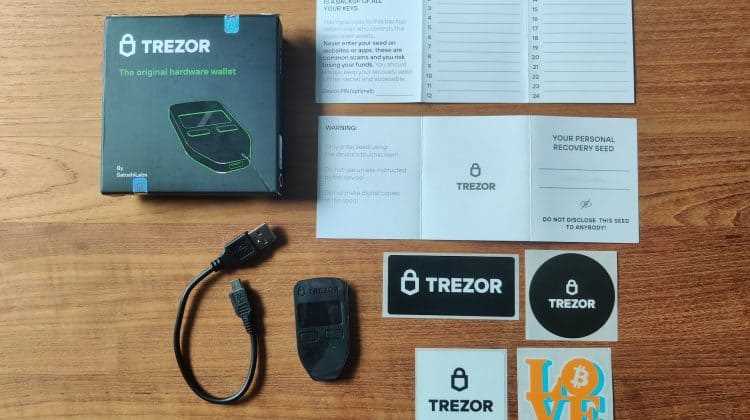
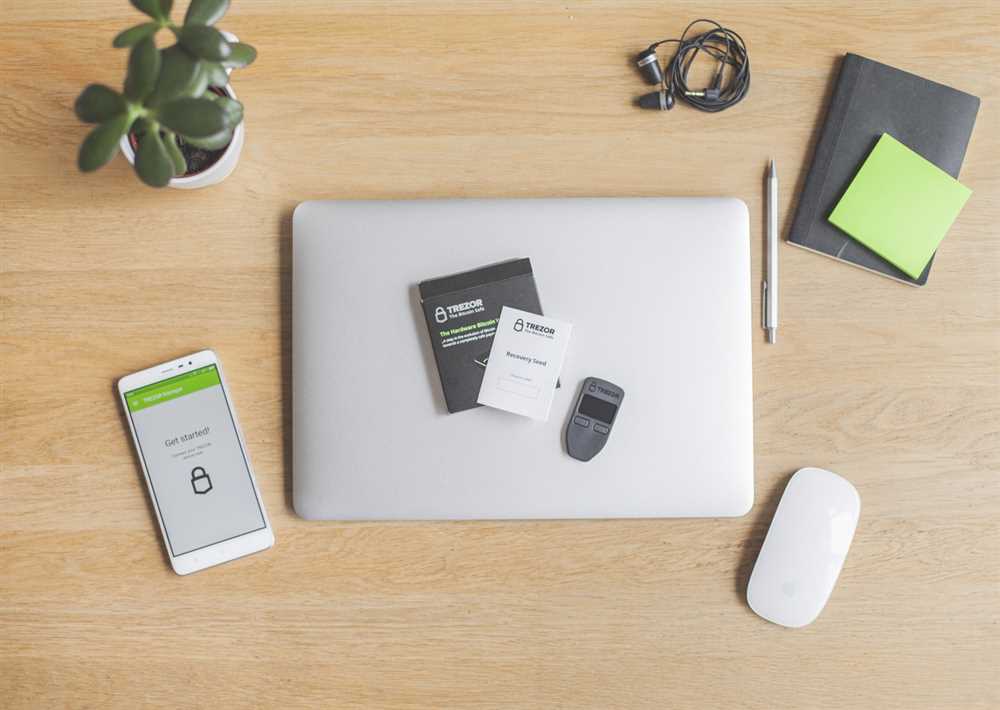
When you first receive your Trezor wallet, you’ll notice that it comes in a sleek and secure package. Inside the box, you’ll find the following items:
| Trezor device | The main component of the wallet, this small device is where you’ll store your private keys and perform transactions. |
| Micro USB cable | This cable is used to connect your Trezor device to your computer or mobile device for setup and use. |
| Instruction manual | A comprehensive guide that provides step-by-step instructions on how to set up and use your Trezor wallet. |
| Recovery seed card | This card contains a randomly generated list of words that you’ll use to recover your wallet in case of loss or damage to the device. |
Once you’ve unboxed your Trezor wallet, the next step is to set it up. Begin by connecting your device to your computer or mobile device using the provided micro USB cable. The Trezor device will power on automatically once it’s connected.
Next, you’ll need to visit the official Trezor website and download the Trezor Bridge software. This software allows your computer or mobile device to communicate with the Trezor device and ensures a secure connection.
Once the software is downloaded and installed, you’ll be prompted to create a new wallet. Follow the on-screen instructions to choose a PIN and write down your recovery seed. It’s crucial to keep this recovery seed in a safe and separate location, as it serves as a backup for your wallet.
After setting up your PIN and recovery seed, your Trezor wallet is ready to use. You can now securely store your cryptocurrencies, perform transactions, and manage your wallet through the Trezor Bridge software.
Remember to always keep your Trezor device and recovery seed in a safe place, as losing them could result in permanent loss of your funds. With proper setup and security measures, the Trezor wallet provides a reliable and user-friendly solution for managing your cryptocurrencies.
Installing the Trezor Bridge Software
To use the Trezor wallet, you first need to install the Trezor Bridge software on your computer. The Trezor Bridge is a small application that allows your computer to communicate with the Trezor device and securely manage your cryptocurrency assets.
Here’s a step-by-step guide on how to install the Trezor Bridge software:
- Visit the official Trezor website at trezor.io and navigate to the “Downloads” section of the website.
- Choose the appropriate version of the Trezor Bridge software for your operating system. The Trezor Bridge is available for Windows, macOS, and Linux.
- Click on the download link to start the download.
- Once the download is complete, locate the downloaded file on your computer and double-click to run the installer.
- Follow the on-screen instructions to complete the installation process. Make sure to read and accept the end-user license agreement.
- After the installation is finished, launch the Trezor Bridge software. It should automatically detect any connected Trezor devices.
- If you encounter any issues during the installation or setup process, refer to the official documentation or support resources provided by Trezor.
By installing the Trezor Bridge software, you are one step closer to securely managing your cryptocurrency assets using the Trezor wallet. Next, you can proceed to set up your Trezor device and create a new wallet or import an existing one.
Creating a New Wallet
To begin using the Trezor Wallet, you will first need to set up a new wallet. Follow these step-by-step instructions to create a new wallet:
- Connect your Trezor device to your computer via USB.
- Open the Trezor Wallet software.
- Click on the “Create a new wallet” button.
- Choose a strong and unique password for your wallet. Make sure to remember it, as it will be required every time you want to access your funds.
- Read and agree to the terms and conditions of using Trezor Wallet.
- Click on the “Create new wallet” button.
- On your Trezor device, confirm the wallet creation by pressing the corresponding button.
- Choose a name for your wallet. This name will be used to identify your wallet within the Trezor Wallet software.
- For added security, enable the passphrase feature and set up a unique passphrase. This feature adds an extra layer of protection to your wallet.
- Click on the “Create wallet” button to finalize the process.
Once you have successfully created a new wallet, you will be able to start receiving and sending cryptocurrencies. It is important to securely store your recovery seed, as this can be used to restore your wallet in case your Trezor device is lost or damaged.
Using the Trezor Wallet
Once you have set up your Trezor hardware wallet, it’s time to start using the wallet features to securely manage your cryptocurrency.
Step 1: Connect your Trezor device
To begin using the Trezor wallet, make sure your Trezor device is connected to your computer via USB. The wallet interface will automatically detect the device and prompt you to enter your PIN.
Step 2: Enter your PIN
After connecting your device, enter your PIN on the Trezor’s screen using the device’s physical buttons. Make sure to keep your PIN secret and avoid using simple or easily guessable numbers.
Step 3: Access your wallet interface
Once you have entered the correct PIN, you will be redirected to the wallet interface on your computer. Here, you can access all the features and functionalities offered by the Trezor wallet.
Step 4: Send and receive cryptocurrency
The main purpose of a cryptocurrency wallet is to send and receive funds. In the Trezor wallet, you can do this easily by selecting the desired cryptocurrency from the list, entering the recipient’s address, and specifying the amount to send or receive.
Step 5: Manage your accounts
The Trezor wallet allows you to manage multiple accounts for different cryptocurrencies. You can create new accounts, view your existing accounts, and switch between them as needed. This provides flexibility in organizing your digital assets.
Step 6: Backup your wallet
It is crucial to create a backup of your Trezor wallet to avoid the risk of losing access to your funds. The wallet provides a simple backup process that you should follow diligently. Make sure to store the backup in a separate secure location.
Step 7: Keep your device and seed phrase secure
The security of your Trezor wallet relies on the safety of your device and seed phrase. Make sure to keep your device in a secure location and do not share your seed phrase with anyone. Additionally, enable the passphrase feature for an extra layer of security.
Step 8: Stay informed and update your wallet
As technology and security evolve, it is important to stay informed about the latest updates and developments in the cryptocurrency industry. Regularly update your Trezor wallet firmware to benefit from the latest security enhancements and features.
Using the Trezor wallet gives you peace of mind knowing that your digital assets are stored in a secure and user-friendly manner. By following these steps and best practices, you can confidently manage your cryptocurrency holdings.
Q&A:
What is the Trezor Wallet?
The Trezor Wallet is a hardware wallet that allows you to securely store and manage your cryptocurrency assets.
How can I set up the Trezor Wallet?
To set up the Trezor Wallet, you need to visit the official Trezor website and follow the step-by-step instructions provided. You will need to connect your Trezor device to your computer, create a new wallet, and backup your recovery seed.


