How to recover your Solana wallet using Trezor Solana
If you are a Solana user and have experienced the unfortunate loss or damage of your wallet, don’t panic! With the help of Trezor Solana, you can easily recover your wallet and regain access to your funds. Trezor is a trusted hardware wallet provider known for its top-notch security features and user-friendly interface. In this article, we will guide you through the step-by-step process of recovering your Solana wallet using Trezor Solana.
First and foremost, it’s important to note that the recovery process involves following a set of well-defined instructions. These instructions are designed to ensure the safe recovery of your wallet without compromising your private keys or funds. So, even if you are new to the world of cryptocurrencies, don’t worry – we’ve got you covered.
To begin the recovery process, you’ll need to have access to your Trezor Solana hardware wallet. This device acts as a secure bridge between your computer and the Solana network, allowing you to securely manage your wallet. If you haven’t already set up your Trezor Solana wallet, we highly recommend doing so before proceeding with the recovery process.
Once you have your Trezor Solana hardware wallet ready, connect it to your computer using the USB cable provided. Make sure you are using a secure and trusted computer, as any malware or keylogger could compromise the security of your recovery process. Open the official Trezor web interface in your browser and follow the on-screen instructions to unlock your wallet.
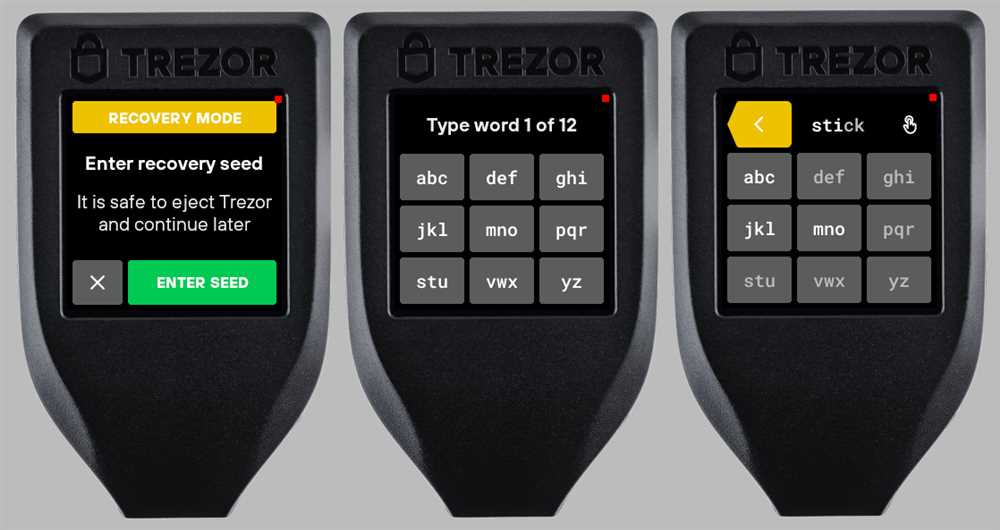
Now that your Trezor Solana wallet is connected and unlocked, navigate to the wallet recovery section. This section will guide you through the process of recovering your Solana wallet using the recovery seed or the passphrase associated with your wallet. Follow the instructions carefully, and enter the necessary information when prompted.
Once you have entered the required recovery information, Trezor Solana will verify the details and initiate the recovery process. This may take a few minutes, depending on the size of your wallet and the network’s current congestion. During this time, it’s crucial to keep your device connected and not interrupt the recovery process.
Once the recovery process is complete, you will receive a confirmation message on your Trezor Solana device and the web interface. Congratulations! You have successfully recovered your Solana wallet using Trezor Solana. You can now access and manage your funds as usual, knowing that your wallet is secure and protected.
Remember, it’s always important to keep your recovery seed and passphrase in a safe and secure place. These are your keys to accessing your wallet, and losing them could result in the permanent loss of your funds. Trezor Solana offers additional security features like passphrase encryption and Shamir backup, so make use of these to enhance the security of your wallet even further.
Steps to recover your Solana wallet
If you have a Trezor Solana wallet and need to recover it, you can follow these steps:
Step 1: Connect your Trezor device
Connect your Trezor device to your computer using the USB cable provided. Make sure your device is properly connected and recognized by the Trezor Bridge or Trezor Suite software.
Step 2: Open the Solana wallet app
Open the Solana wallet app on your computer. This could be the official Solana wallet software or any other compatible wallet that supports Solana.
Step 3: Choose the “Recover Wallet” option
In the Solana wallet app, look for the option to recover a wallet. This is usually found in the settings or account section of the app. Click on the “Recover Wallet” option to begin the recovery process.
Step 4: Select Trezor as the recovery method

When prompted to choose a recovery method, select Trezor as the option. This will initiate the connection between your Trezor device and the Solana wallet app.
Step 5: Enter your Trezor passphrase (if applicable)
If you have set up a passphrase for your Trezor device, you will be prompted to enter it. Type in your passphrase using the keyboard or the on-screen keypad provided by the Solana wallet app.
Step 6: Confirm the recovery process on your Trezor device
Follow the instructions on your Trezor device’s screen to confirm the recovery process. This usually involves verifying the recovery seed phrase or entering a confirmation code.
Step 7: Complete the recovery process
Once the recovery process is confirmed on your Trezor device, the Solana wallet app will complete the recovery process. Your Solana wallet should now be successfully recovered and accessible through the app.
It is important to note that recovering a wallet will not change or overwrite any existing wallets on your Trezor device. It simply allows you to access and control the previously created Solana wallet through the Solana wallet app.
Step 1: Connecting your Trezor Solana to your computer
Before you begin the process of recovering your Solana wallet with your Trezor Solana, you need to connect your hardware wallet to your computer. This step is essential for communication between your hardware wallet and the Solana wallet software.
Follow these simple steps to connect your Trezor Solana:
- Ensure that your computer is connected to the internet and powered on.
- Take the USB cable that came with your Trezor Solana and plug one end into the USB port on your computer.
- Take the other end of the USB cable and plug it into the USB-C port on your Trezor Solana.
- Once connected, your Trezor Solana should display a welcome message or prompt you to enter your PIN code.
- If required, enter your PIN code on the device and follow any additional prompts that appear.
- Once your Trezor Solana is successfully connected and authenticated, you are ready to proceed with recovering your Solana wallet.
It’s important to keep your Trezor Solana connected to your computer during the entire wallet recovery process. Disconnecting your hardware wallet at any point may interrupt the recovery process and result in a failed attempt.
By following these steps, you have successfully connected your Trezor Solana to your computer, allowing you to proceed with recovering your Solana wallet. Make sure you carefully follow the remaining steps in this guide to complete the recovery process successfully.
Step 2: Accessing the recovery option on your Trezor Solana
Once you have set up your Trezor Solana, you may need to access the recovery option to restore your Solana wallet. This can be useful if you have lost or misplaced your Trezor device or if it has been damaged.
1. Connect your Trezor Solana to your computer
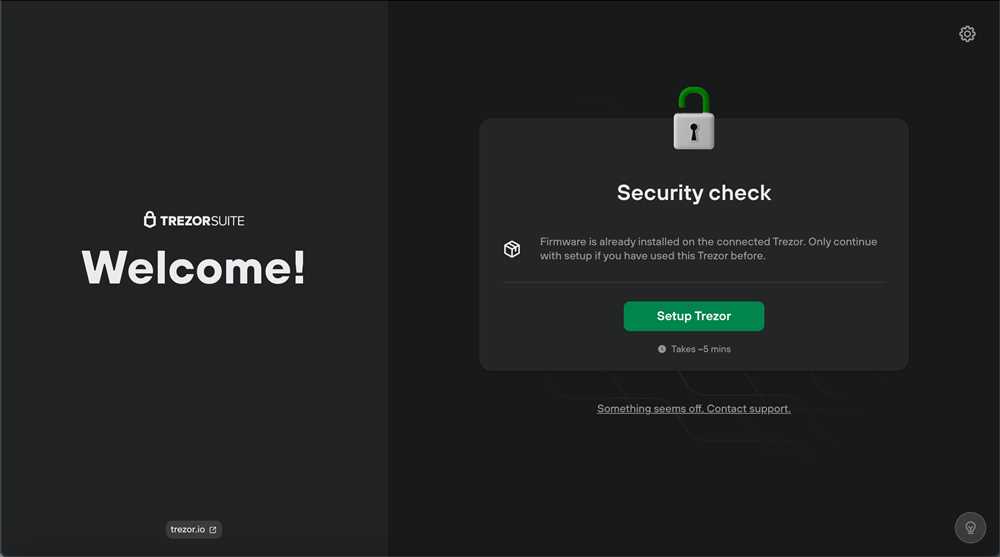
Plug in your Trezor Solana device to your computer using the USB cable provided. Make sure your computer has the Trezor Bridge software installed. It allows for the secure communication between your device and the browser.
2. Open the Trezor Bridge software
Open the Trezor Bridge software on your computer. You may find it in your applications or system tray. If you haven’t already installed it, you can download it from the official Trezor website.
3. Verify that your Trezor Solana is connected
Once the Trezor Bridge software is opened, it should automatically detect your Trezor Solana device. Verify that your device is connected and recognized by the software. You should see a message indicating that your device is connected.
4. Open the Trezor Wallet website
Open your preferred web browser and go to the Trezor Wallet website, https://wallet.trezor.io. This website allows you to manage your Solana wallet using your Trezor device.
5. Select the Solana network
In the Trezor Wallet, select the Solana network from the list of available networks. This will ensure that you can access and manage your Solana wallet specifically.
6. Click on the “Recover wallet” option
In the Trezor Wallet interface, click on the “Recover wallet” option. This will initiate the recovery process for your Solana wallet.
7. Follow the on-screen instructions
Follow the on-screen instructions to complete the recovery process. You will be asked to enter your recovery seed phrase. Make sure you have your recovery seed phrase ready, as it is required to restore your Solana wallet.
8. Confirm the recovery
After entering your recovery seed phrase, the Trezor Wallet will verify the validity of the seed and confirm the recovery process. Make sure to carefully review the information displayed on the screen before confirming the recovery.
Once the recovery process is completed, your Solana wallet will be restored and you will be able to access and manage your funds as before.
Precautions to consider while recovering your Solana wallet
Recovering your Solana wallet with Trezor Solana can be a straightforward process, but it is important to take certain precautions to ensure the security of your funds. Here are some precautions you should consider:
1. Use only official sources
When recovering your Solana wallet, make sure to only use official sources and avoid third-party websites or applications. Stick to trusted sources provided by Trezor or Solana to minimize the risk of falling victim to phishing attacks or scams.
2. Verify the website’s SSL certificate
Before providing any sensitive information, such as your recovery seed or private key, make sure to verify the website’s SSL certificate. Check if the website’s URL starts with “https” and if there is a padlock symbol next to it. This indicates that the website has a valid SSL certificate and that your connection is secure.
3. Double-check the website’s URL
Always double-check the website’s URL to ensure that you are visiting the correct website. Cybercriminals often create fake websites with URLs similar to the official ones to trick users into providing their sensitive information. Pay close attention to any misspellings or variations in the URL.
4. Protect your recovery seed
Make sure to keep your recovery seed offline and in a secure location. Do not store it in digital format, such as in emails, computer files, or cloud storage. It is recommended to write down your recovery seed on a piece of paper and store it in a safe place, away from prying eyes and potential data breaches.
5. Be cautious with sharing sensitive information
Avoid sharing your recovery seed or private key with anyone, including support staff, unless it is absolutely necessary. Be wary of unsolicited messages or requests for your recovery seed, as this could be an attempt to steal your funds. Trezor and Solana will never ask for your recovery seed or private key.
Following these precautions will help ensure the security of your Solana wallet during the recovery process. Always prioritize the protection of your funds and remain vigilant against potential threats.
Keep your recovery seed safe and private
When using a hardware wallet like the Trezor Solana, it’s important to keep your recovery seed safe and private. The recovery seed is a list of words that acts as a backup for your Solana wallet. If your device is lost, stolen, or damaged, you can use this recovery seed to recover your funds.
Here are some best practices for keeping your recovery seed safe:
- Write down your recovery seed: When setting up your hardware wallet, you will be provided with a recovery seed. It’s important to write down this seed in a physical form, such as on a piece of paper or a metal backup plate.
- Store it in a secure location: Keep your recovery seed in a safe and secure location, such as a locked drawer or a safety deposit box. Avoid storing it on your computer or in a cloud-based service, as they are more vulnerable to hacking and data breaches.
- Keep it private: Do not share your recovery seed with anyone. It should be treated as sensitive information, similar to your personal identification number (PIN) for a bank account. Sharing your recovery seed with others can lead to unauthorized access to your funds.
- Consider multiple backups: It’s a good idea to create multiple copies of your recovery seed and store them in different secure locations. This way, if one backup is lost or damaged, you still have access to your funds.
- Test the recovery process: Before relying on your recovery seed, it’s recommended to test the recovery process to ensure that you can successfully restore your wallet using the seed. This can help you feel more confident in the security of your funds.
By following these practices, you can help ensure that your recovery seed remains safe and that you have a reliable backup in case of any unforeseen circumstances. Remember to regularly check the condition of your backup and update it if necessary.
Q&A:
What is Solana?
Solana is a high-performance blockchain platform designed for decentralized applications and crypto-currencies. It aims to provide faster transaction processing and low fees compared to other blockchain platforms.
What is a Solana wallet?
A Solana wallet is a digital wallet that allows you to store, send, and receive Solana (SOL) tokens. It also provides you with a unique address that you can use to identify your wallet on the Solana blockchain.
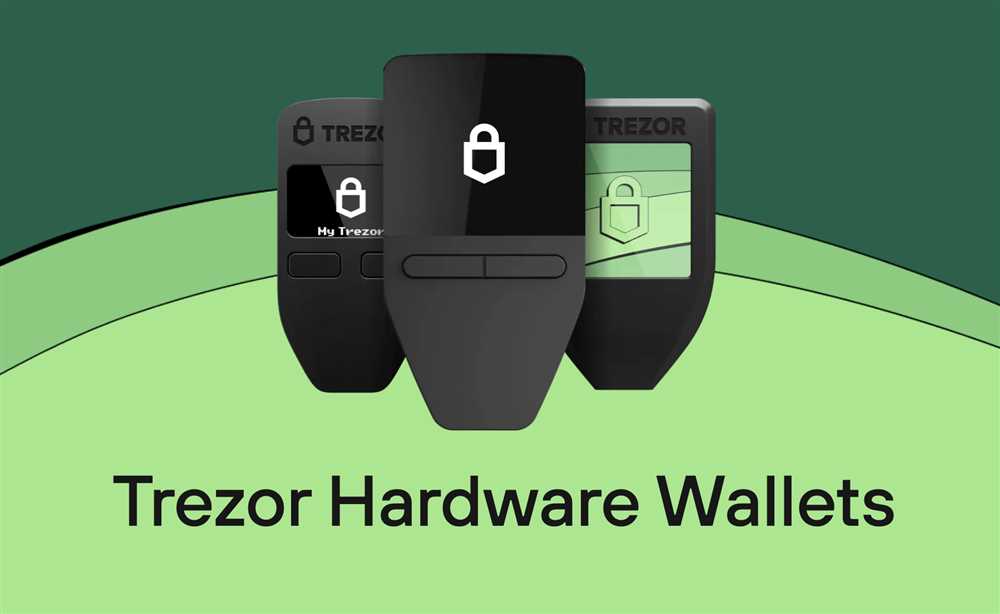
What is Trezor?
Trezor is a hardware wallet that provides secure storage for your cryptocurrencies. It is a small device that allows you to safely manage your private keys and sign transactions without the risk of exposing them to the internet.