Setting Up Your Trezor One Wallet: A Step-by-Step Guide
Are you concerned about the security of your cryptocurrency? Look no further! The Trezor One wallet is the ultimate tool to keep your digital assets safe and secure. In this step-by-step guide, we’ll walk you through the process of setting up your Trezor One wallet and getting started with your cryptocurrency journey.
Step 1: Unboxing and Checking Contents
Once you receive your Trezor One wallet, the first step is to unbox it and ensure that all the contents are present. The package should contain the Trezor One device, a micro USB cable, recovery seed cards, and a user manual. Check each item carefully to make sure nothing is missing or damaged.
Step 2: Download and Install Trezor Bridge
To connect your Trezor One wallet to your computer, you’ll need to download and install the Trezor Bridge software. Visit the official Trezor website and download the appropriate version for your operating system. Once downloaded, follow the on-screen instructions to install the software. This will allow your computer to communicate with the wallet securely.
Step 3: Setting Up Your Wallet
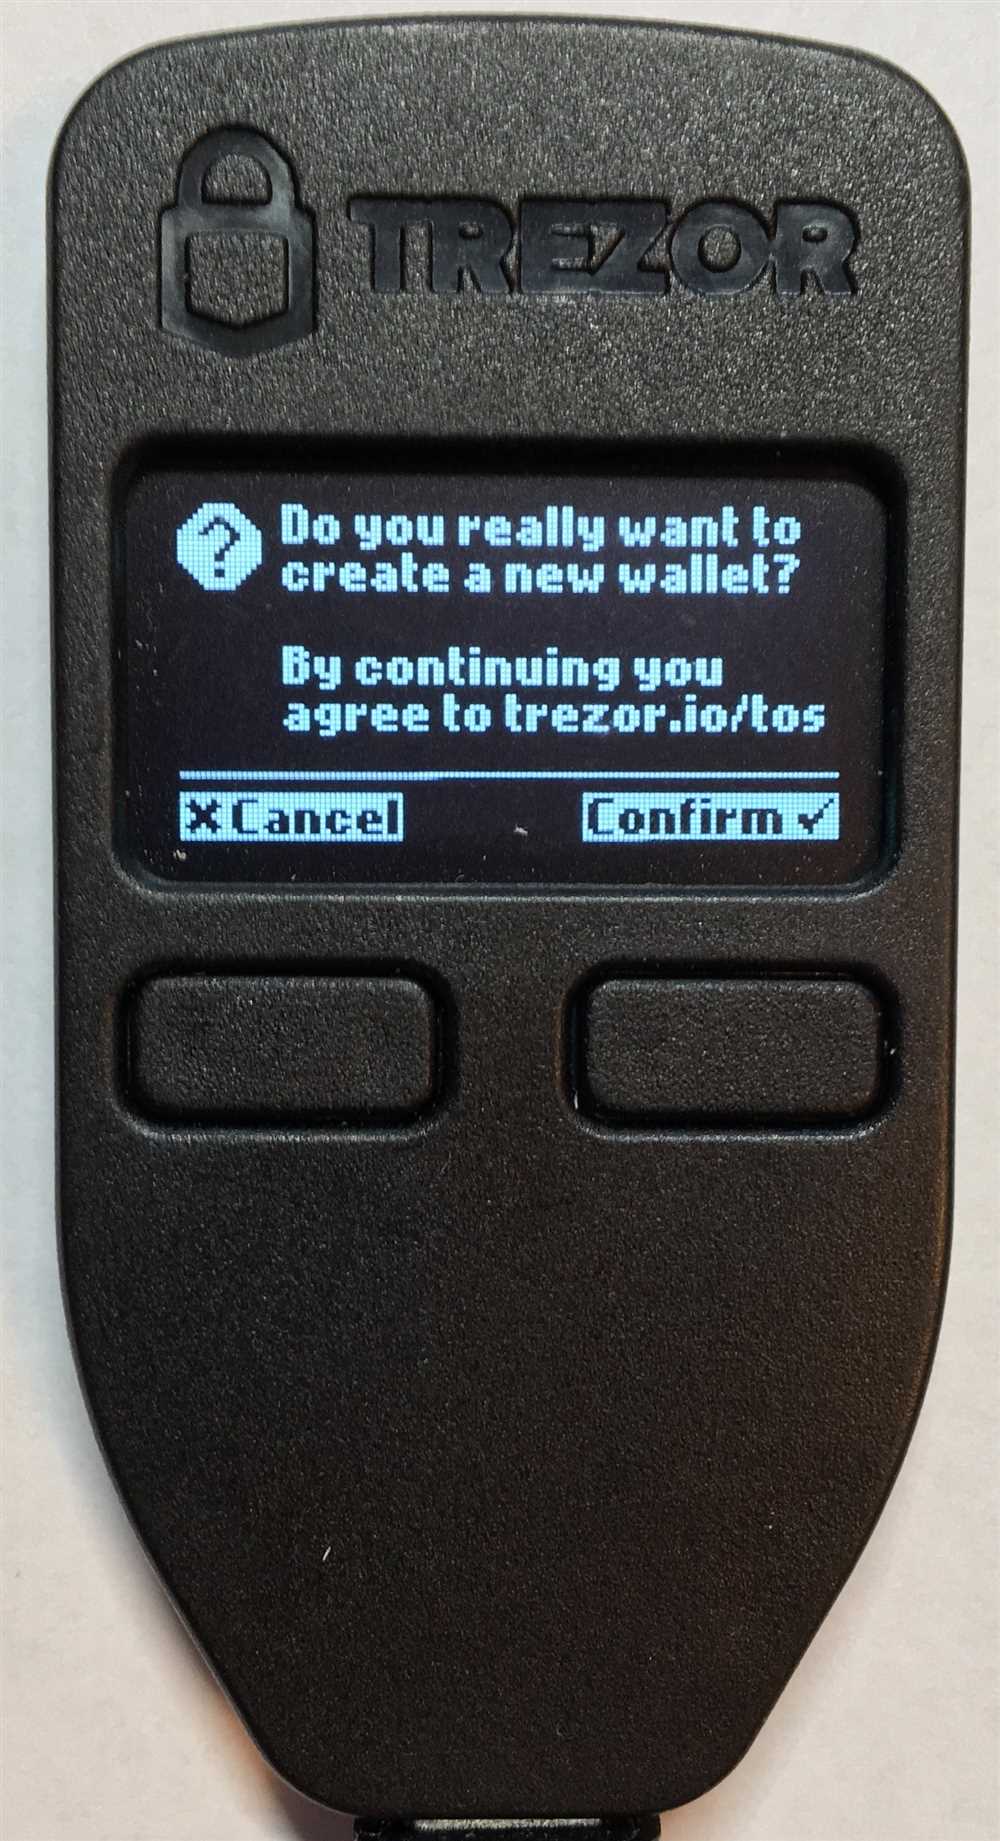
Now, it’s time to set up your Trezor One wallet. Connect your wallet to your computer using the micro USB cable. Follow the on-screen instructions to install the required firmware and create a new wallet. Be sure to write down your recovery seed and store it in a safe place. This seed is crucial for recovering your wallet in case anything happens to your device.
Step 4: Adding Cryptocurrencies
After setting up your wallet, you can start adding your favorite cryptocurrencies. Go to the Trezor Wallet interface on your computer and select “Add Account.” Choose the cryptocurrency you want to add and follow the instructions to complete the process. Repeat this step for each cryptocurrency you own.
Step 5: Making Your First Transaction
Now that your Trezor One wallet is set up and your cryptocurrencies are added, it’s time to make your first transaction. Connect your wallet to your computer, open the Trezor Wallet interface, and select the account you want to send funds from. Enter the recipient’s address and the amount you wish to send, then confirm the transaction on your wallet. Voila! You’ve just made your first secure transaction with your Trezor One wallet.
Setting up your Trezor One wallet is easy and straightforward. By following these step-by-step instructions, you can ensure the security of your digital assets while enjoying the convenience of managing your cryptocurrencies with ease. Start your cryptocurrency journey the right way with Trezor One!
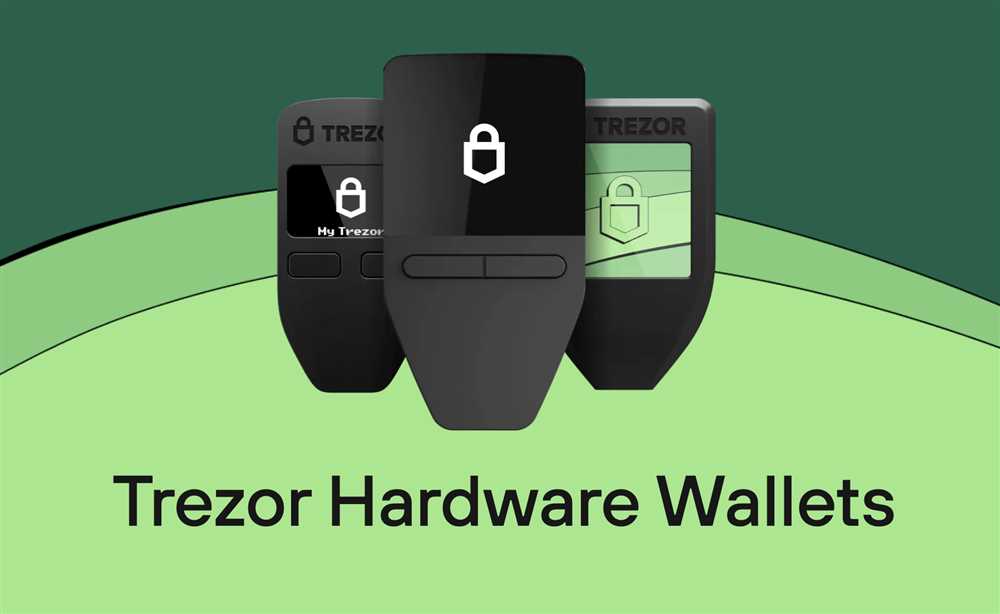
Choosing the Right Wallet
When it comes to securing your cryptocurrency assets, choosing the right wallet is crucial. With so many options available in the market, it is important to select a wallet that meets your needs in terms of security, convenience, and accessibility.
Hardware Wallets: Hardware wallets are considered the most secure option for storing your cryptocurrencies. These wallets are physical devices that store your private keys offline, making them almost immune to hacking attempts. One popular hardware wallet is the Trezor One Wallet, which offers robust security features and has been trusted by millions of users around the world.
Software Wallets: Software wallets, also known as hot wallets, are applications that can be installed on your computer or smartphone. While software wallets are convenient and easy to use, they are more susceptible to hacking compared to hardware wallets. It is important to choose a reputable software wallet that has strong security measures in place.
Web Wallets: Web wallets are online platforms that allow you to store and manage your cryptocurrencies. While web wallets are easy to access and can be used on any device with an internet connection, they are considered less secure compared to hardware and software wallets. It is important to choose a web wallet that has a strong track record of security and provides two-factor authentication.
Paper Wallets: Paper wallets are a physical printout or handwritten record of your private keys. While paper wallets are highly secure as they are offline, they are also prone to physical damage or loss. It is crucial to keep your paper wallet in a safe and secure location.
Multi-Signature (Multisig) Wallets: Multisig wallets require multiple signatures from different devices or individuals to complete a transaction. This adds an extra layer of security as it reduces the risk of a single point of failure. Multisig wallets are often used by businesses or individuals who handle large amounts of cryptocurrency.
Choosing the right wallet ultimately depends on your individual needs and preferences. It is recommended to do thorough research and consider factors such as security, convenience, and accessibility before making a decision. Remember to always take extra precautions to protect your private keys and ensure the safety of your cryptocurrency assets.
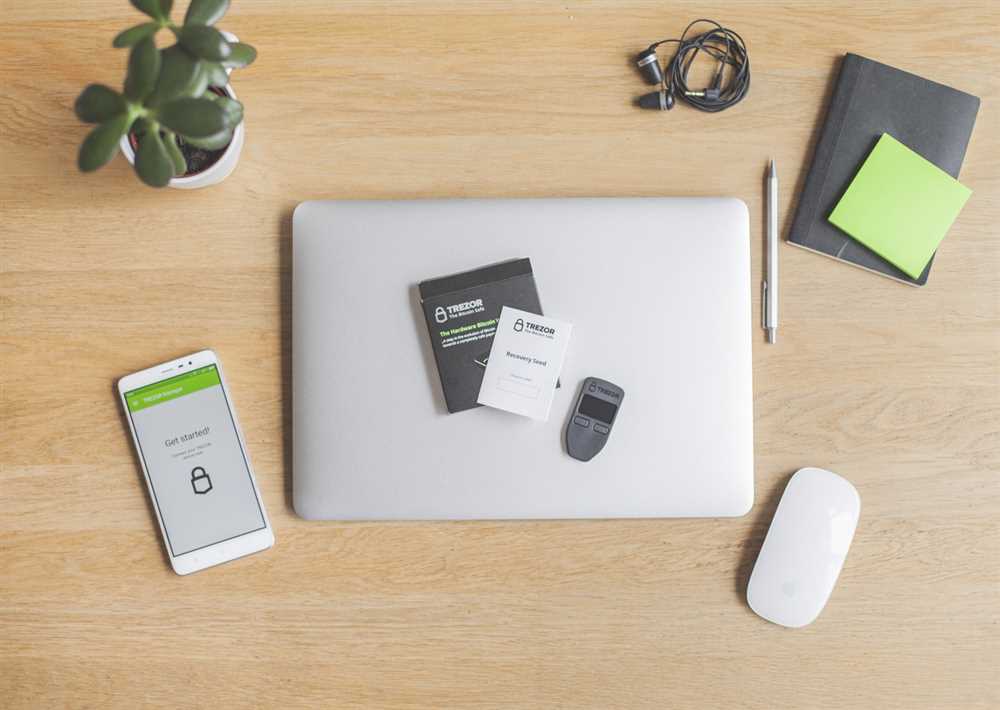
Unboxing Your Trezor One
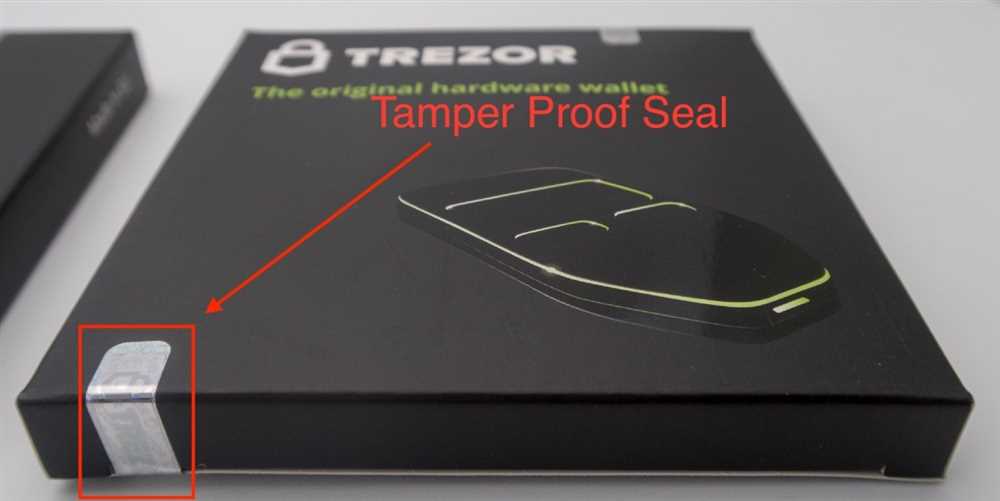
When you receive your Trezor One, it is important to unbox it carefully to ensure that it is in perfect condition and has not been tampered with. Here are the steps to unbox your Trezor One:
Step 1: Inspect the Package
Check the external packaging for any signs of damage. If the package appears to be damaged or has been tampered with, contact the seller immediately.
Step 2: Open the Box
Carefully open the box and check its contents. You should find the following items:
- Trezor One device
- USB cable
- Recovery seed card
- Getting Started guide
Step 3: Verify the Device
Take a close look at the Trezor One device to ensure that it is genuine and has not been tampered with. Look for any signs of physical damage or alteration. If you suspect that the device may not be authentic, do not proceed and reach out to Trezor support.
Step 4: Connect the Device
Connect the Trezor One to your computer using the provided USB cable. Make sure to use a secure and trusted USB port.
Step 5: Follow the Setup Guide
Refer to the provided Getting Started guide to complete the setup process. Take your time to read and understand each step before proceeding.
By following these steps, you can unbox your Trezor One safely and start setting up your secure cryptocurrency wallet.
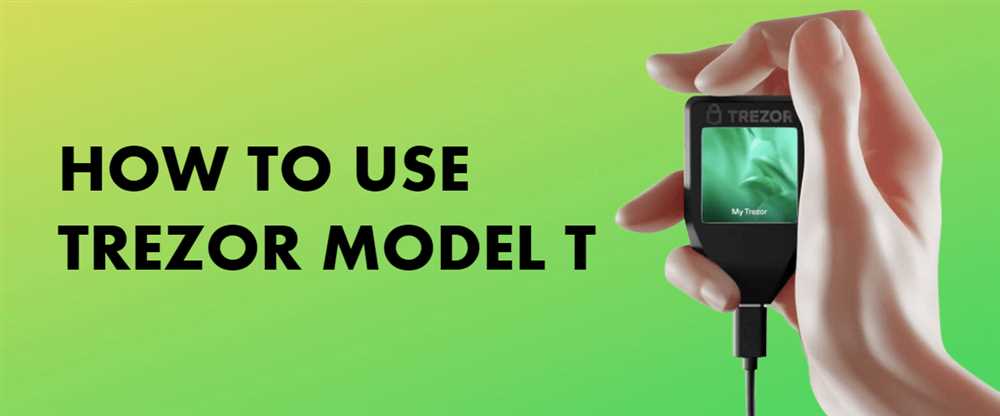
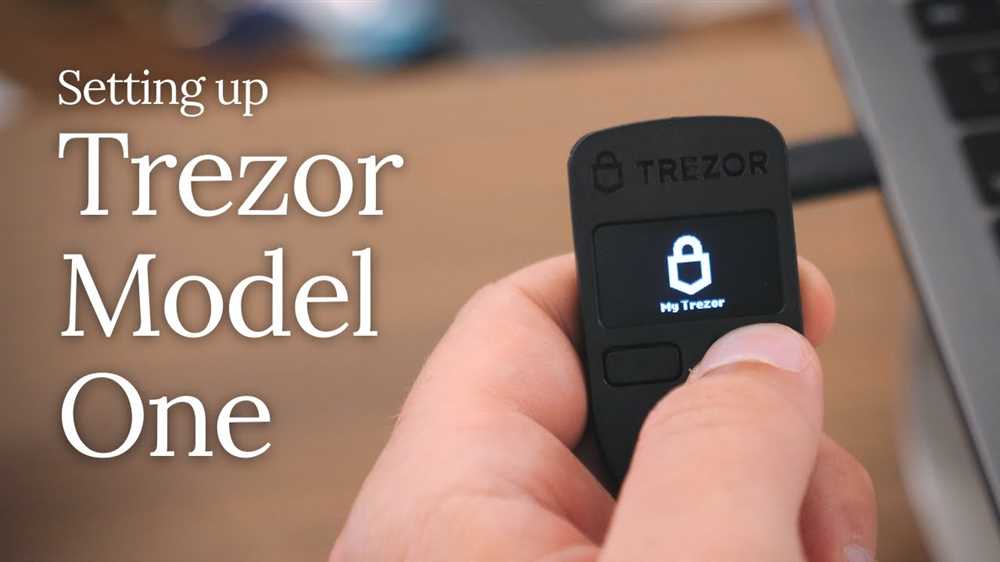
Setting Up Your Trezor One
Setting up your Trezor One wallet is a simple and straightforward process that ensures the security of your cryptocurrency funds. Follow these step-by-step instructions to get started.
Step 1: Unboxing
Start by unboxing your Trezor One device. Inside the package, you will find the Trezor device itself, a USB cable, and some additional accessories (if included in your package).
Note: It is important to purchase your Trezor One wallet directly from the official website or authorized resellers to ensure authenticity and security.
Step 2: Connecting to the Computer
Connect your Trezor One device to your computer using the provided USB cable. Ensure that the device is securely connected and recognized by your computer.
Note: Make sure that your computer is free from malware or any suspicious software to avoid compromising your wallet security.
Step 3: Installing the Firmware
To guarantee the latest security features and improvements, it is essential to have the latest firmware installed on your Trezor One. Visit the official Trezor website and follow the instructions to download and install the firmware update.
Note: It is highly recommended to double-check the authenticity and genuineness of the firmware update before proceeding with the installation.
Step 4: Choosing a PIN
After the firmware installation, your Trezor One will prompt you to create a secure PIN. Follow the instructions on the device screen to set up a PIN, which will serve as the first layer of security for your wallet.
Note: Choose a PIN that is unique and difficult to guess, and avoid using personal information or easily predictable sequences.
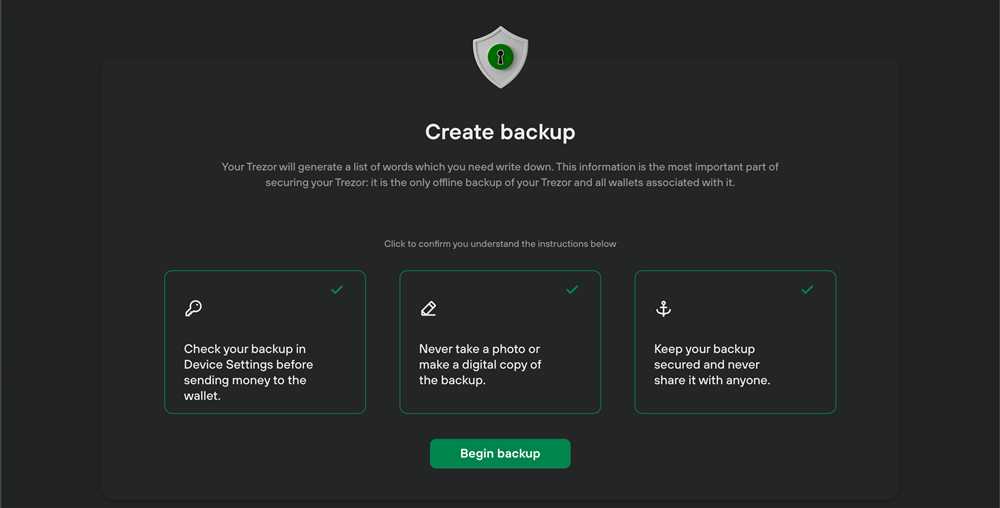
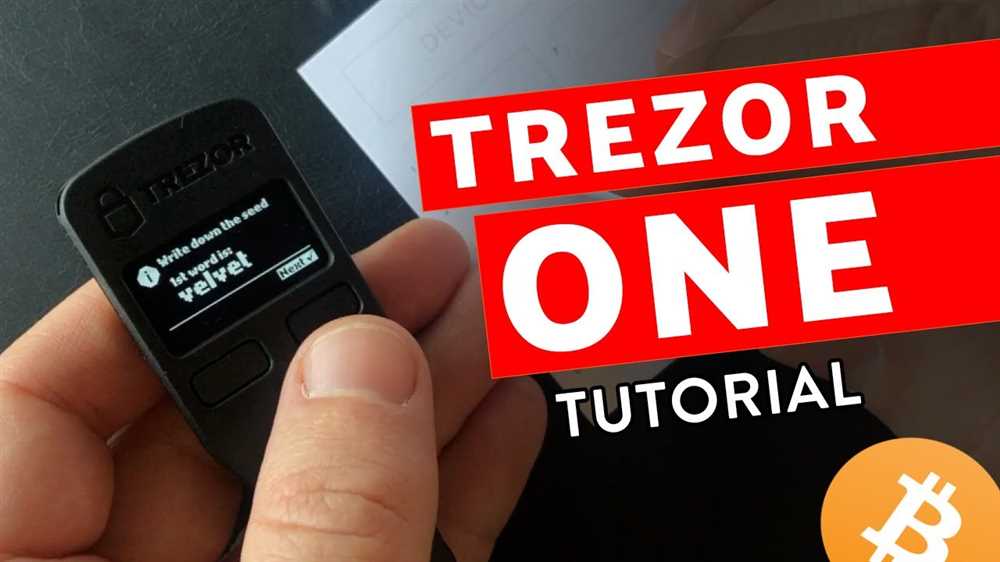
Step 5: Writing Down the Recovery Seed
To ensure the recovery of your funds in case of loss, damage, or theft of your Trezor One device, it is crucial to write down the recovery seed. The recovery seed is a randomly generated list of words that will be used to restore access to your wallet.
Note: Carefully write down the recovery seed on the provided recovery card and keep it in a safe and secure location. Do not store it digitally or share it with anyone.
Step 6: Confirming the Recovery Seed
After writing down the recovery seed, the Trezor One will prompt you to confirm it by selecting the words in the correct order. This step ensures that you have correctly noted down the recovery seed.
Note: Take your time to carefully review and confirm the recovery seed. Any mistake or omission may result in the inability to recover your wallet.
Step 7: Setting Up a Passphrase (Optional)
If you want an additional layer of security, Trezor One allows you to set up a passphrase. This passphrase acts as a second password and provides access to a hidden wallet within your Trezor device.
Note: Be cautious when setting up a passphrase, as forgetting or losing it will result in the permanent loss of any funds stored in the hidden wallet.
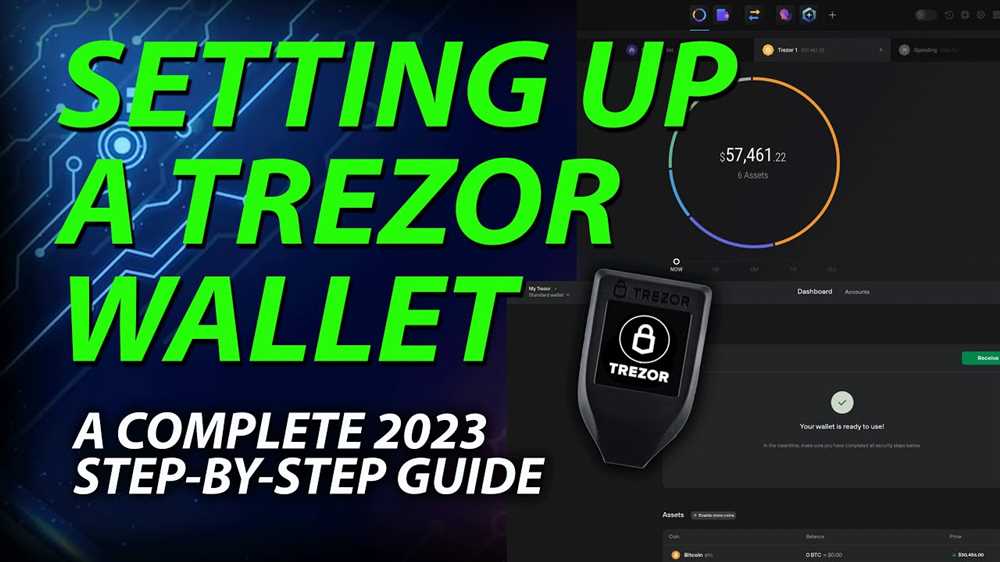
Step 8: Ready to Use
Once you have completed all the steps above, your Trezor One wallet is now set up and ready to use. You can connect it to compatible wallet applications or platforms to manage and access your cryptocurrencies securely.
Note: Regularly check for firmware updates and enable additional security features recommended by Trezor to keep your wallet secure.
Q&A:
What is the Trezor One wallet?
The Trezor One wallet is a hardware cryptocurrency wallet that allows users to securely store their digital assets offline.
How do I set up my Trezor One wallet?
To set up your Trezor One wallet, you will need to connect it to your computer or smartphone, install the necessary software, and follow the on-screen instructions to create a new wallet and set up a recovery seed.
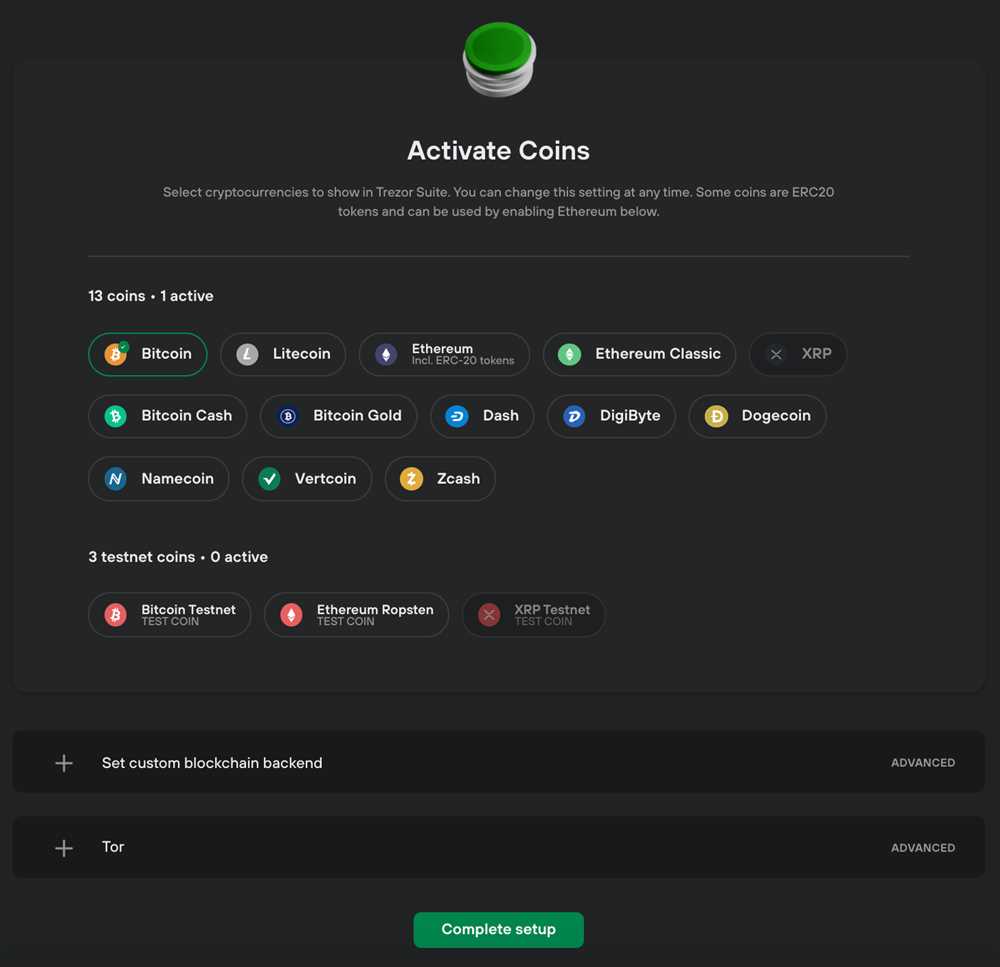
Can I use my Trezor One wallet with multiple cryptocurrencies?
Yes, the Trezor One wallet supports a wide range of cryptocurrencies including Bitcoin, Ethereum, Litecoin, and more. You can manage multiple cryptocurrencies within the same wallet.