Step-by-Step Guide to Set Up Trezor Online for Maximum Security
Welcome to the ultimate guide for setting up your Trezor online wallet! If you are concerned about the security of your cryptocurrencies, then you have come to the right place. Trezor is one of the most reputable and secure hardware wallets on the market. In this step-by-step guide, we will walk you through the process of setting up your Trezor online wallet for maximum security.
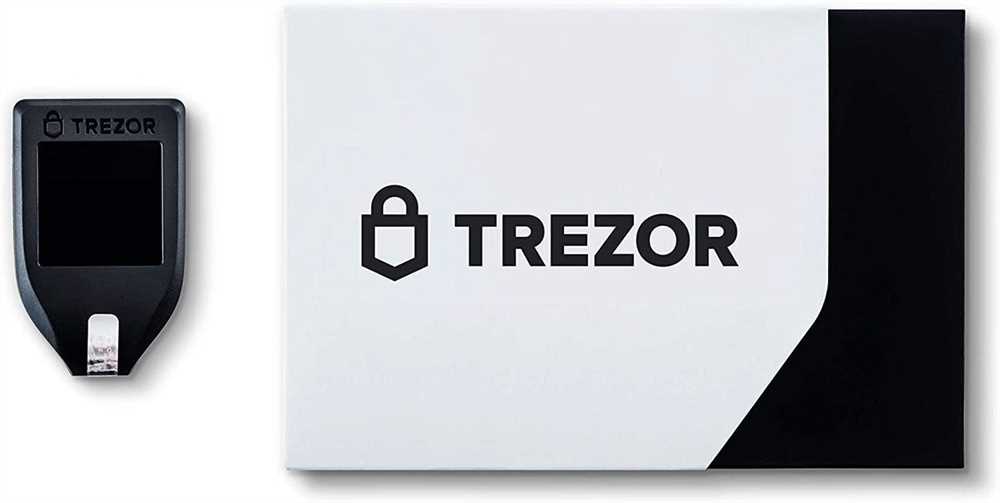
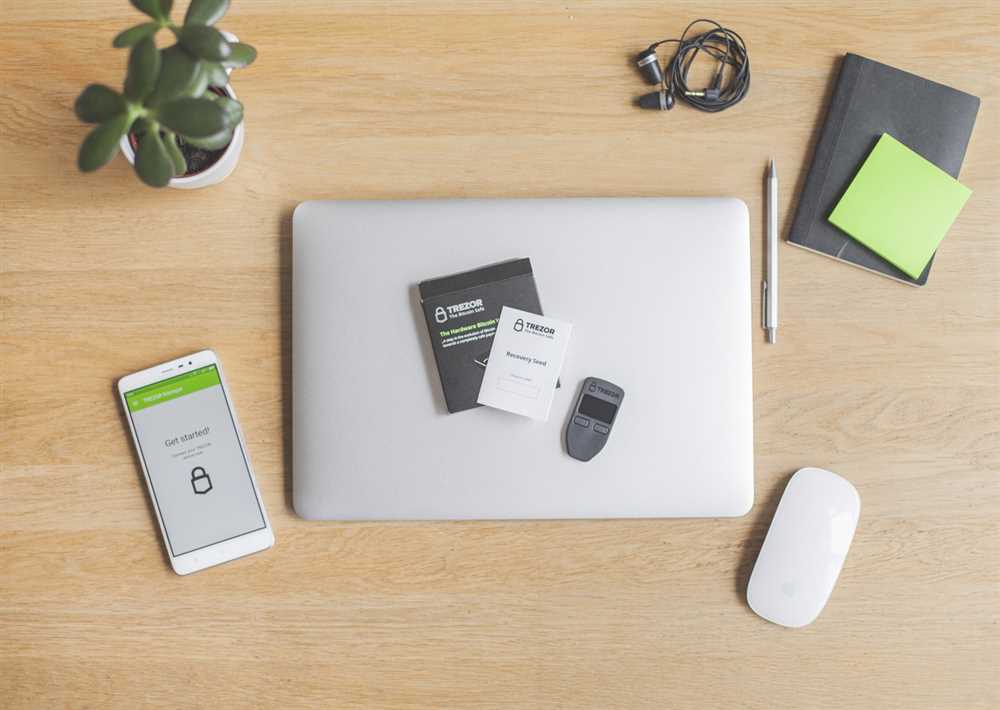
Step 1: Purchase and Unbox Your Trezor Device
The first step in setting up your Trezor online wallet is to purchase the device itself. Trezor devices are available for purchase from the official Trezor website or from authorized retailers. Once your Trezor device arrives, carefully unbox it and gather all the necessary components.
Step 2: Connect Your Trezor to Your Computer
Next, you need to connect your Trezor device to your computer using the provided USB cable. Make sure to use a secure computer that is free from any malicious software or malware. This will ensure that your private keys and transactions remain secure while setting up your online wallet.
Step 3: Initialize Your Trezor and Set Up a PIN
After connecting your Trezor device, you will be prompted to initialize it. Follow the on-screen instructions to set up a PIN for your device. Make sure to choose a PIN that is secure and unique, and remember to keep it confidential. Your PIN is the first line of defense against unauthorized access to your cryptocurrencies.
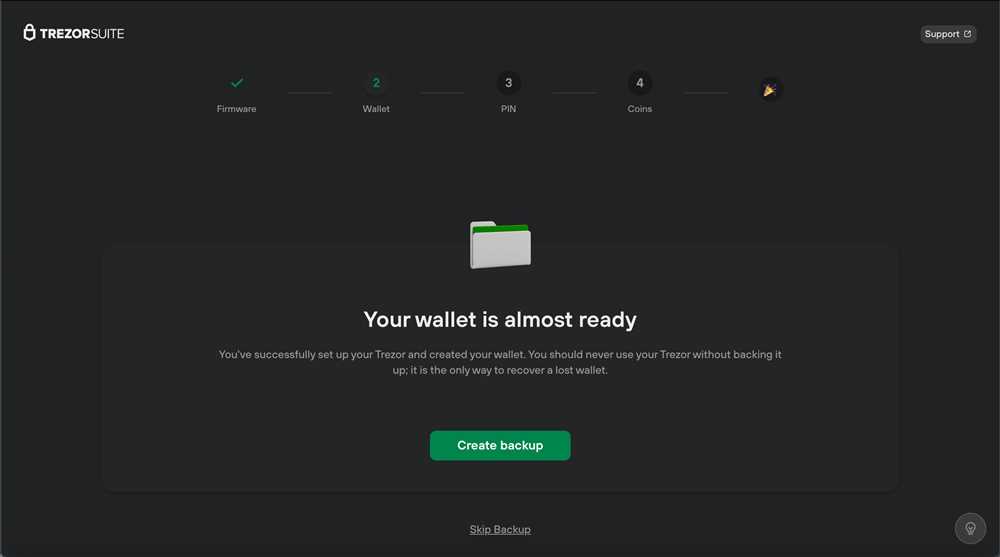
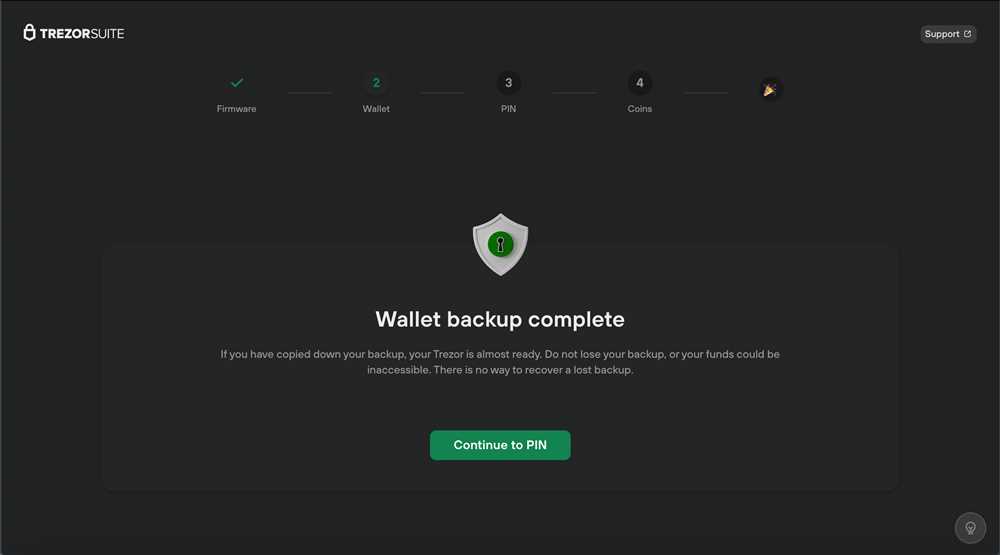
Step 4: Write Down Your Recovery Seed
Once you have set up a PIN, you will be given a recovery seed. This seed is a crucial backup tool that can be used to recover your cryptocurrencies in case your Trezor device is lost, stolen, or damaged. It is important to write down your recovery seed and store it in a safe and secure location. Make multiple copies of the recovery seed and keep them in separate physical locations for added security.
Step 5: Install and Configure the Trezor Bridge
To complete the setup process, you will need to install and configure the Trezor Bridge. The Trezor Bridge is a software that allows your computer to communicate with your Trezor device securely. Visit the Trezor website and download the Trezor Bridge software, then follow the installation instructions to set it up properly.
By following these five steps, you can ensure that your Trezor online wallet is set up securely and ready to use. Remember to always be cautious when handling your cryptocurrencies and keep your device and recovery seed safe. Enjoy the peace of mind that comes with knowing your digital assets are protected by one of the most trusted hardware wallets on the market, Trezor.
Why Choose Trezor for Maximum Security?
In today’s digital age, protecting your cryptocurrencies and personal information is of utmost importance. With the rise of cyber attacks and hacks, it is crucial to choose a reliable and secure device to store your digital assets. Trezor, a leading hardware wallet manufacturer, offers unbeatable security features that make it the ideal choice for maximum security.
Secure Private Keys Storage

Trezor securely stores your private keys, which are essential for accessing and managing your cryptocurrencies. Unlike software wallets or online exchanges, which are vulnerable to hacking and phishing attacks, Trezor keeps your private keys offline and protected within a tamper-proof device. This ensures that your assets remain secure, even if your computer or smartphone has been compromised.
Protection against Malicious Software
Trezor’s firmware is open-source and regularly audited by security experts, making it resistant to malware and other malicious software. By using a hardware wallet like Trezor, you eliminate the risk of downloading and using a compromised wallet software that can lead to the loss of your cryptocurrencies. With Trezor, you can have peace of mind knowing that your transactions are secure and protected from unauthorized access.
Trezor also offers a built-in screen, allowing you to visually verify all transaction details directly on the device itself. This eliminates the risk of potential man-in-the-middle attacks, where hackers can intercept and modify transaction data.
Furthermore, Trezor supports multi-signature functionality, allowing you to distribute control over your funds between multiple keys or devices. This adds an extra layer of security and makes it virtually impossible for attackers to gain unauthorized access to your crypto assets.
In conclusion, Trezor is the superior choice for maximum security when it comes to storing your cryptocurrencies. Its offline private key storage, protection against malicious software, and multi-signature capability ensure that your assets are safe from cyber threats. Invest in a Trezor hardware wallet to safeguard your digital wealth today.
What is Trezor?
Trezor is a hardware wallet designed to provide maximum security for storing and managing your cryptocurrencies. It is a small device that acts as a physical vault for your digital assets, keeping them safe from online threats such as hacking or malware attacks.
As a hardware wallet, Trezor keeps your private keys offline, meaning they are never exposed to the internet or the devices you use for daily transactions. This significantly reduces the risk of your funds being stolen or compromised. Only when you want to make a transaction, the private keys are temporarily connected to an online device using a secure connection.
Trezor supports a wide range of cryptocurrencies, including Bitcoin, Ethereum, Litecoin, and many others. With Trezor, you can securely store, send, receive, and even exchange your digital assets, all in one place.
One of the key features of Trezor is its open-source nature, which means that the hardware and software used in the device are transparent and can be verified by anyone. This ensures that there are no hidden backdoors or vulnerabilities that could jeopardize the security of your cryptocurrencies.
Key Benefits of Trezor:
- Enhanced Security: Trezor keeps your private keys offline and protects them from online threats.
- User-Friendly Interface: Trezor’s intuitive interface makes it easy to manage your cryptocurrencies, even for beginners.
- Diverse Coin Support: Trezor supports a wide range of cryptocurrencies, giving you the flexibility to manage multiple assets in one device.
- Open-Source: The open-source nature of Trezor ensures transparency and security.
In summary, Trezor is a reliable and secure hardware wallet that provides the highest level of protection for your cryptocurrencies. With its user-friendly interface and diverse coin support, Trezor is an ideal solution for both newcomers and experienced crypto enthusiasts.
Getting Started with Trezor Online
Before you begin using Trezor Online, it’s important to set it up properly to ensure maximum security for your digital assets. Follow these steps to get started:
Step 1: Purchase a Trezor Device
The first step in getting started with Trezor Online is to purchase a Trezor hardware wallet device. You can buy it from the official Trezor website or authorized retailers. Make sure to purchase it from a trusted source to avoid counterfeit devices.
Step 2: Connect Your Trezor Device
Once you have your Trezor device, connect it to your computer using the provided USB cable. You may need to install the Trezor Bridge software on your computer, which acts as a connection between your Trezor device and the web browser. Follow the instructions provided by Trezor to complete the installation.
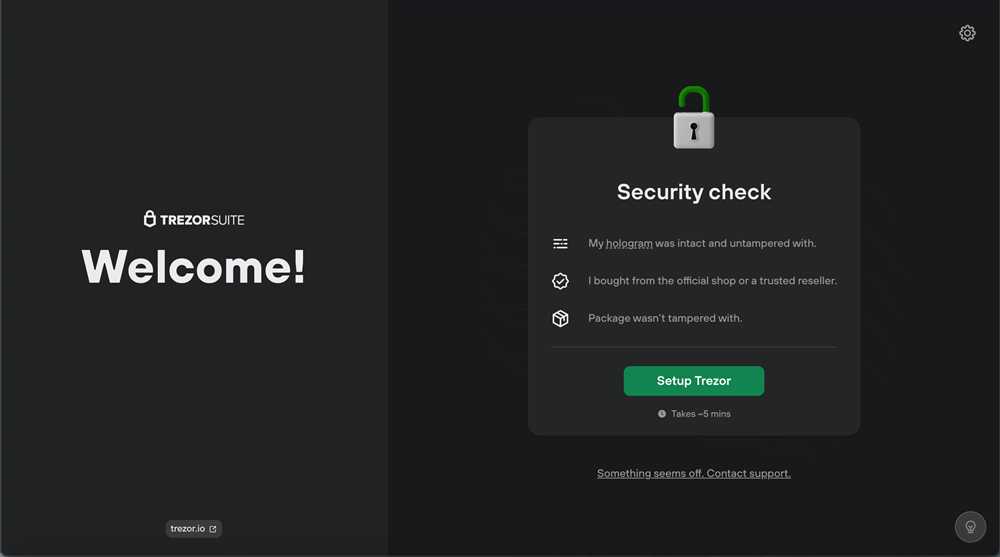
Step 3: Access Trezor Online
After your Trezor device is connected, open your web browser and go to the Trezor Online website. You can find the official website by searching for “Trezor Online” or by using the URL provided by Trezor. Make sure you are on the official website to avoid any phishing attempts.
Step 4: Create a New Wallet
On the Trezor Online website, you will be prompted to create a new wallet. Follow the instructions on the website to set a strong password and write down your recovery seed. Make sure to store your recovery seed in a safe and secure place as it is the only way to recover your wallet if your Trezor device is lost or damaged.
Step 5: Enable Two-Factor Authentication
To add an extra layer of security to your Trezor Online account, enable two-factor authentication (2FA) if available. This can be done through the settings or security section of your Trezor Online account. Use a trusted 2FA app, such as Google Authenticator, to generate the authentication codes.
Step 6: Transfer Funds to Your Trezor Wallet
Once your wallet is set up and secured, you can transfer your digital assets to your Trezor wallet. Use the receive address provided by your Trezor device to receive funds from external wallets or exchanges. Double-check the address to avoid any mistakes that could result in loss of funds.
By following these steps, you will be well on your way to setting up Trezor Online for maximum security. Remember to always double-check the website’s URL, keep your device and recovery seed safe, and regularly update your Trezor firmware to ensure the highest level of protection for your digital assets.
Step 1: Creating a Wallet
Creating a secure wallet is the first step towards maximizing your cryptocurrency security. Follow these simple steps to create a secure wallet for your Trezor:
1. Choose a Trusted Wallet Provider
Before creating a wallet, it’s essential to choose a trusted wallet provider. Trezor is one of the most trusted and reputable providers in the cryptocurrency industry. Visit the Trezor website to access their wallet creation services.
2. Visit the Trezor Website
Go to the official Trezor website by typing “trezor.io” into your web browser’s address bar. This ensures that you are accessing the genuine website and not a phishing or malicious one.
3. Click on “Create Wallet”
Once you’re on the official Trezor website, look for the “Create Wallet” button or link. Click on it to start the wallet creation process.
4. Download the Browser Extension
Follow the instructions on the Trezor website to download and install the Trezor browser extension for your preferred web browser. This extension is necessary for securely interacting with your Trezor wallet.
5. Connect Your Trezor Device
Using the USB cable provided with your Trezor device, connect it to your computer or mobile device. Make sure your Trezor is securely connected and recognized by the browser extension.
6. Set Up Your Device
Follow the on-screen instructions provided by the Trezor browser extension to initialize and set up your Trezor device. This involves choosing a PIN, writing down your recovery seed, and confirming your device’s firmware.
7. Create a Strong Password
During the wallet creation process, you will also be prompted to create a strong password. Make sure to choose a unique and complex password that cannot be easily guessed. This password adds an extra layer of security to your wallet.
8. Complete the Wallet Creation Process
Once you have completed all the necessary steps, the wallet creation process will be complete. Take the time to review your settings and ensure that everything is set up correctly before proceeding.
By following these steps, you will have successfully created a secure wallet for your Trezor device. You can now proceed to the next steps in the guide to further enhance the security of your cryptocurrency holdings.
Step 2: Setting Up Two-Factor Authentication
In order to maximize the security of your Trezor online account, it is highly recommended to set up two-factor authentication (2FA). Two-factor authentication adds an extra layer of protection by requiring a second form of verification in addition to your password.
Follow the steps below to set up two-factor authentication for your Trezor account:
| Step 1: | Download and install a two-factor authentication app on your smartphone or tablet. There are many options available, but popular ones include Google Authenticator or Authy. |
| Step 2: | Open the two-factor authentication app and scan the QR code displayed on the Trezor website. This will link your Trezor account to the app. |
| Step 3: | Once the QR code is scanned, the app will generate a unique six-digit code that changes every 30 seconds. Enter this code in the designated field on the Trezor website. |
| Step 4: | After entering the code, click on the “Verify” button to confirm the setup of two-factor authentication. |
| Step 5: | From now on, whenever you log in to your Trezor online account, you will be prompted to enter the six-digit code generated by the two-factor authentication app. |
By setting up two-factor authentication, you significantly enhance the security of your Trezor online account. Even if someone manages to obtain your password, they will still need physical access to your smartphone or tablet in order to generate the correct authentication code.
Step 3: Generating Recovery Seed
Generating a recovery seed is a crucial step in setting up your Trezor online. This seed will serve as your backup, allowing you to recover your funds in case your device gets lost or damaged.
To generate your recovery seed, follow these steps:
| Step 1: | Make sure your Trezor device is connected to your computer and the Trezor Wallet interface is open. |
| Step 2: | Click on the “Recovery” tab in the Trezor Wallet interface. |
| Step 3: | Choose the number of words you want in your recovery seed. The default option is 24 words, which provides the highest level of security. |
| Step 4: | Click on the “Generate” button to generate your recovery seed. |
| Step 5: | Write down your recovery seed in the order displayed on the screen. Make sure to write it on a piece of paper and keep it in a safe and secure place. |
| Step 6: | Once you have written down your recovery seed, click on the “I have written it down” button. |
| Step 7: | Confirm that you have written down your recovery seed by entering the words in the correct order. |
It is important to keep your recovery seed safe and secure. Do not store it digitally, as doing so increases the risk of it being compromised. Consider using a fireproof and waterproof safe or a safety deposit box to store your recovery seed.
Once you have completed the process of generating your recovery seed, you can proceed to the next step of setting up your Trezor online.
Question-answer:
What is Trezor Online?
Trezor Online is a step-by-step guide for setting up and maximizing the security of your Trezor hardware wallet.
Why should I use Trezor Online?
Using Trezor Online ensures that you set up your Trezor hardware wallet correctly and securely, reducing the risk of losing your cryptocurrencies.
What are the steps to set up Trezor Online?
The steps to set up Trezor Online include downloading the Trezor Bridge, connecting your Trezor device to your computer, initializing the device, creating a new wallet, and backing up your recovery seeds.
How do I ensure maximum security when setting up Trezor Online?
To ensure maximum security when setting up Trezor Online, you should make sure to connect your Trezor device to a trusted and secure computer, enable passphrase encryption, and keep your recovery seeds in a safe and secure location.
What are the benefits of using Trezor Online over other hardware wallets?
One of the benefits of using Trezor Online is that it provides a step-by-step guide specifically tailored to the Trezor hardware wallet, ensuring that you set it up correctly and securely. Additionally, Trezor Online offers tips and best practices to maximize the security of your cryptocurrencies.