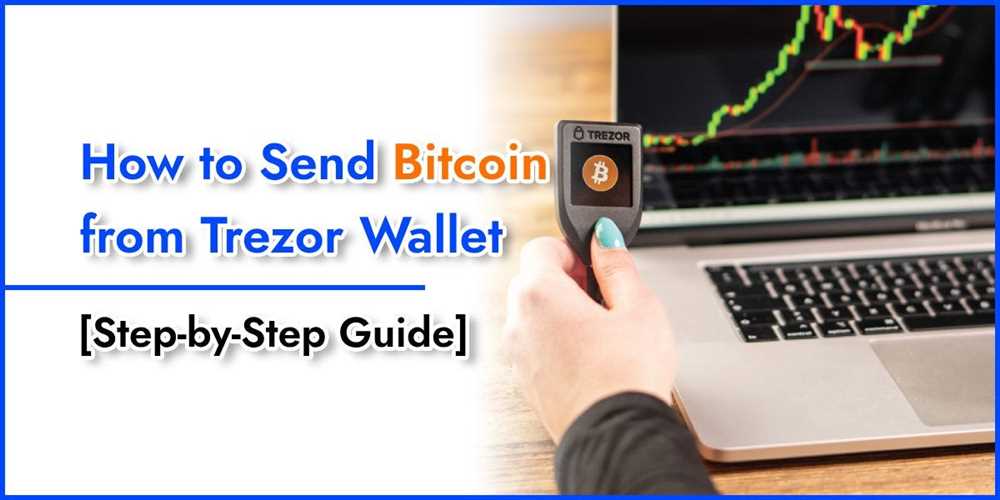
Transfer Bitcoin to Trezor One Wallet Step-by-Step Guide
If you are new to the world of cryptocurrencies, you may have heard about the importance of securely storing your digital assets. One popular hardware wallet that offers top-notch security is the Trezor One. In this guide, we will walk you through the process of transferring Bitcoin to your Trezor One wallet, ensuring that your funds are kept safe from potential cyber threats.
Step 1: Setting Up Your Trezor One Wallet
The first step is to set up your Trezor One wallet. Start by connecting your device to your computer using the provided USB cable. Follow the on-screen instructions to install the necessary software and create a new wallet. Make sure to choose a strong PIN code and enable the passphrase feature for an extra layer of security.
Step 2: Generating a Receiving Address
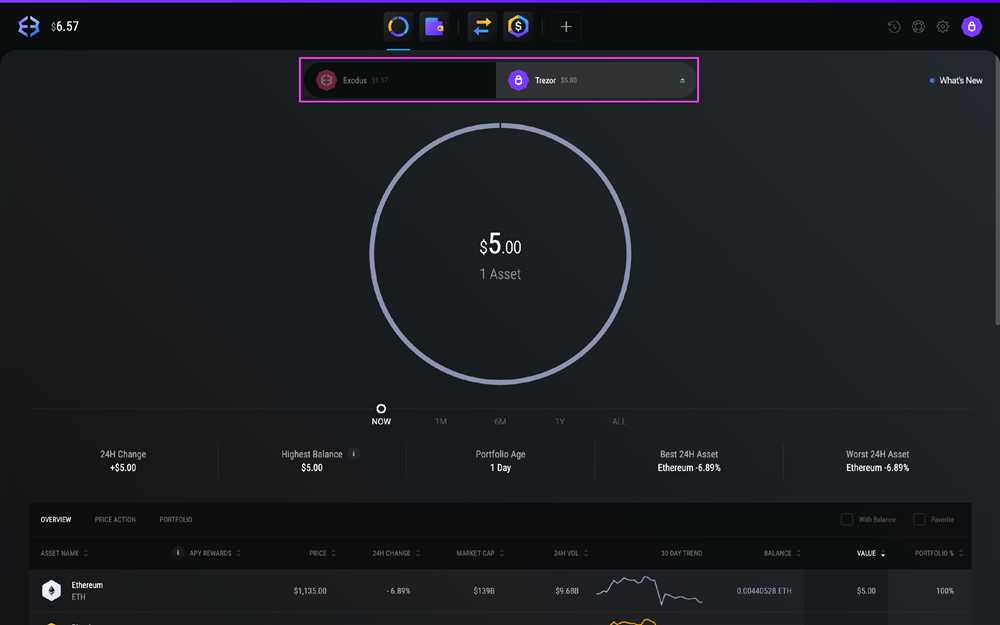
Once your Trezor One wallet has been set up, you can generate a receiving address to which you can send your Bitcoin. Open the Trezor Wallet interface on your computer and navigate to the “Receive” tab. Click on “New Address” to generate a fresh address for receiving funds. Make sure to double-check the address to ensure its accuracy.
Step 3: Initiating the Transfer
Now that you have a receiving address, you can initiate the transfer of Bitcoin from your current wallet or exchange. Log in to your existing wallet or exchange account and navigate to the “Send” or “Withdraw” section. Paste the receiving address you generated in Step 2 and enter the amount of Bitcoin you wish to transfer. Double-check all the details before confirming the transaction.
Step 4: Confirming the Transfer on Your Trezor One
Once you have initiated the transfer, you will see a transaction confirmation on your Trezor One device. Verify that all the details of the transaction match what you entered in Step 3. If everything looks correct, confirm the transaction on your Trezor device by pressing the corresponding button. Your Bitcoin will now be transferred to your Trezor One wallet, where it will be securely stored.
Note: It is essential to always double-check the address you are sending your Bitcoin to, as any mistakes could result in the loss of your funds. Additionally, make sure to keep your Trezor One device and recovery seed in a safe place to prevent unauthorized access to your wallet.
By following these steps, you can confidently transfer your Bitcoin to your Trezor One wallet, knowing that your funds are protected by one of the most secure hardware wallets available.
Securely Transfer Bitcoin
Transferring Bitcoin to your Trezor One wallet is a straightforward process, but it’s important to take steps to ensure the security of your funds.
Here are some tips to securely transfer Bitcoin:
- Make sure your Trezor One wallet is properly set up and initialized.
- Double-check the recipient’s Bitcoin address to avoid any typos or mistakes.
- Consider using a reputable exchange or wallet provider to initiate the transfer.
- Enable two-factor authentication (2FA) whenever possible to add an extra layer of security.
- Before entering your private key or seed phrase, verify that you are on the official Trezor website or app.
- Take the time to research and understand the transaction fees associated with your transfer.
- Consider using a privacy-focused service or mixing your Bitcoin to enhance your anonymity.
By following these steps and practicing good security habits, you can ensure a secure transfer of your Bitcoin to your Trezor One wallet and protect your funds from potential threats.
Step-by-Step Guide
Transferring your Bitcoin to your Trezor One wallet is a simple process. Follow these steps to securely transfer your Bitcoin:
Step 1: Prepare Your Trezor One Wallet
- Ensure that your Trezor One wallet is set up and ready to use.
- Connect your Trezor One device to your computer using the USB cable.
- Open the Trezor Wallet website.
Step 2: Access Your Bitcoin Wallet
- On the Trezor Wallet website, select the Bitcoin wallet option.
- Enter your PIN on the Trezor One device when prompted.
- Authorize the connection between your Trezor One and the website.
Step 3: Generate a Receiving Address
- In the Trezor Wallet, click on the “Receive” tab.
- Click on the “Create New Address” button.
- Copy the generated receiving address.
Step 4: Send Bitcoin to Your Trezor One Wallet
- Log in to your Bitcoin exchange or wallet.
- Initiate a new Bitcoin withdrawal.
- Paste the receiving address from your Trezor One wallet.
- Confirm the transaction and wait for it to be processed.
Step 5: Verify the Transaction
- Once the Bitcoin transfer is confirmed, go back to the Trezor Wallet website.
- Check the transaction history to ensure that the funds have been received.
Congratulations! You have successfully transferred your Bitcoin to your Trezor One wallet. Your Bitcoin is now securely stored on your hardware wallet.
Choose a Reliable Wallet
When it comes to transferring Bitcoin to your Trezor One wallet, it’s essential to choose a reliable wallet to ensure the safety and security of your funds. There are numerous wallets available in the market, each with its own set of features and security measures. Here are some considerations to keep in mind when selecting a wallet:
1. Hardware Wallets
Hardware wallets, like the Trezor One, are considered the most secure option for storing your Bitcoin. These wallets store your private keys offline, providing an extra layer of protection against online threats. Make sure to choose a reputable hardware wallet manufacturer to ensure the authenticity and reliability of the device.
2. Software Wallets
If you prefer a more convenient option, you can opt for a software wallet. These wallets are installed on your computer or mobile device and allow you to access your Bitcoin through a user-friendly interface. However, be cautious while selecting a software wallet, as security vulnerabilities can expose your funds to risks.
3. Multi-Signature Wallets
Another option to consider is a multi-signature wallet, which requires multiple signatures to authorize a transaction. This adds an additional layer of security, as even if one of the private keys is compromised, the transaction cannot be executed without the other signatures.
Remember to thoroughly research and compare different wallet options before making a decision. Look for wallets that have a strong reputation in the crypto community, regular software updates, and a user-friendly interface. Additionally, consider factors like ease of use, compatibility with your device, and customer support when selecting a wallet.
By choosing a reliable wallet, you can ensure the safety and security of your Bitcoin, providing you with peace of mind when transferring your funds to your Trezor One wallet.
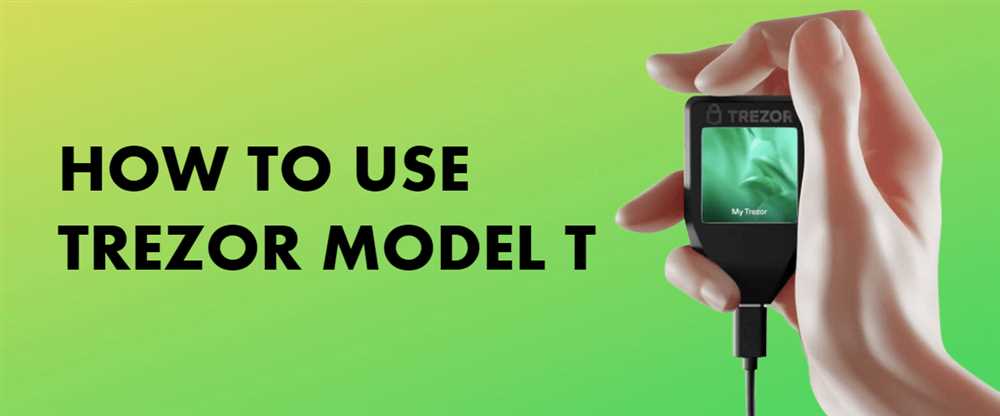
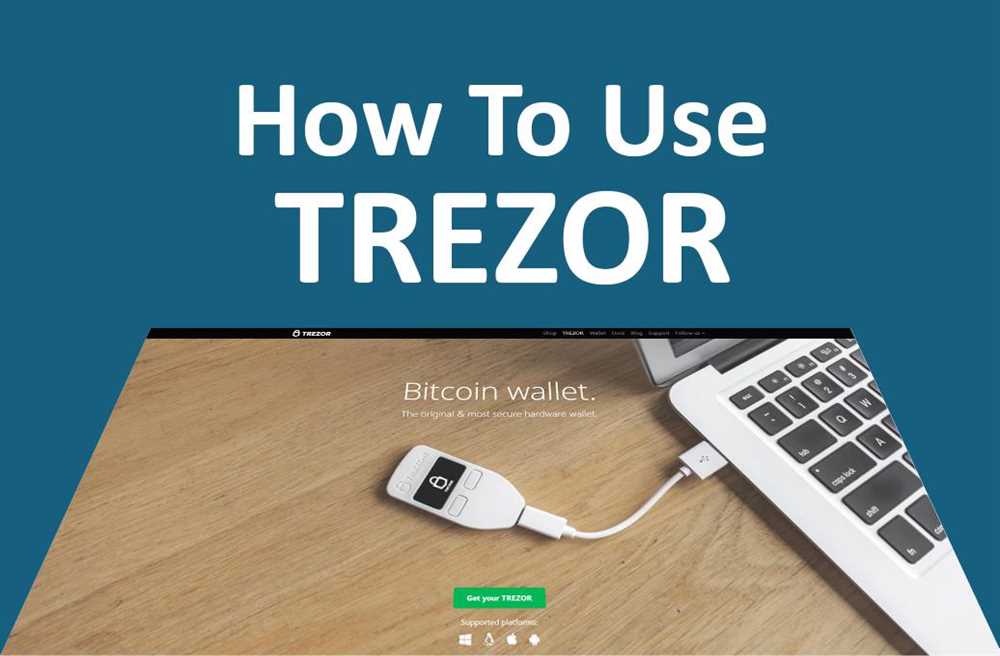
Why Trezor One is a Great Wallet Choice?
Trezor One is a secure and reliable hardware wallet that provides users with a convenient and easy-to-use solution for storing and transferring Bitcoin. Here are some reasons why Trezor One is a great wallet choice:
1. Strong Security

Trezor One uses advanced encryption techniques to secure your Bitcoin private keys. It features a secure chip that protects your keys from malware, viruses, and physical tampering. With Trezor One, you have full control over your funds and can be confident that they are safe.
2. User-Friendly Interface
Trezor One has a user-friendly interface that makes it easy even for beginners to navigate and use. It has a clear and intuitive display, buttons for easy navigation, and a straightforward setup process. Whether you are new to cryptocurrency or an experienced user, you will find Trezor One simple and convenient to use.
3. Compatibility
Trezor One is compatible with various operating systems, including Windows, macOS, and Linux. It can be easily connected to your computer or smartphone using a USB cable. Trezor One also supports multiple cryptocurrencies, allowing you to store and manage different digital assets in one wallet.
4. Offline Storage
One of the main advantages of Trezor One is that it provides offline storage for your Bitcoin. This means that your private keys are stored in a secure device that is not connected to the internet, reducing the risk of online hacks or theft. You can connect Trezor One to your device only when you need to make a transaction.
5. Backup and Recovery
Trezor One allows you to create a backup of your wallet, so you can easily recover your funds if your device is lost or damaged. The backup is encrypted and can be stored in multiple locations for extra security. With Trezor One, you have peace of mind knowing that you can always retrieve your Bitcoin.
In conclusion, Trezor One is a great wallet choice for Bitcoin users who value security, user-friendliness, compatibility, offline storage, and backup options. By choosing Trezor One, you can securely store and manage your Bitcoin with ease.
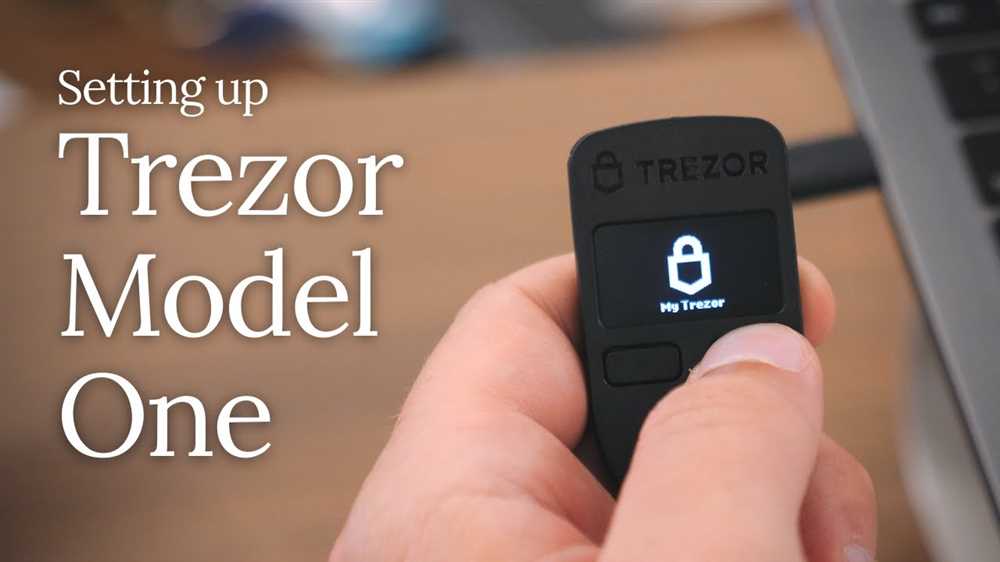
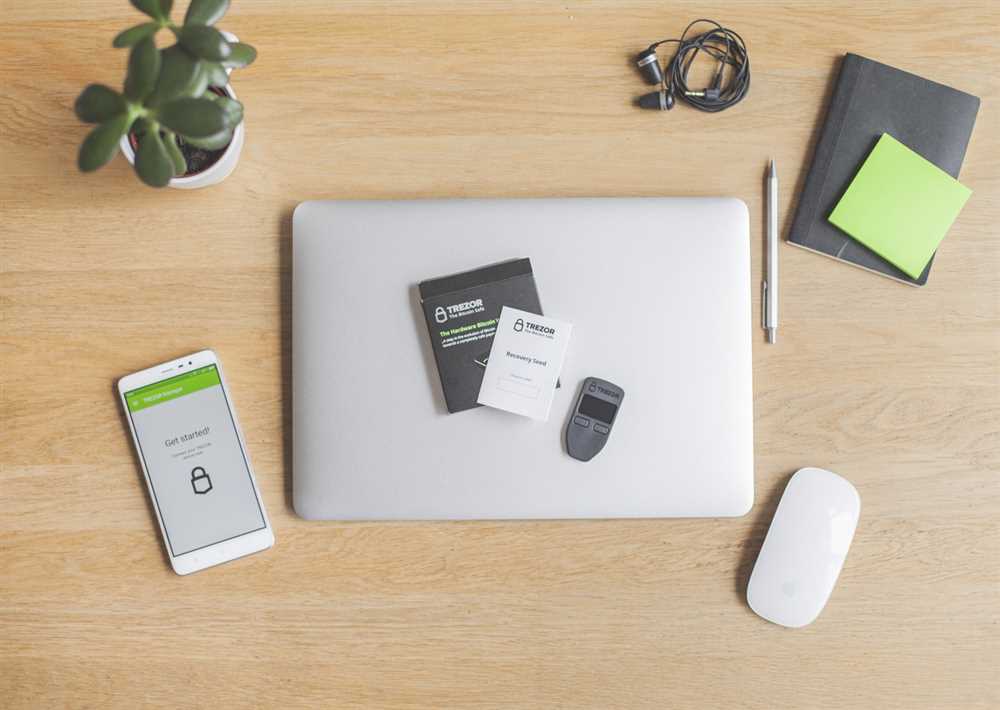
Set Up Your Trezor One Wallet
Once you have purchased your Trezor One hardware wallet, follow these steps to set it up:
Step 1: Unbox your Trezor One
Start by opening the box that your Trezor One came in. Inside, you will find the device, a USB cable, and some instructions.
Step 2: Connect your Trezor One to your computer
Using the USB cable, connect your Trezor One to your computer. Make sure that your computer is connected to the internet.
Step 3: Install the Trezor Bridge software
Visit the Trezor website and download and install the Trezor Bridge software for your operating system. This software allows your Trezor One to communicate with your computer.
Step 4: Open the Trezor Wallet
Once the Trezor Bridge software is installed, open the Trezor Wallet by going to the Trezor website and clicking on the “Wallet” tab.
Step 5: Create a new wallet
In the Trezor Wallet, click on “Create new” to start the process of creating a new wallet.
Step 6: Write down your recovery seed
During the setup process, you will be given a recovery seed. It is important to write down this seed and keep it in a safe place. This seed can be used to restore access to your wallet in case your Trezor One is lost or damaged.
Step 7: Set a PIN
After writing down your recovery seed, you will be prompted to set a PIN. Choose a strong PIN that is easy for you to remember but difficult for others to guess.
Step 8: Confirm your recovery seed
Once you have set your PIN, the Trezor Wallet will ask you to select words from your recovery seed in the correct order to confirm that you have written it down correctly.
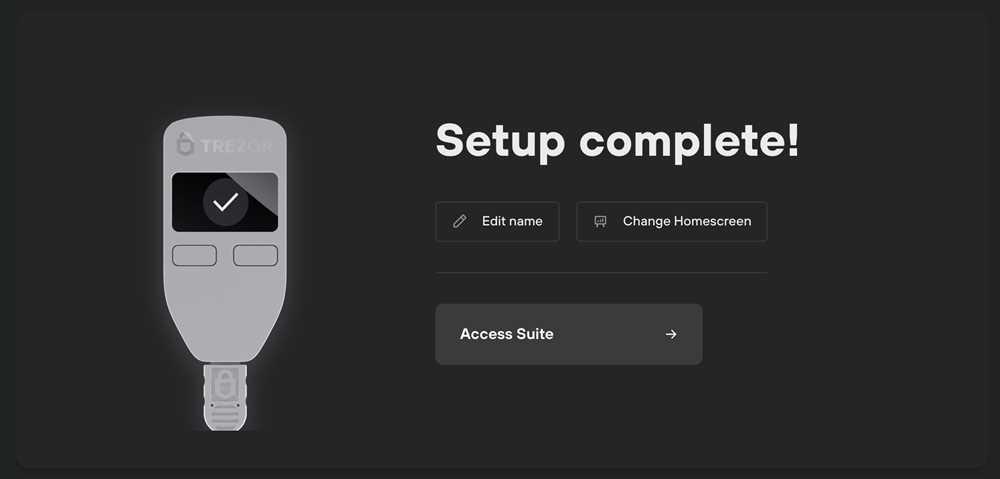
Step 9: Your Trezor One is ready to use!
After confirming your recovery seed, your Trezor One wallet is now set up and ready to use. You can now send and receive Bitcoin and other supported cryptocurrencies.
Remember to keep your Trezor One and recovery seed safe. Do not share your recovery seed with anyone and store it in a secure location.
Note: The above steps are a general guide and may vary slightly depending on the specific version of the Trezor Bridge software and Trezor Wallet you are using.
Install the Trezor Suite and Create a New Wallet
Before you can transfer Bitcoin to your Trezor One wallet, you need to install the Trezor Suite software on your computer and create a new wallet. The Trezor Suite is a user-friendly and secure wallet manager that allows you to manage your cryptocurrencies with ease.
Step 1: Download and Install the Trezor Suite

First, you need to download the Trezor Suite software from the official website. Go to https://trezor.io/start/ and click on the “Download Trezor Suite” button. Choose the appropriate version for your operating system (Windows, macOS, or Linux) and follow the on-screen instructions to install the software.
Step 2: Connect the Trezor One Wallet
Once the Trezor Suite is installed, connect your Trezor One wallet to your computer using the provided USB cable. Ensure that your wallet is properly connected and powered on.
Step 3: Create a New Wallet
Launch the Trezor Suite software and click on the “Create New Wallet” option. Follow the instructions on the screen to set up a new wallet. Make sure to write down the recovery seed phrase and store it in a secure location. The recovery seed phrase is essential for recovering your wallet in case your Trezor One is lost or damaged.
Note: It is crucial to keep your recovery seed phrase safe and never share it with anyone. Anyone with access to your seed phrase can gain control over your cryptocurrencies.
Once you have created a new wallet, you are ready to transfer Bitcoin to your Trezor One. Follow the remaining steps in the “How to Transfer Bitcoin to Your Trezor One Wallet” guide to complete the process.
Disclaimer: The information in this guide is for informational purposes only and should not be construed as financial or investment advice. Always do your own research and consult a professional before making any investment decisions.
Questions and answers:
What is Trezor One Wallet?
Trezor One Wallet is a hardware wallet used to store cryptocurrencies securely. It is a device that looks like a small USB stick and provides offline storage and transaction signing.
Why should I transfer my Bitcoin to Trezor One Wallet?
Transferring your Bitcoin to a hardware wallet like Trezor One provides an extra layer of security. It keeps your cryptocurrency safe from online threats and potential hacking attempts. It also allows you to have full control over your private keys.
How do I transfer Bitcoin to my Trezor One Wallet?
To transfer Bitcoin to your Trezor One Wallet, you first need to connect your device to your computer and open the Trezor Wallet website. Then, follow the instructions on the website to generate a receiving address. Finally, send your Bitcoin from your current wallet or exchange to this receiving address.
What happens if I lose my Trezor One Wallet?
If you lose your Trezor One Wallet, you can use the recovery seed (a list of words generated during the initial setup) to restore your wallet and access your Bitcoin. Make sure to keep your recovery seed in a safe place and never share it with anyone.